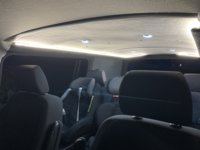
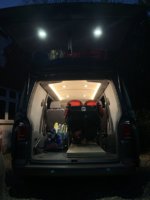
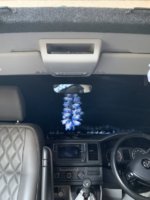
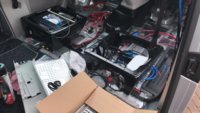
Highline is the same AFAIK.Is that a trend line / Startline top console? Don’t know why the highline is so different
You are using an out of date browser. It may not display this or other websites correctly.
You should upgrade or use an alternative browser.
You should upgrade or use an alternative browser.
What Have You Done To Your Van Today?
- Thread starter Daneeyre
- Start date
-
- Tags
- mod modification mods retrofit
Had to install a new Bowden cable into the door after snapping the last one when removing the door card to install a puddle light. Also snapped a clip on the umbilical between door and body. Thankfully VW give you a long pull cable (yellow tag) to separate without having to strip it all down.. Just pull the yellow tag and the whole cable comes out for disconnecting.


Last edited:
Bizarrely, the HL overhead cubby is different sizes! I’ve got the smaller one in mine.Is that a trend line / Startline top console? Don’t know why the highline is so different
I managed to re wire the buttons on my Golf Gte/t6 power inlet to do what I want. I can now lock / unlock the flap from inside the cab then once I get my laser etcher I will be able to see the led`s I have mounted inside the buttons to indicate the state of the Inlet ( lights up to let me know its open). Now the external buttons light up when the flap is opened and 1 does the led`s so I can see where the plug is and the other does the lights I have mounted under the bonnet just in case I ever need them.
https://youtu.be/1BERHORnYw4
https://youtu.be/1BERHORnYw4
No one likes a show off Alan. No one.I managed to re wire the buttons on my Golf Gte/t6 power inlet to do what I want. I can now lock / unlock the flap from inside the cab then once I get my laser etcher I will be able to see the led`s I have mounted inside the buttons to indicate the state of the Inlet ( lights up to let me know its open). Now the external buttons light up when the flap is opened and 1 does the led`s so I can see where the plug is and the other does the lights I have mounted under the bonnet just in case I ever need them.
https://youtu.be/1BERHORnYw4
By the way it looks brilliant.
The HL is the small one is that yours then - I only wanted to get the BOSE soundlink in which you can in the SL and TL but didn’t know how easy it came apart to look to alter.
Bizarrely, the HL overhead cubby is different sizes! I’ve got the smaller one in mine.
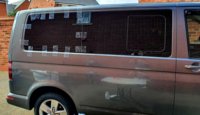
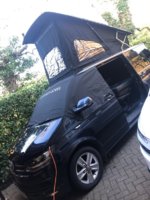
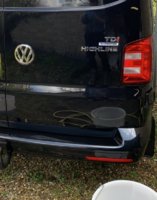
Fake windows added to the kombi rear quarters, gives it a more finished look I think, well once the tapes offView attachment 64998
Gives a nice clean look! Who did your get your glass from?
Camper glassGives a nice clean look! Who did your get your glass from?

They look good! Where did you get them from?Put some step covers on... 3M double sided tape and plenty of stikaflex
View attachment 64170 View attachment 64171
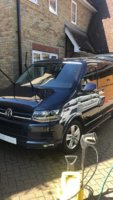
I watched a bloke from our village drag his bike across the front of my cali, trying to get through the gap left by a delivery van temporarily parked in front, and he gouged the lower part on the bumper.
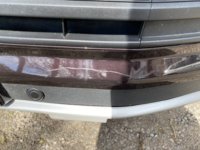
Fortunately it had PPF covering there so I removed the ppf
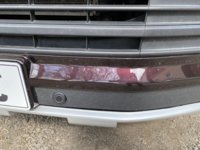
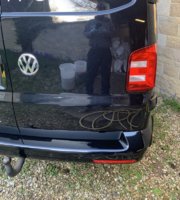
I also had the Cali scrapped last year in France so I also removed that corner as well.
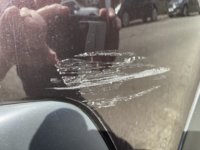
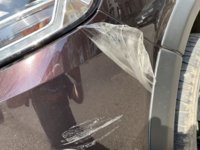
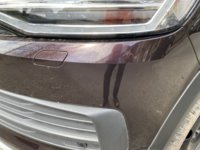

Fortunately it had PPF covering there so I removed the ppf

I also had the Cali scrapped last year in France so I also removed that corner as well.


I watched a bloke from our village drag his bike across the front of my cali, trying to get through the gap left by a delivery van temporarily parked in front, and he gouged the lower part on the bumper.
View attachment 65042
Fortunately it had PPF covering there so I removed the ppf
View attachment 65043
I also had the Cali scrapped last year in France so I also removed that corner as well.
View attachment 65044 View attachment 65045 View attachment 65046
Wow, that's testament to PPF. I bet by the time you'd of had the inconvenience of the van off the road, the cost of painting the bumper, the PPF instal works out much better value, specially as you now have a brand new finish on something that would of ordinarily been covered in stone chips anyway.
Are you bothering to get it re-wrapped?
Yes I will as soon as normality resumes.Are you bothering to get it re-wrapped?
I might give my guy a ring and see if he wants to come and collect it and leave his here in the meantime if he's short on work.
Similar threads
- Replies
- 76
- Views
- 6K
- Replies
- 28
- Views
- 3K
- Replies
- 37
- Views
- 6K

