Roamer LiFePO4 Gen2 230Ah Seatbase battery -- "How I Done It" --

Dellmassive

T32 204 DSG LWB SLN PV MY18 & T30 SWB KMB MY67
VCDS User
Moderator
VIP Member
T6 Master
Roamer LiFePO4 Gen2 230Ah Seatbase battery -- "How I Done It" --


Its a Lithium LifePo4,
its got massive capacity @ 230Ah,
its got massive discharge performance 250A/500A,
its Bluetooth,
its a Roamer !!,
its exciting . . . . .
its coming soon - the full test . . . . .


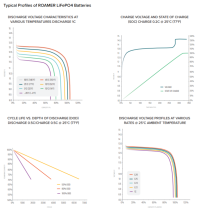
1641301846785.png


+++++++++++++++


I've managed to get myself a Gen2 230Ah Roamer seatbase battery. - delivery expected Jan 2022.

@Dellmassive
@RoamerBatteries


+++++++++++++++

KEY DETAILS​

  • Nominal capacity of 230Ah at 12.8V
  • Up to 250A continuous charge/discharge
  • 500A peak charge/discharge (10 seconds)
  • Connect up to 4 batteries in series or parallel
  • Compact and lightweight - just 20kg
  • Integrated Roamer BMS Bluetooth App
  • Low temp charge protection


++++++++++++++++


DESCRIPTION

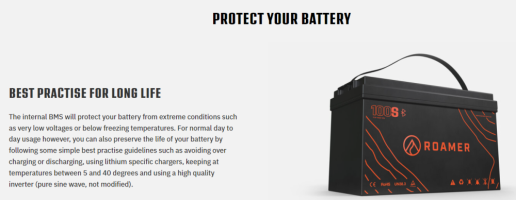
The 230SEATBASE2 is the original low profile LiFePO4 battery designed for installation under a campervan swivel seat. We’ve used the same compact cells and high power BMS as our flagship 460Ah, allowing us to us to fit a massive amount of capacity into a case that is actually smaller than the previous model. It can deliver a continuous charge/discharge rate of 250A, enough to power a two ring induction hob (or any other domestic appliance) via an inverter (max 3200W).

The upgraded BMS will passively balance all internal cells, and also support installation of up to 4 x 230SEATBASE batteries in series or parallel (one under each seat) with auto balancing for parallel connected batteries. It also provides a complete range of protections including low temperature charging.


++++++++++++++++

Roamer BMS App Integration

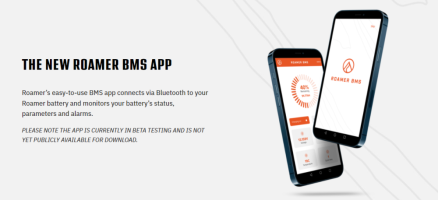
The Roamer BMS Bluetooth app allows you to monitor and configure your battery in real time using any iOS or Android device. You can view real time information on the state of charge, cell voltages and power usage, view and edit detailed parameters, and quickly identify problems with the integrated alarms.


++++++++++++++++


Electrical Installation

The 230SEATBASE2 is designed as a drop in lead-acid replacement and can be installed in almost any campervan, motorhome or boat. Terminals are M8 steel bolts (supplied with the battery along with washers and spring rings). You should ensure that any connected chargers are compatible with LiFePO4 batteries and configured correctly.


++++++++++++++++


TECH SPECIFICATION​

  • Nominal Capacity
    230Ah
  • Nominal Voltage
    12.8V
  • Max Charge Voltage
    14.6V
  • Recommended Charge Voltage
    14.2V
  • Recommended Float Voltage
    13.5V
  • Max Cont. Discharge
    250A
  • Peak Discharge (10s)
    500A
  • Dimensions
    305mm L x 290mm W x 180mm H
  • Weight
    20Kg
++++++++++++++++


++++++++++++++++

1641301870220.png


++++++++++++++++

1641301880243.png


++++++++++++++++


Roamer created the Seatbase LiFePO4 battery design and this second generation model raises the bar yet again. Premium compact cells provide 230Ah of useable capacity and a high power BMS allows up 3200W of continuous power, all in a custom case that fits perfectly under a campervan swivel seat.

10% PREORDER DISCOUNT - DELIVER 14TH JANUARY



1641301394394.png


.

1641301900451.png


+++++++++++++

theres a 10% PREORDER DISCOUNT - DELIVER 14TH JANUARY - this will end soon, so pre-order fast !!!!


++++++++++++++
 
Last edited:
pt2

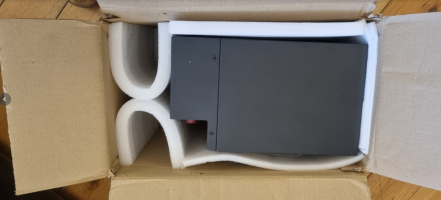
The battery has arrived . . . :mexican wave:


1642168995633.png

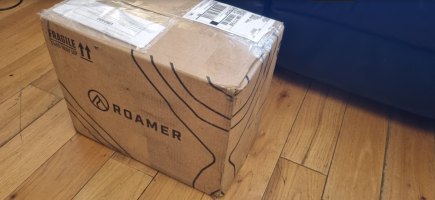
packaging wise its not as secure as the Renogy Lifepo4 - for a 20Kg battery.

but it arrived intact with no obvious damage . . . we all know what Gorillas the courier delivery drivers can be :whistle:


its packaged up ended on its side , , , ,

1642169116659.png

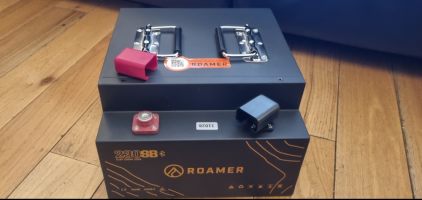
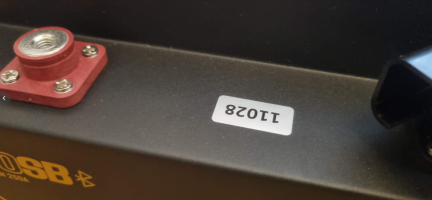
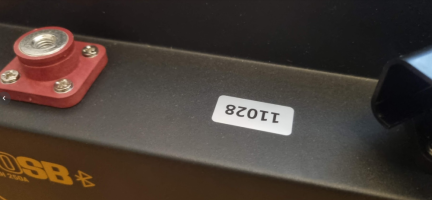
looks like we have Sno - 11028

its a beast . . . . .

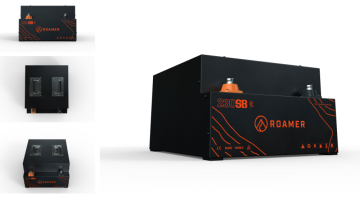
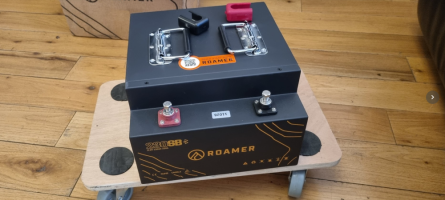
its badges as the ROAMER 230SB 12.8v 230AH 250A


1642169222948.png

...

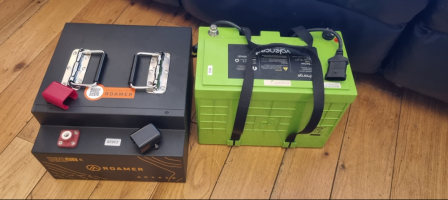
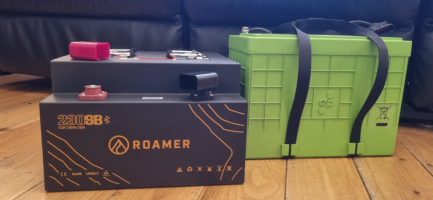
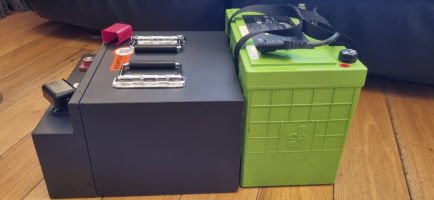
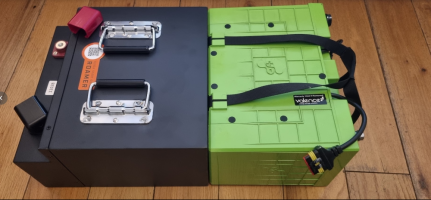
as an example of size, this is a 138Ah Valence for reference.

This ROAMER SB battery is designed to fit in the T6 SeatBase.


1642169332450.png

1642169343031.png

1642169359356.png
.


you can only fit one Valence battery under the T6 seat base as it fairly high . . . that means it needs to be fitted on its side.

this is the side by side veiw.


1642169419406.png


.

the terminals come with bolts and covers . .


1642169476747.png

.


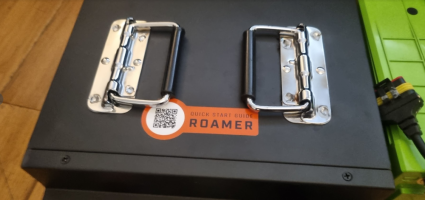
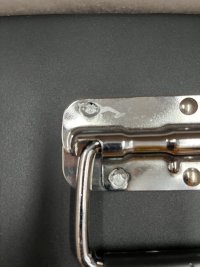
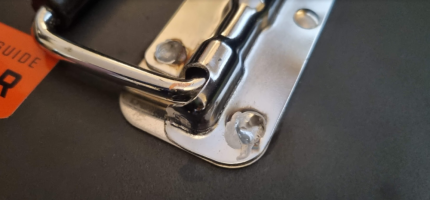
The Carry handles on top are rivet/laser welded on and are sprung loaded to return to the closed position.

ROAMER have mentioned that the next batch of this Gen2 version will have a revised case/handle arrangement as they were not happy with the quality control of the laser welds. - it will be interesting to see what they come up with.


1642169561643.png1642169736104.png

.

Included in the box was a nice little goody bag with Stickers, sweet, bottle opener . . . .

1642170031507.png


with a link to a quick start guide. - Quick Start Guide — Roamer Lithium Batteries

1642169822938.png

no instructions or spec sheet or QC or Test Certificate was included in the box . . .

But there is a QR code on the battery - which we will look at next.


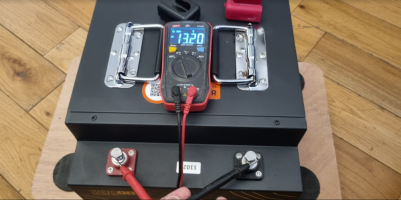
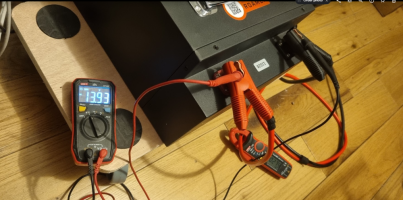
with the DVM we can see the battery is resting at 13.20V dc.


1642170182845.png


.

This is the QR code on the battery . . .

1642170246960.png


which will take you to . . .


1642170323225.png


.which details:

STEP 1​

CHOOSE A LOCATION

Your battery should be installed within the living area of your campervan where it is less exposed to extreme temperatures, moisture or vibration. If possible, install your battery, inverter and chargers in the same area to keep cable lengths to a minimum. Make sure you fix the battery securely using brackets or ratchet straps bolted to the chassis.

STEP 2​

CONNECT CABLES​

Our batteries use M8 bolts so cables should be finished with copper tube terminals. When connecting cables to the battery, connect the positive lead first then the negative. If installing multiple batteries, you should charge them individually to 100% before fitting and link cables MUST be exactly the same size. Make sure all connections are tight.

STEP 3​

SET UP CHARGERS​

Battery chargers should be configured with a LiFePO4 specific charge profile. Do not use lead acid only chargers or charge directly from the alternator. We recommend a bulk and absorption voltage of 14.2V (max allowed is 14.6V) and a float voltage of 13.5V (max 13.6V). Absorption time should be set to 2 hours and equalisation mode MUST be disabled.


STEP 4​

INSTALL BMS APP​

Our SMART batteries can be monitored in real time using the free Roamer BMS app for iPhone or Android available from the App Store or Play Store (COMING SOON).
During installation, make sure you allow Bluetooth and GPS connections when prompted. You can use the app to check state of charge, individual cell voltages, current and faults.


also . . .

1642170381670.png

and


1642170392831.png


.

Next Up is a mention of the APP . . .

1642170420131.png


.

1642169550515.png


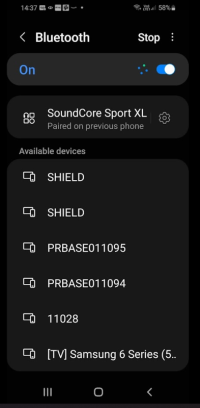
scanning BT on the phone shows the battery is broadcasting a "11028" name which seems to match the Sno of the battery (assumed SNo)


1642171212189.png

trying to connect we get the confirmation that we need the APP to connect to the battery.

END. 20-Lmt
 
Last edited:
pt3

The APP

The APP is called "ROAMER BMS" and is in final BETA testing before General release on the play store.

@RoamerBatteries were kind enough to allow me access to the BETA version of the APP and alowed me to show you the APP working.

The APP will be in the play store soon . .

and has NORMAL & DARK mode - it follows the Phones default setting.

my phone is set to DARK mode, so the screen shots below are with the APP in DARK mode.

the start screen is this with the ROAMER logo.


1642182145092.png


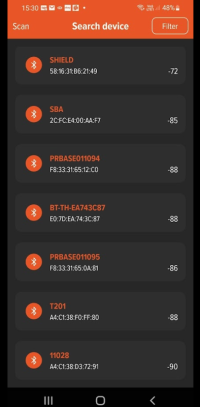
the next page starts an auto scan for BT devices in range.

you can see our battery "11028" is detected.


1642182182453.png

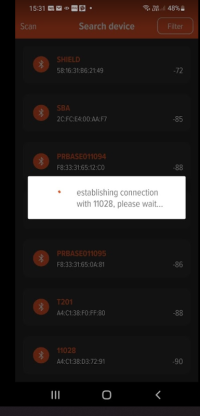
clicking on the 11028 starts the conection process to the battery.


1642182242002.png

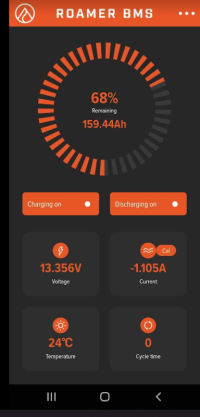
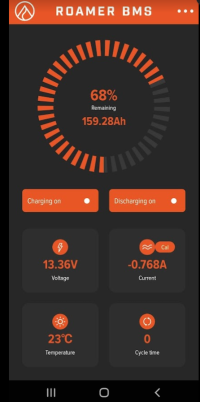
once connected we get the main page . .

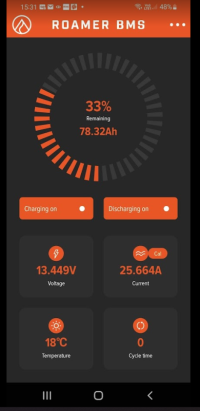
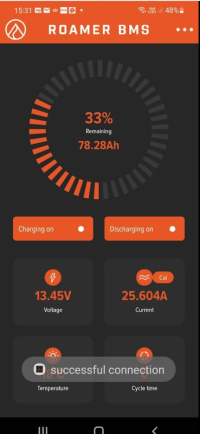
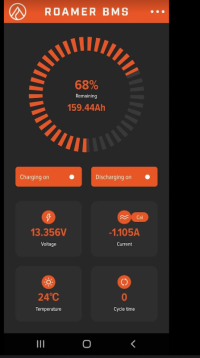
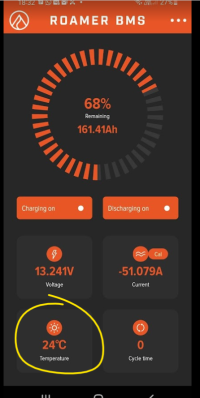
we can see the battery has been shipped with 33% SoC with a nice fuel gauge style meter that shows the Ah remaining.

below that we can see the Charge/Discharge ON blocks.

Below that we see the Voltage, Current, Temperature, and cycle life.


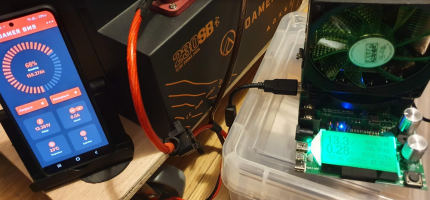
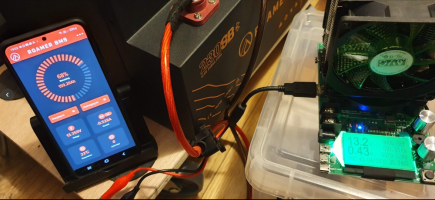
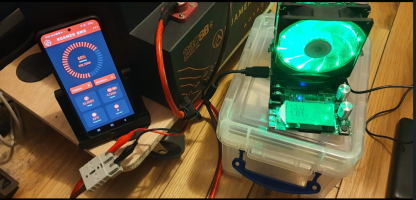
in the shot below you see the battery being charged - @ 25.66A

1642182271445.png

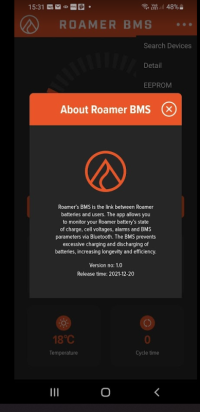
details of the APP are listed as.


1642182472848.png


.

testing wise, we have a 30A Victron IP22 charger - the biggest I've got to hand. - Battery Chargers - How I Did It -

1642182614581.png

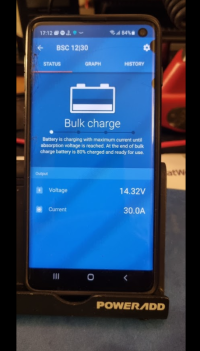
pushing 30A into the battery . .

1642182645058.png

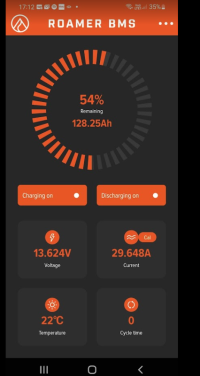
shown on the battery APP . . .

1642182677512.png

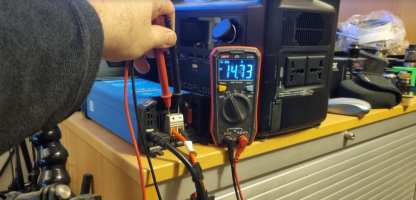
and confirmed with a clamp meter - Clamp Meters

1642182715957.png


at 30A its going to take a while to fully charge . . . . . . .


+++++

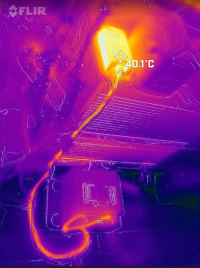
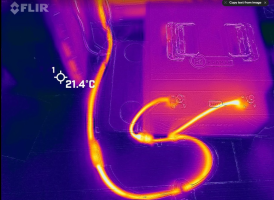
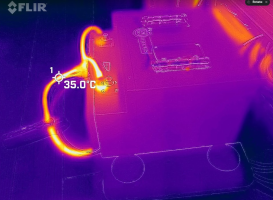
Looking at the thermal they are very good . .

no internal heat build up showing . .

you can see the Victron IP22 running flat out 30A - which is warm,

plus the heat generated in the cables as 30A flowing through them,

1642182865841.png1642182880594.png1642182894652.png


++++++++++

at 1530hrs we was at 33% SoC . .

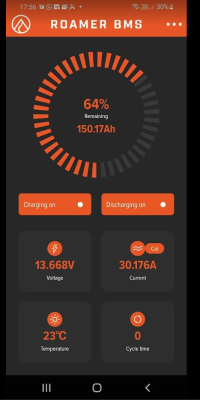
1642183063172.png

its now 1800hrs and we are at 64% SOC . . .

1642183098245.png


.


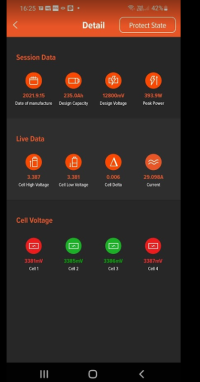
There is another details page that is in development . . . this will change in t he final release . .

so this is just a glimpse . .


it shows the:

session data,

Live data,

Cell Voltage,


1642183168175.png


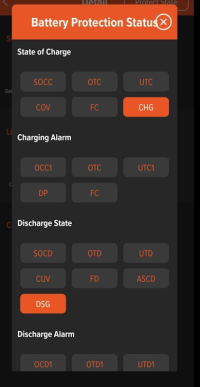
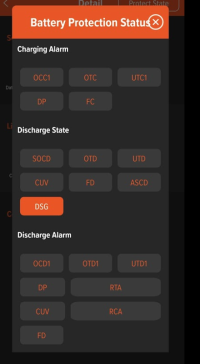
Battery Protection status display . . .

the SOCC, OTC, FC acronyms will be detailed in the final release paperwork

we can assume from the below that the CHG & DSG are indicating that CHARGE and DISCHARGE are allowed.

1642238627034.png

1642238612436.png


.


END
 
Last edited:
pt4

Discharge test . . .


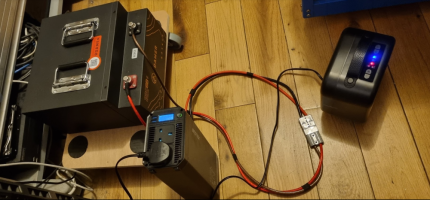
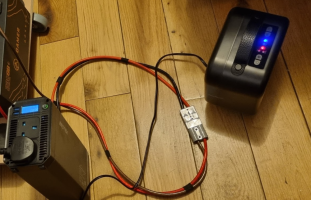
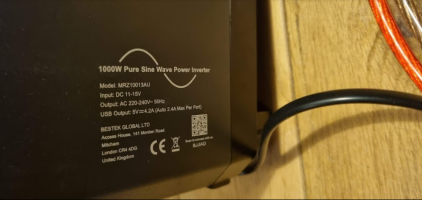
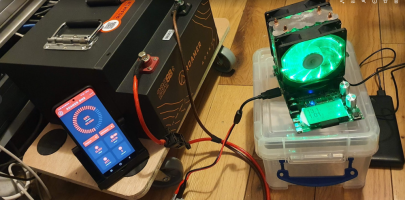
connecting up a Bestek 1000w inverter (new version is 1200w) - https://amzn.to/3GwHlou

and a 600w/1000w PCT heater - Space Heater, Electric Heater Fan Portable Ceramic Heater Safe with Tip-Over & Overheating Protection for Home Outdoor Workshops (Black) : Amazon.co.uk: Home & Kitchen

we can test the discharge readings . .

1642185924515.png


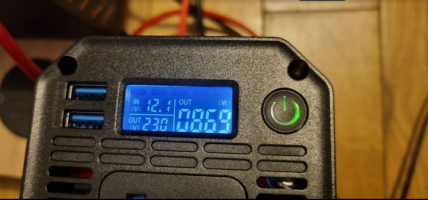
this is the screen of the inverter . . .


1642185954065.png


we have to be carful here as the cable and Anderson connector is only rated for 50A . . . . so we need to do a short controlled test.


turning on the inverter we see a 1.1A draw . .


that is displayed as -1.105A (Negative as we are now discharging)

1642186092369.png

...


switching on the fan heater on low . . . we expect 600W . . .

1642186161280.png

1642186144078.png

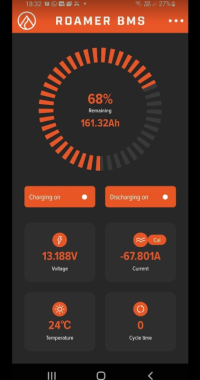
but we actually get 870W as the heater surges and starts to heat up,


we see -67.8A on the APP . .

1642186240528.png


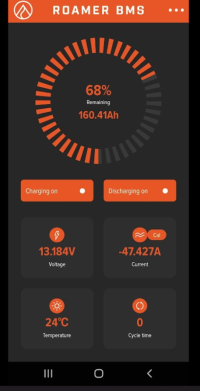
then the power draw starts to drop as the heater warms . . .

47A at this point . . . .

1642186310047.png

about 15 seconds is enough before the 50a cables start to heat up . . .


switching the heater OFF . . . . we drop back down to the 1.1A inverter tick over . . .


1642186384037.png


.

next up we look at the LOW current, and see in the battery will detect low power draws . . .

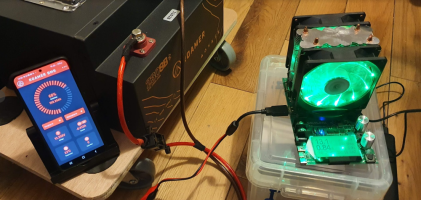
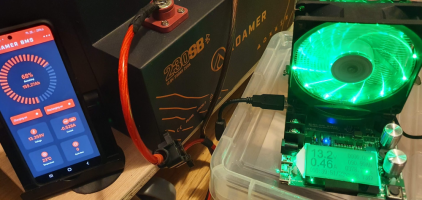
we start off by connecting up a 200W electronic adjustable load . . .

we can see that the battery and load tester are showing 1.0A . . . thats good.


1642187090428.png


now lets are dropping the current draw and see how low the BMS can detect the outgoing power . . . .


at 08A ( 800mA) - we are still good . . .


1642187193767.png


at 0.5A ( 500mA ) we are good . . .


1642187247062.png

but this seems to be the cutoff point. 0.5A / 500mA

with a 0.3A load the BMS is showing 0.0A going out.

1642187306828.png


raising the load . . . we pick up a reading again . .

around 0.5A / 500mA


1642187365342.png

....


taking the load above 1A we have no problems . . .

here we see 1.7A ( 1700mA)

1642187430786.png


and at this point 0.7A . . . .

1642187469416.png


so that all very good.

normally when you have a BMS that can deal with high current discharge, they can be a bit iffy at very low currents.

This battery is very good as it can deliver 250A at the top . . .


and still measure 0.5A at the bottom end .

++++++++++++++++


That has always been my issues with the Poweroad 100A not detecting <1A and switching off into sleep mode.

No issues here.


++++++++++++++++

1642187233007.png


.
 
Last edited:
pt5


Last edited:
I ordered one in December. Twiddling thumbs waiting for it to be delivered…..
 
Well, I've been waiting for my van so long I still have a boxed Roamer 200Ah Seatbase battery from these guys! Keeping fingers crossed that it won't be goosed by the time my van finally arrives!
 
Looks like they are on their way at long last..... Shame about the cosmetic issues not really what you expect when paying over 1k for a battery. At least they have been upfront about it all however. Hopefully the performance makes up for the unsightly handles.
 
Hmm. I didn't get the first batch - they didn't receive as many batteries in, so will get mine in February. Mildly frustrating having to wait even longer.
 
Hmm. I didn't get the first batch - they didn't receive as many batteries in, so will get mine in February. Mildly frustrating having to wait even longer.
Depending on how fussy you are it may be a good thing Donk.
Here's a photo of the cosmetic issue.....
This was sent from Roamer I don't actually have the battery yet.
image003.jpg
 
At least someone has theirs ! Mine is currently in situation unknown with UPS.... Apparently some 30 batterys shipped and 6 of them somewhere in UPS system undelivered.
 
Charging and Discharge tests added above . . . .
 
At least someone has theirs ! Mine is currently in situation unknown with UPS.... Apparently some 30 batterys shipped and 6 of them somewhere in UPS system undelivered.
i suppose from the serial number ours is #28 out of the #30 (11028)
 
i suppose from the serial number ours is #28 out of the #30 (11028)
Openly admit I'm very jealous right now, I had been hoping to finally start on my electrical system refresh after ordering this in early November.
UPS's fault more than Roamers although Iadmit after several bits now I've lost quite a bit of faith in Roamer before even having touched the product.

Its good to see that the BMS is accurate across the range and the app looks smart, hopefully they dont keep us every day guys waiting to long for it.

Are you planning on testing to cold protection cut out by any chance? It was one of the things in my head to try while the weather is currently as glorius as it is.
Dont be sad im sure UPS are on it. . . .

and you will have yours shortly.

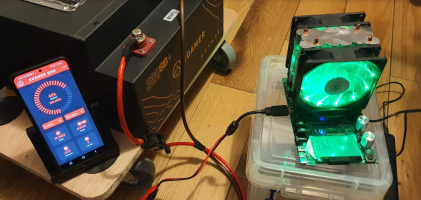
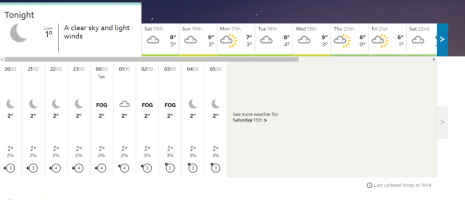
Sure ill test the LOW TEMP CHARGE CUT OFF . . .

but weather looking a bit warm over then next few days =[


1642264652260.png


.


1642190255429.png

.

so ill leave the SOC below 80% so we can test it when it gets colder.

its a good sign that the BMS reports the internal temp. . . .


1642190328421.png


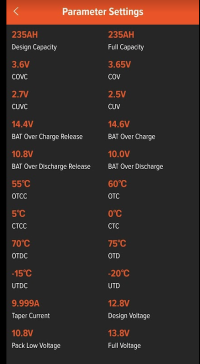
and that the internal BMS settings detail . . . various temp parameters . .


1642190471103.png


it looks like the "incoming charge" cold warning/reduction is at 5degc and cut off is at 0degc . . .

and assuming that . . .

-15c is discharge warning. and -20c is discharge cut off. . .


but as you say we need to test it to prove it. . . .


ill see what i can do with the weather . . .

:mexican wave:
 
Last edited:
I can sort of fix the weather but sadly nothing to test with .
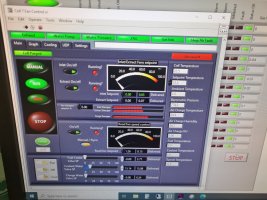
I concur its a bit warm at the moment as my Test cell indicates. I can do minus 20 but that will be overkill.

20220114_201712.jpg
 
@Dellmassive, can you change those bms parameters? Or read only.

Also I would be interested in 0,5C sustained load voltage sag.
They are adjustable via Engineer BMS Login only, so yes they are adjustable from the APP. . .but . . . . not intended for the end user ( for obvious reasons )

not sure if they will be read only in the final SW Version . .

but maybe adjustable with direct contact with ROAMER.

obviously messing with those BMS parameters could have very serious consequences . . . for the un trained.
 
Back
Top