You are using an out of date browser. It may not display this or other websites correctly.
You should upgrade or use an alternative browser.
You should upgrade or use an alternative browser.
My camper project
- Thread starter Neilson
- Start date
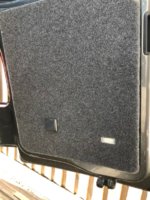
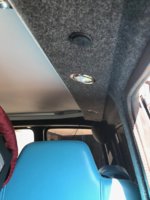
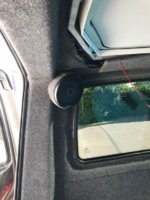
I wasn't happy with the finish around the windows as I had to line it once the windows were in. I was also thinking of fitting curtains but was never really happy with that so to sort both issue I bit the bullet and bought Vanshades. The wallet took a bit of a hit but I did get the unfinished ones and carpeted them myself so saved a few quid anyway. No photos of this though.
The Evo motion furniture also arrived so I started sorting that. Again no photos. It is very good furniture and fits together very well. However, a word of warning the instructions are next to useless. I spent a lot of time looking at photos on their website to try and work out what went well.
The Evo motion furniture also arrived so I started sorting that. Again no photos. It is very good furniture and fits together very well. However, a word of warning the instructions are next to useless. I spent a lot of time looking at photos on their website to try and work out what went well.
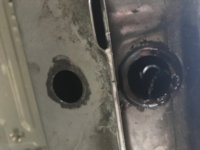
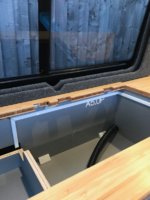
The next job which I though would be fairly easy was to fit the internal water tank. I'd seen @Fish mod with the level sender so that was first. Then measure, measure, measure and drill the holes for the pipes!!
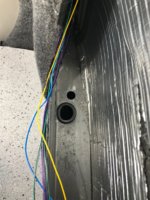
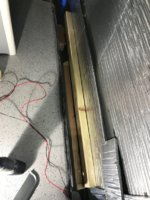
Batton glued to support it
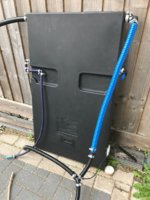
First attempt at the piping. Feed and fill from the top and feed and drain from the bottom
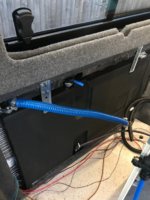
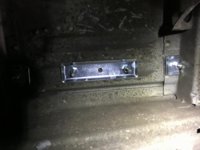
I found the pipe kept slipping off when the jubilees were clamped as the outlets kept crushing. These inserts from screwfix worked well
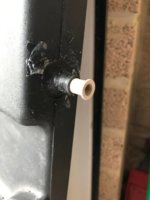
New fitting
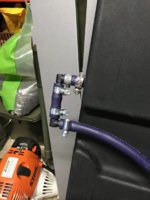

Batton glued to support it


First attempt at the piping. Feed and fill from the top and feed and drain from the bottom


I found the pipe kept slipping off when the jubilees were clamped as the outlets kept crushing. These inserts from screwfix worked well

New fitting

The next job which I though would be fairly easy was to fit the internal water tank. I'd seen @Fish mod with the level sender so that was first. Then measure, measure, measure and drill the holes for the pipes!!
Batten glued to support it.
First attempt at the piping. Feed and fill from the top and feed and drain from the bottom
I found the pipe kept slipping off when the jubilees were clamped as the outlets kept crushing. These inserts from screwfix worked well
New fitting.
Are these tanks potable? I ask as I’m keen on an internal that doesn’t take up valuable cupboard space.
And where are you planning on fitting your filler point?
chris_selby
New Member
also keen to know if these are potable, where you plan on putting the filler cap and where you bought the tank from?
I'm not sure whether I'll use it as drinking water. That was the plan but I'll see if it leaves a taste in the water or not. It's out of sunlight so I don't see why not.
I've put the filler cap in the back of the units and I'm running the pipe down the back of the units.
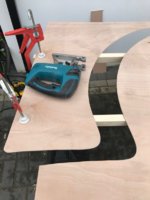
Filler points cut
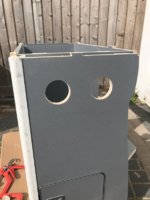
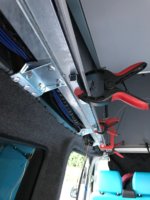
I had to mod the units to fit under the Vanshades pods
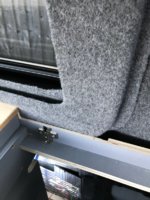
Fittings and pipework in
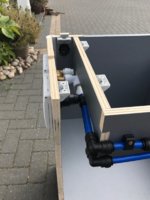
The other pipe is the shower point feed
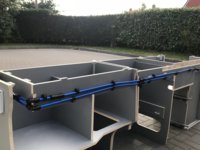
I've put the filler cap in the back of the units and I'm running the pipe down the back of the units.
Filler points cut

I had to mod the units to fit under the Vanshades pods


Fittings and pipework in

The other pipe is the shower point feed

Similar threads
- Replies
- 47
- Views
- 8K
- Replies
- 5
- Views
- 446
- Replies
- 22
- Views
- 6K


 Good work, no messing around