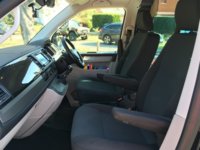
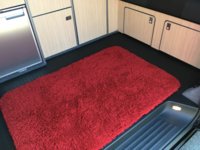
Self Build Lwb To Full 4 Birth Camper

Nick t6

Member
T6 Pro
Hi,

This is not the first conversion I have done, but it is the first time I have tried to capture the sequence of events photographically and then add some kind of description.

I do not claim to be a pro converter or any good at blogging, so please forgive any spelling or grammatical mistakes. I would just like to share some small amounts of knowledge that I have learnt throughout my experience.

My Background

39 year old, Absolute VW fanatic, that has grown up with spilt screens, bays, t4, t5 and now this is my second t6. I would estimate that I have converted around 10 day vans and 20 full blown 4 birth campers. The only part that I have not been willing to do myself is the pop top fitment. If I had a big enough garage, I would be tempted to give it a go.....

My trade is a marine electrician and I have worked for a boat builders on the south coast for the past 17 years.

Base Van

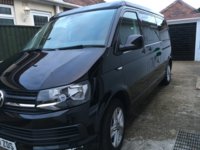
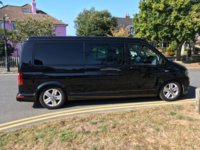
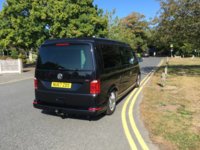
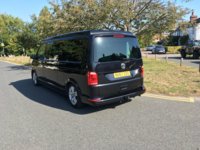
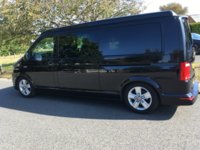
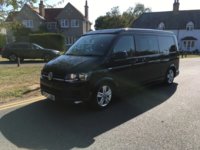
2018 black lwb kombi
204 bhp twin turbo
Manual gearbox
Highline model
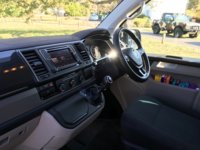
Extras include tailgate with glass, single captains seats, Nav package, app connect

Start of Conversion.

Roof has already been fitted by Skyline Roofs, at their HQ in Weston Super Mare. I was very impressed with their work and customer service. They also cut out my interior lighting holes and ran the cables.

Day 1 (Friday evening after work)

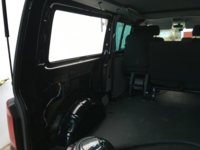
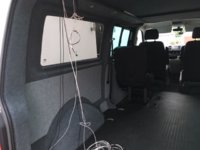
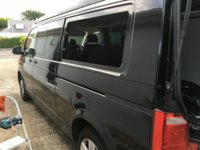
Cut out passenger rear window.
Fit passenger rear window
Fit drivers side rear window, but no cut out due to internal unit fitment. I only fit this piece of glass to make the van look symmetrical from the outside.

To cut the rear window I used a 60mm hole saw in each corner of the window and the used a jigsaw to join up the holes. If you are going to attempt this job yourself, you must remember to mask up everything and then wash the van fully within 24-48hours after fitment. This is too remove all the small iron fillings that come from the jigsaw and hole saw cut outs. If left, these will stick to your paint work and start to rust.
Remember to file and paint all bare edges of cut out.

37EB59B1-F2D5-4948-B644-9725E82CE911.jpeg
.
A2477875-0B95-4161-8093-029644F827CC.jpeg

9FDEF0FD-B2EF-4378-900F-7C97590241F3.jpeg


If you would like anymore info then please shout.
 
Day 2

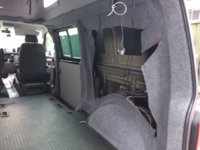
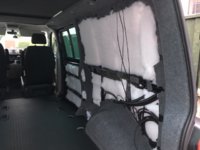
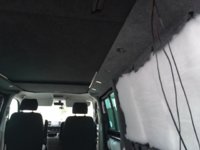
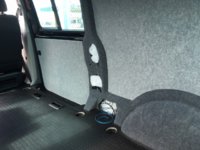
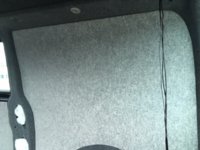
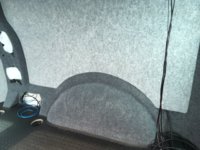
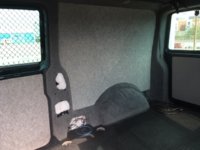
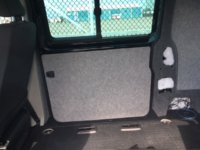
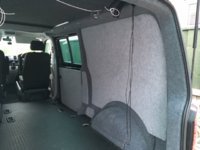
Lining of metal work.

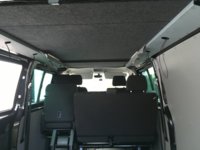
I find this a really satisfying part of the conversion as it changes the van from a noisy commercial vehicle to cosy home in very short period of time. It also make the ride so much quieter.

I have always used 4 way stretchy carpet from mega van matts and a tin of 5litre high temperature glue, that you brush on. This saves making a mess everywhere if trying to use the spray can adhesives.

A top tip is to cut all of your carpet to rough sizes first and make sure you have a hairdryer at the ready. The hairdryer helps make the carpet even more flexible and enables you to get a nice smooth, wrinkle free finish. The hardest part is the wheel arches. If you can cover these wrinkle free, then you can cover anything. It is not that hard, so please don’t let me put you off.

Ensure you do your prep before you start glueing.

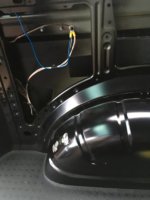
This includes grinding off the jack mount on the passenger wheel arch. Remember to paint the bare metal afterwards.

E3D39EEA-6C5F-4886-85C5-7AD353D781A8.jpeg

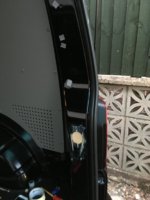
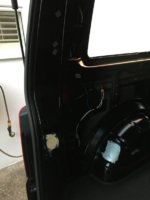
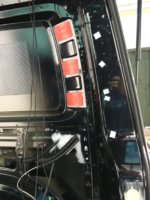
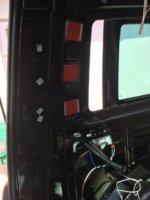
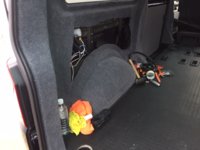
Around the rear ring frame of the tailgate, there are various holes that you need to fill or tape over. If you do not do this, your carpet lining will start to go black after time, due to road film tracking up this area. I learnt this the hard way.......

2389FB2C-3E22-400F-9B67-E65B738B8247.jpeg

15FCBEEA-6132-4807-ADD6-25FE576AF5F7.jpeg

F223347E-C617-4BE8-8C28-9DD6187EA29D.jpeg

DD38A571-1B50-42B9-86F3-D3DB4FFE61F8.jpeg

Now ready for carpeting.

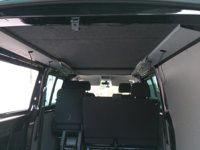
I usually start at the top and work my way down.

5193EE5A-A851-4C73-B664-0B28166D1D60.jpeg

0FCCB259-36FE-4C72-BB54-A40739FEE6FB.jpeg

CEC23F76-B956-4220-ABB0-9806F3A57225.jpeg

The white spirit is for removing any excess glue that gets on the carpet. This is an essential for doing this job, as you probably will spill glue somewhere.

953B8488-4C5A-4F54-BD32-1C5CA891B266.jpeg
 
Day 3

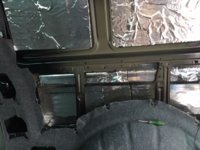
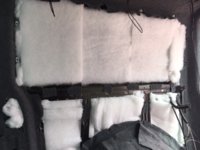
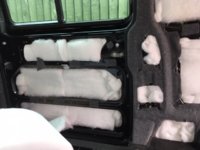
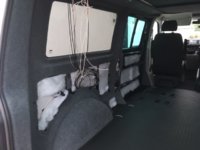
Sound deadening and insulation.

For this I used 3 x 8m rolls of recycled plastic, loft insulation from ebay. They used to sell this in B&Q, but they have pulled it from there stock recently.
I have also used a 2mm thick sound deadening from ebay. This makes the van quieter and also helps prevent trolley dents. Also keeps the sound inside the van if you have a large sound system going in the van and stops all the panels vibrating.

The sound deadening is sticky back and I apply this first to the paneling that is single skinned.

IMG_0073.JPG

IMG_0074.JPG

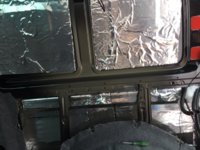
I then add some glue onto the silver side of the sound deadening and then apply the recycled plastic insulation.

IMG_0075.JPG

IMG_0077.JPG

IMG_0079.JPG

IMG_0078.JPG

IMG_0081.JPG
 
Day 4

Installing the panels.

Before I started this job, I have already run all of my electrical cabling and mapped out where all of the appliances and switches are going.
This is a critical stage of the build, so take your time and make sure you have all cables in the right place or you will end up taking most of your ply panels back off.

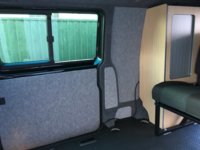
For the panels I used 4mm ply from Sydenhams and hidden clips from Megavan Matts. I had the original VW grey panels to use as my templates.

Megavan Matts 4 way stretchy carpet.
Spray adhesive for the panels as you can cover them outside without getting any over spray on the van.

IMG_0087.JPG

IMG_0089.JPG

IMG_0090.JPG

IMG_0091.JPG

IMG_0093.JPG

IMG_0101.JPG

IMG_0102.JPG

Now the van feels totally different. Sooo much quieter on the road.
 
Day 5

Installing the RIB Bed and strengthening beam.

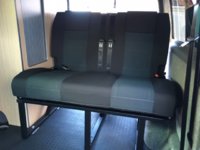
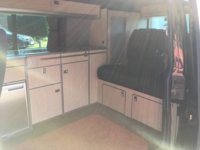
The Rib bed is a fabulous bit of kit. Even though it has a steep price tag, you will defiantly see a difference in quality compared to a cheaper alternative. The bed has a very comfy laid back seating position, where as some make you feel like you fitting to stay in your seat. There is no moving parts or springs rattling around when you are driving.
The only negative that I find with the rib bed is that the sleeping side of it is very hard. I have brought a purpose built mattress topper for the rib bed. This is made of 2" memory foam and comes from eBay at circa £120.

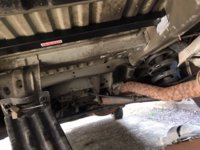
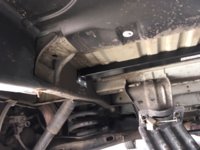
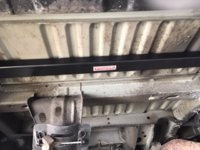
The first thing I do when fitting the rib bed is get it into position internally and then mark the holes at the rear for drilling into the strengthening cross member. I brought the cross member/fitting kit from Vankraft for £49. For the fixing at the front of the bed I used 8mm thick alloy plates as spreader plates. Roughly 80mm square. Remeber to paint all holes drilled through the floor.
To enable the rib bed to fit hard over to the passenger side you may have to manipulate the wheel arch with a rubber mallet. (slightly). This will not be visible externally or internally once fitted, nut just gives you an extra 40-50mm of space for fitting you units.

IMG_0103.JPG

IMG_0104.JPG

IMG_0105.JPG

I missed taking a photo of just the bed fitting, so I have only got photos of the next step which was fitting of the units.

IMG_0108.JPG
 
Day 7 and 8

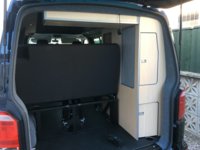
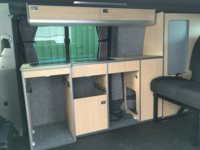
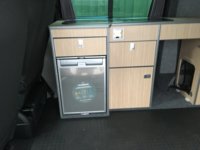
I brought my units from Evo Motion Design and collected them from their factory in Wareham, Dorset. This was handy as they are local to me and I was able to look round their showroom and order everything on the spot.

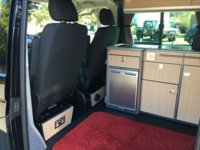
The units in my previous t6 were built by myself using the same vohringer ply that Evo used. I was reluctant to use a flat packed kit as I wouldn’t be able to customise it to suit my families requirements and I was leaving to travel through Europe three weeks after starting the conversion. Whilst I was at Evo I ordered my fridge, cooker, sink and all plumbing parts.

The kit is actually amazing and cleverly designed. It did take a good day and half to build and banging on all the edging does get a bit monotonous. The instructions are poor but you can figure it out relatively easily.

To get the base unit and the top box locker above the cooker to fit a twin sliding door model was not easy. I must have lifted it in and out of the van 10-20 times.

Another extra that I added was a base to fit all the unit too. I used this as a packer to lift the units up 15mm so that when the doors open you do not have to keep removing your rug.

I would definitely recommended these units, especially if you don’t have a twin slider.

95FFDCD9-CD0A-4D40-B9AB-9C700CB4160F.jpeg

684C63ED-D1F5-4A3D-9E7B-07A69D4416FD.jpeg

I also fitted my curtains prior to final fitting the units, just for ease of access.

I have used VanX curtains because they are good quality and keep the light out. They are quite time consuming to install. I would estimate about an hour per window.
0358D6DC-E1A4-4A39-973F-07E5A1CC2997.jpeg

D6A559BD-B0AC-45BA-8E99-B86D12FE60BD.jpeg
 
Day 9

Aligning doors, drawers and catches and just titivating all the carpentry side of the conversion.

Fitting fridge, light switch, hob and sink.

EA2D9A1C-1248-4EFE-9211-C5A0AE821667.jpeg

B289F942-070C-42B2-AE22-64CC18F6F1F2.jpeg

E8D9037E-DD09-403B-A868-F0C91ACBED21.jpeg

D381B3D0-FB70-49FC-B6F4-FA8E1D0123E3.jpeg

Day 10

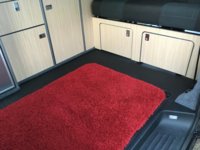
Clean through the living area and cover kombi seat brackets with a rug.

I have kept the single kombi seat brackets in as it gives me the option to carry another person if needs be.

I have chosen to leave the factory flooring in place as it is a good noise insulator, it is easy to clean and nice and soft on your knees, when you reach into the fridge to get a nice cold one.

91AE7168-4B09-4243-8150-F626AAC71358.jpeg

71CFE4BF-C687-4ED9-94D1-1DA1D6B0DF09.jpeg

AD95A5C7-B298-4733-A322-E6F5FC7658B6.jpeg
 
Day 11 and 12

Final electrical connections and then power up and test all appliances.

Fit gas and water connections and drainage.

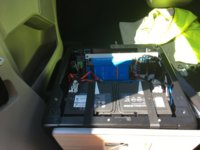
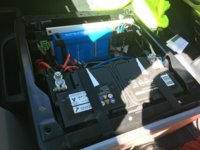
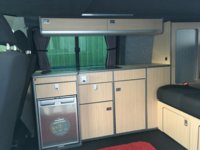
I have tried to accommodate most of my electrical power system under the passenger seat and then leave all my cupboard space for camping equipment. Under the drivers seat will be the audio amps and a hot air supply from the Eberspacher heater.
574F5235-DA09-42C5-82F1-91D5A9247722.jpeg

1D590177-3406-4823-A101-E9D7293DA4A7.jpeg
 
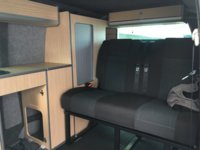
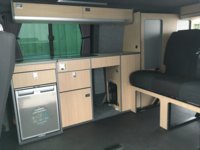
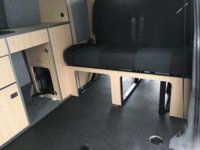
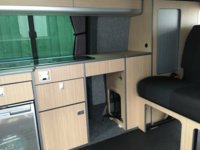
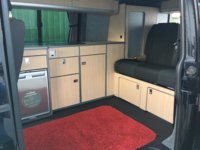
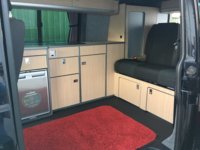
BC86B701-0C48-4D9D-84B2-7235AA258136.jpeg After 2 and half weeks, this is where I had got to with my conversion.

Now off for a tour around France, Spain, Lake Geneva and Germany. My trip lasted three weeks and the van performed extremely well.


F555688B-523A-4E9A-A115-A99D4A8DA41E.jpeg

AFB24859-0204-4E16-BF2E-351D61CBED9A.jpeg

6BB3DA70-90C8-4D5C-83AE-54EBC8EAEBB7.jpeg

I have been back a couple of months now and have been doing various other bits to the van like fitting the new Eberspacher S2 heater with the new EasyStart pro controller.

I have also fitted the stance ultra coliovers.

I am going to fit my competition JL audio sound system, Maxton front splitter, rear spoiler and maybe a PS4 or Xbox.

If anyone would like any more info or even some help or advice on their own van, I am more than happy to help. I live in Christchurch on the south coast if you need a hand.

Thanks for reading

Nick
 
Thanks very much for your kind comments.

I have taken some pictures today after a clean.

Stance ultra coliovers are on. There is still lots of adjustment left to take it lower on both the front and the rear.

I am waiting for my new banded steels to arrive in two weeks time and I will add some more pics.

E3115015-EEAF-4D87-8788-DD39E8028605.jpeg

B5463106-E08E-4242-B4CB-F06492C7528A.jpeg

1240ECFD-9CBC-468F-995C-16FB20639A75.jpeg

C0B3386D-3B98-47C9-B2EA-E780E10AA047.jpeg

69194771-FD80-4C0B-AFE1-4799826B8E3C.jpeg

A78F36B1-76E8-4539-9BF8-72EFE6A83F53.jpeg

7BFBA6E0-FA0F-4B63-972E-87255E27E4B9.jpeg

F0A75479-03EC-43E5-9591-6FF58C3528D9.jpeg

D48364B8-5531-420A-927D-C49BB4BAC408.jpeg

F5246ADB-8D90-4149-804A-550E98C7ABA2.jpeg
 
Thanks very much for your kind comments.

I have taken some pictures today after a clean.

Stance ultra coliovers are on. There is still lots of adjustment left to take it lower on both the front and the rear.

I am waiting for my new banded steels to arrive in two weeks time and I will add some more pics.

View attachment 51207

View attachment 51208

View attachment 51209

View attachment 51210

View attachment 51211

View attachment 51212

View attachment 51213

View attachment 51214

View attachment 51215

View attachment 51216
Sweet tooth?
 
Great blog really enjoyed reading it as a newbie to all this. The van looks great, really professional looking job. Thanks for sharing.
 
Thanks for taking the trouble to post this up, it looks a really top job and must give you so much satisfaction to know you have done it yourself.
 
Great write up. Just wondering, with the hidden clips in the panels how did you find the best way to fit them?
 
Thanks very much.

Drill off your 10mm holes using the original VW panels as templates, then fit the hidden panel clips into your new 4mm panels ( I just twisted them in by hand ), then I apply the glue and fit my linings.

Let me know if I have not answered your question fully.
 
Thanks very much.

Drill off your 10mm holes using the original VW panels as templates, then fit the hidden panel clips into your new 4mm panels ( I just twisted them in by hand ), then I apply the glue and fit my linings.

Let me know if I have not answered your question fully.


Perfect, thankyou
 
Back
Top