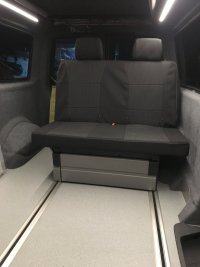
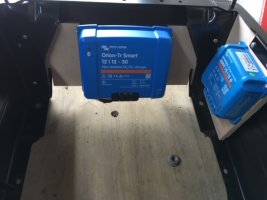
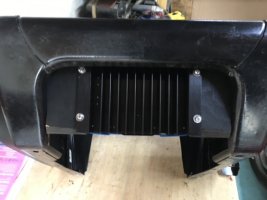
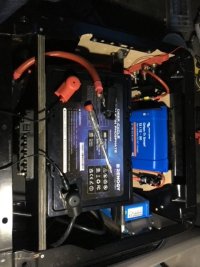
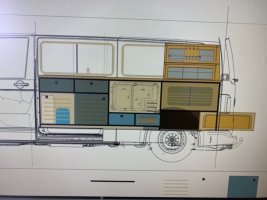
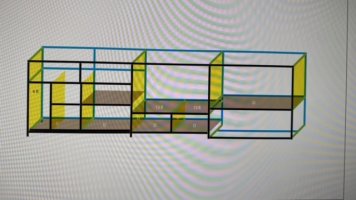
Well I thought it was about time I put a build log together after gaining so much info on here I thought I would share my experiences......
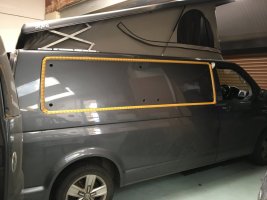
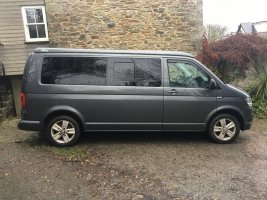
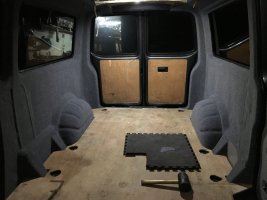
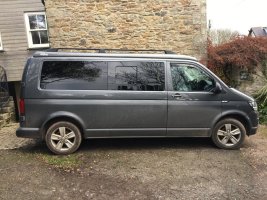
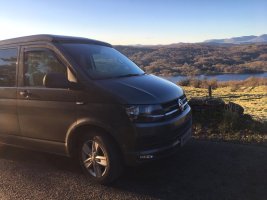
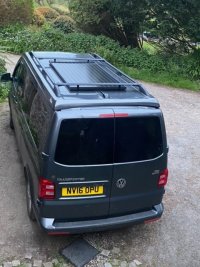
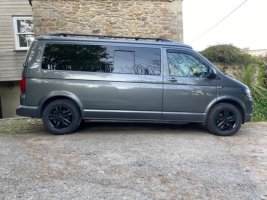
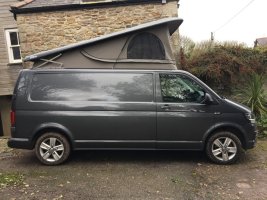
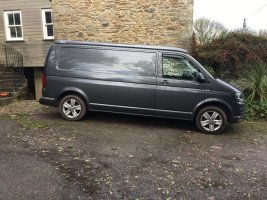
So here is my 2016 LWB 4motion 140 in Indium Grey as I brought it from a lovely guy who was a carpenter in Inverness:
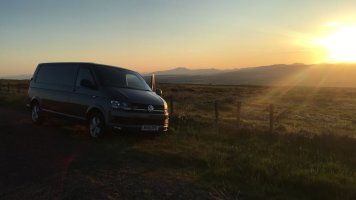
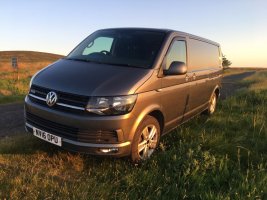
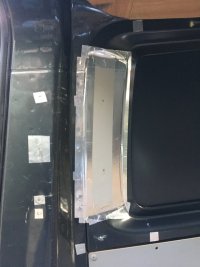
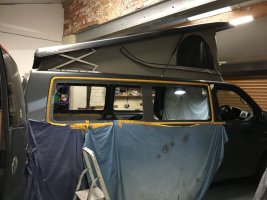
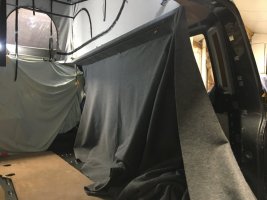
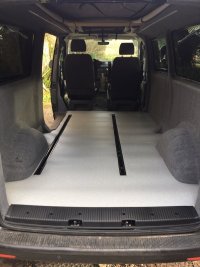
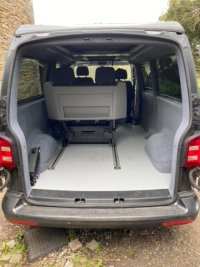
I wont bore you with the usual strip out and insulation pics so after removing the bulkhead a good clean, sound deadning, thermal liner, insulation, it was onto the rear windows..
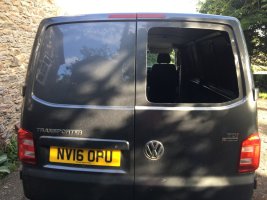
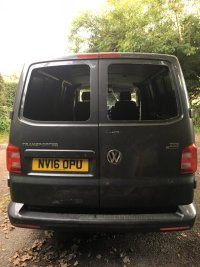
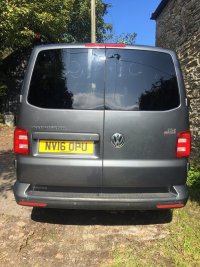
I wanted to fit the pop top myself but only one company would supply me the kit - Streamline - and this worked out just as expensive as getting one fitted.
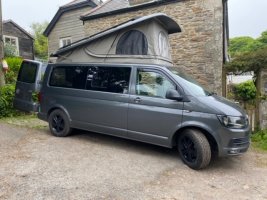
After much deliberation I decided to go with Skyline pop tops - the standard version as I think it looks better than the Aurora model. Moon rock canvass.
Got Simon from Sunset Campers Vw Camper Hire Cornwall | Skyline Poptops | Sunset Campers Lanivet near Wadebridge in Cornwall to fit it and I must say he did a fantastic job and i'm very picky!
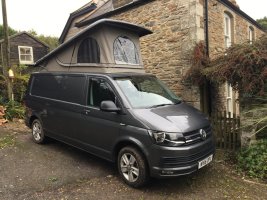
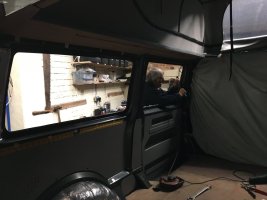
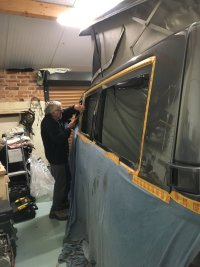
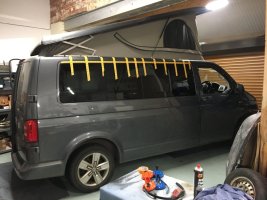
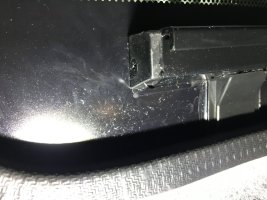
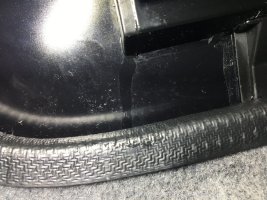
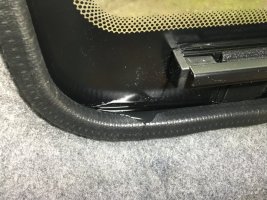
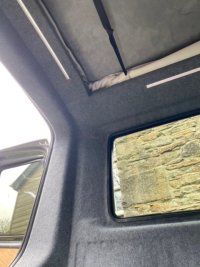
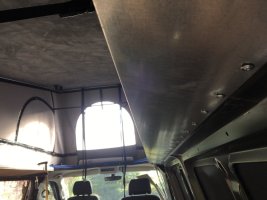
Next job was to install a 6mm ply frame to take the LED light strips before carpeting and side windows going in, covering the screw heads in the pop top framework at the same time:
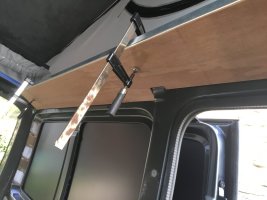
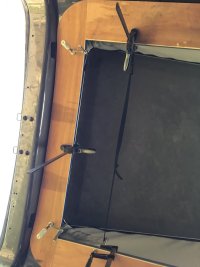
This took a long time to scribe accurately into the van profile. I didn't get a pic but I then cut slots for the aluminium channels to sit in once carpeted.
I have kept some templates if anyone needs some.
Thanks to
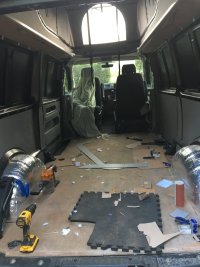
So here is my 2016 LWB 4motion 140 in Indium Grey as I brought it from a lovely guy who was a carpenter in Inverness:


I wont bore you with the usual strip out and insulation pics so after removing the bulkhead a good clean, sound deadning, thermal liner, insulation, it was onto the rear windows..


I wanted to fit the pop top myself but only one company would supply me the kit - Streamline - and this worked out just as expensive as getting one fitted.
After much deliberation I decided to go with Skyline pop tops - the standard version as I think it looks better than the Aurora model. Moon rock canvass.
Got Simon from Sunset Campers Vw Camper Hire Cornwall | Skyline Poptops | Sunset Campers Lanivet near Wadebridge in Cornwall to fit it and I must say he did a fantastic job and i'm very picky!


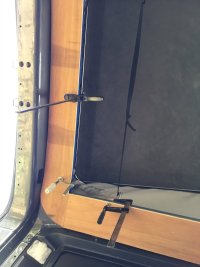
Next job was to install a 6mm ply frame to take the LED light strips before carpeting and side windows going in, covering the screw heads in the pop top framework at the same time:


This took a long time to scribe accurately into the van profile. I didn't get a pic but I then cut slots for the aluminium channels to sit in once carpeted.
I have kept some templates if anyone needs some.
Thanks to
Deaky
for the inspiration:

Deaky’s Kombi to Camper journey
Could you try the Ring RSCDC30? Here are the basic specs: Yes the Ring will work, it can cope with a solar input of 50volts. The only problem is it's mahoosive and I don't think I have space for it under the seat. :(
 www.t6forum.com

Deaky’s Kombi to Camper journey
Could you try the Ring RSCDC30? Here are the basic specs: Yes the Ring will work, it can cope with a solar input of 50volts. The only problem is it's mahoosive and I don't think I have space for it under the seat. :(


Last edited:

