Deaky’s Kombi to Camper journey

Lovely work Deaky. Will the new ice system be working on Sunday ? I would love to hear it.

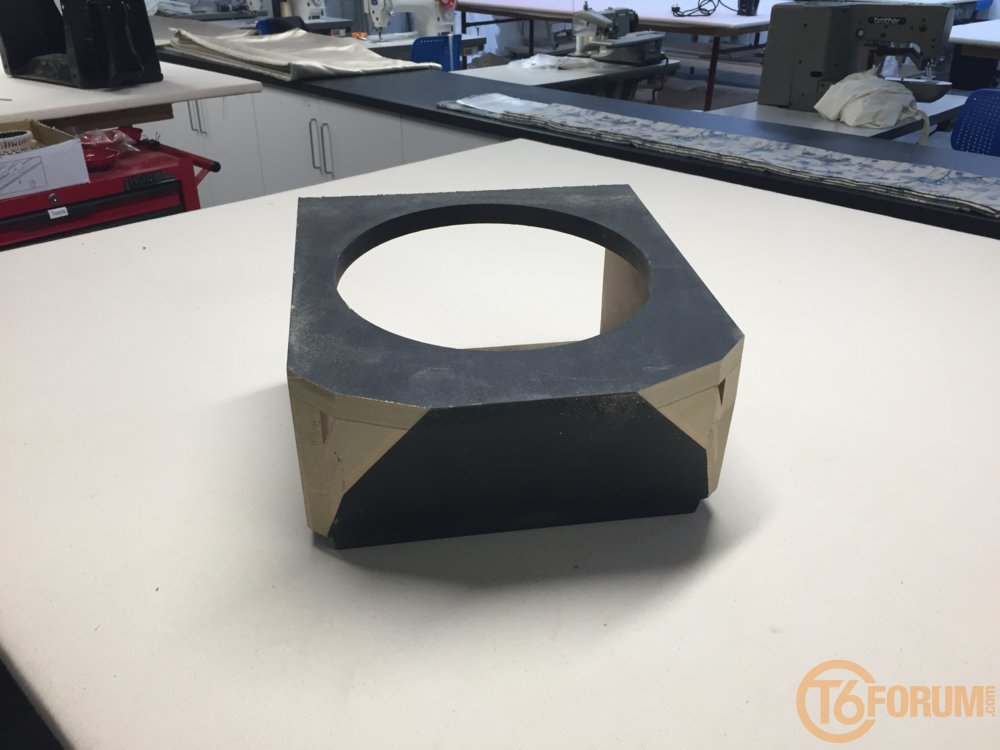
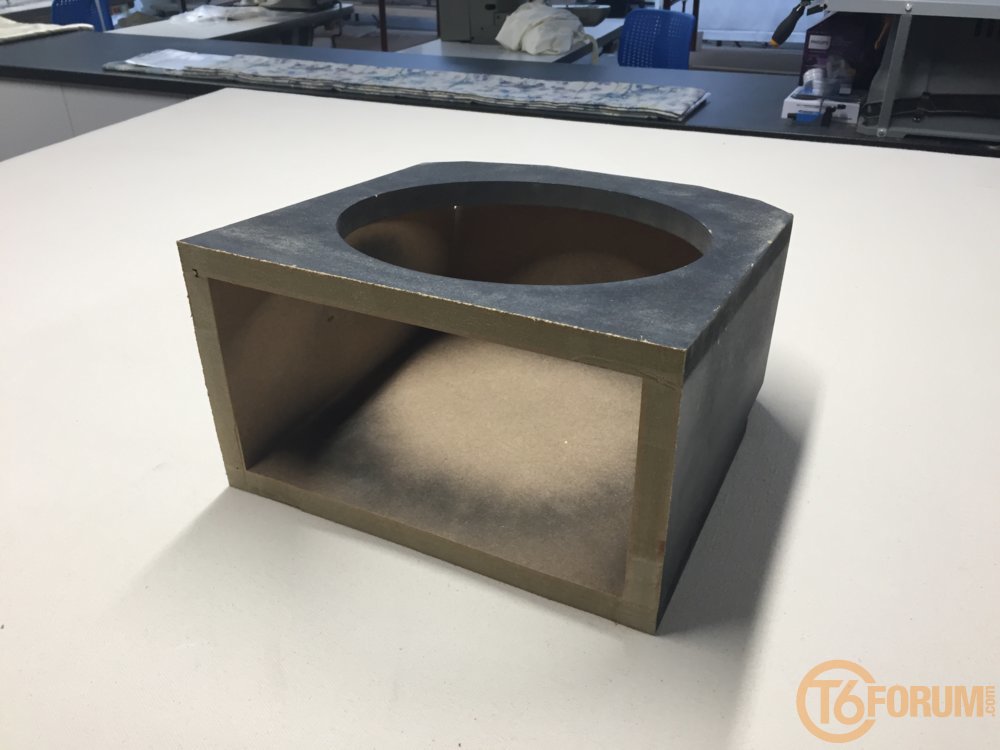
Hopefully, depends how it goes fettling the sub box tomorrow :thumbsup:
 
So today I wanted to fit my sub box and amp under the drivers seat
This meant seriously altering the box. First I shaved off the corners to allow the box to fit as far forward in the seat base as possible
The cut opened a hole in the box, but the piece I cut off was exactly the correct shape to glue inside the box and fill the hole :geek:

Next I sat the box in the seat base and worked out how much I had to cut off i shaved down the old back and glued it back in place. Making sure it was sealed all round. Then I screwed the amp onto the back of the box and tried it in the seat base Result... the controls for the amp were completely accessible, ideal for fettling :cry: 
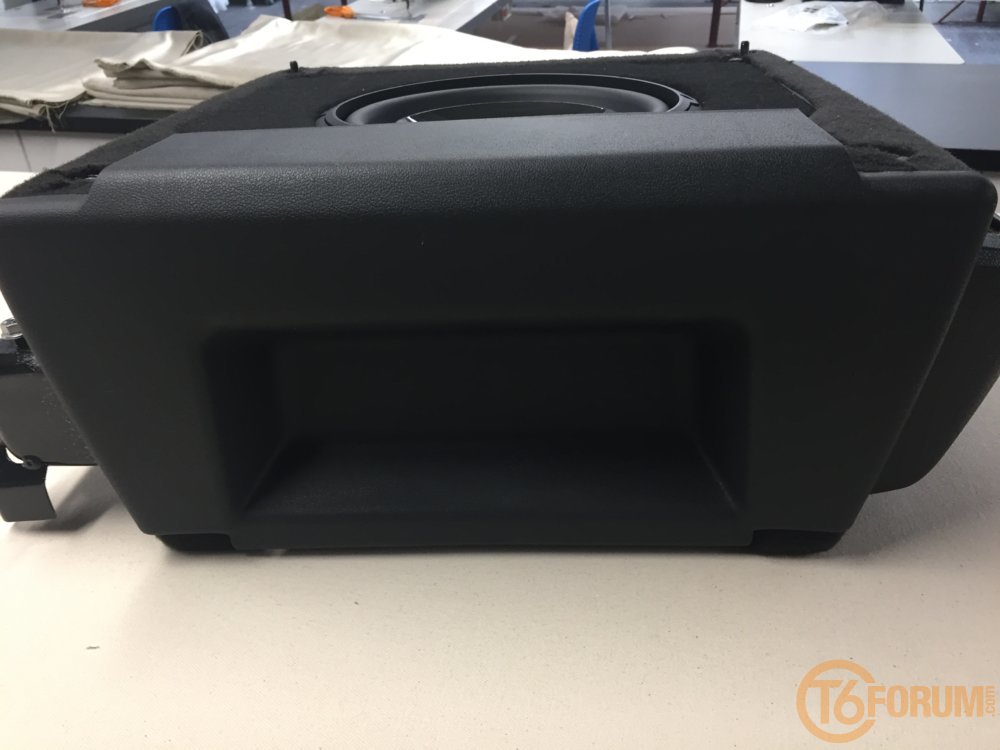
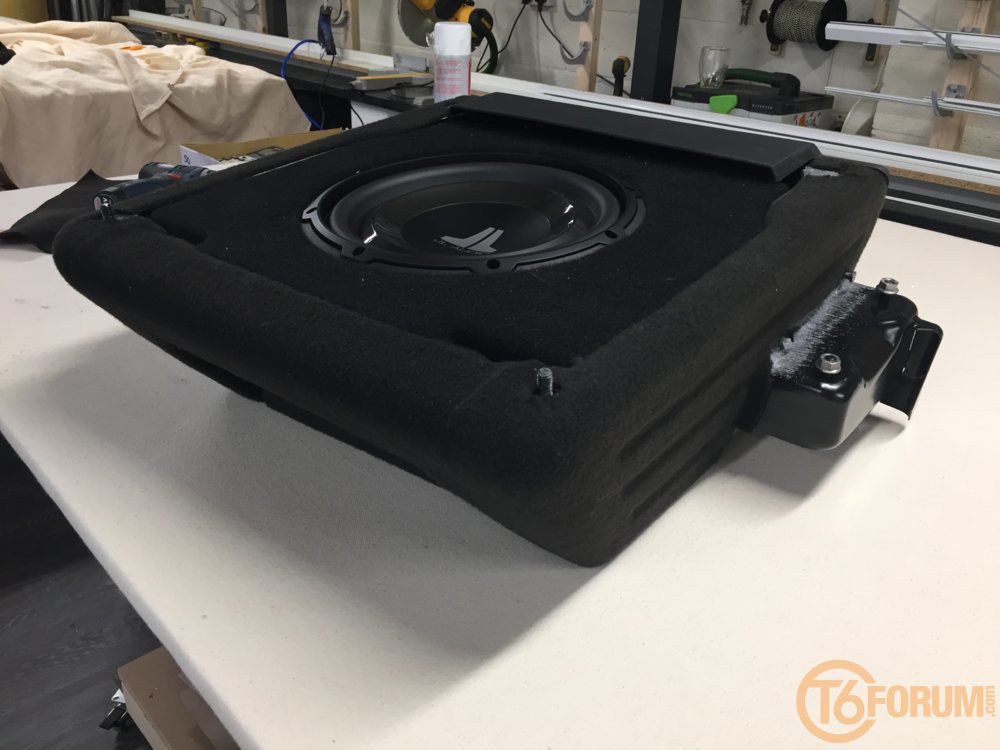
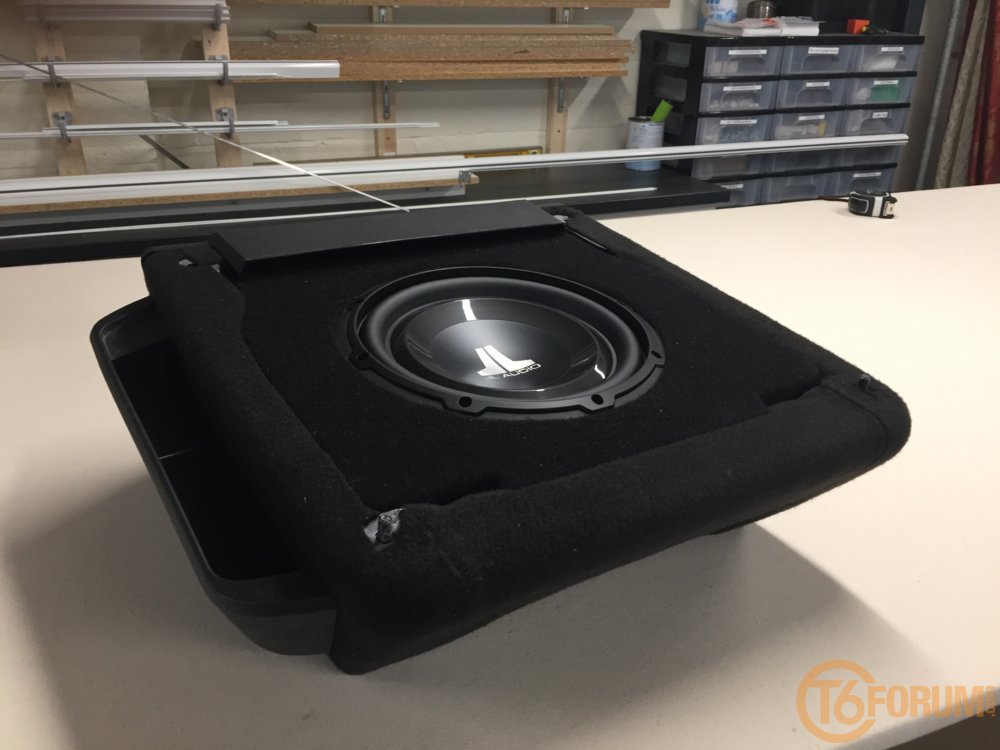
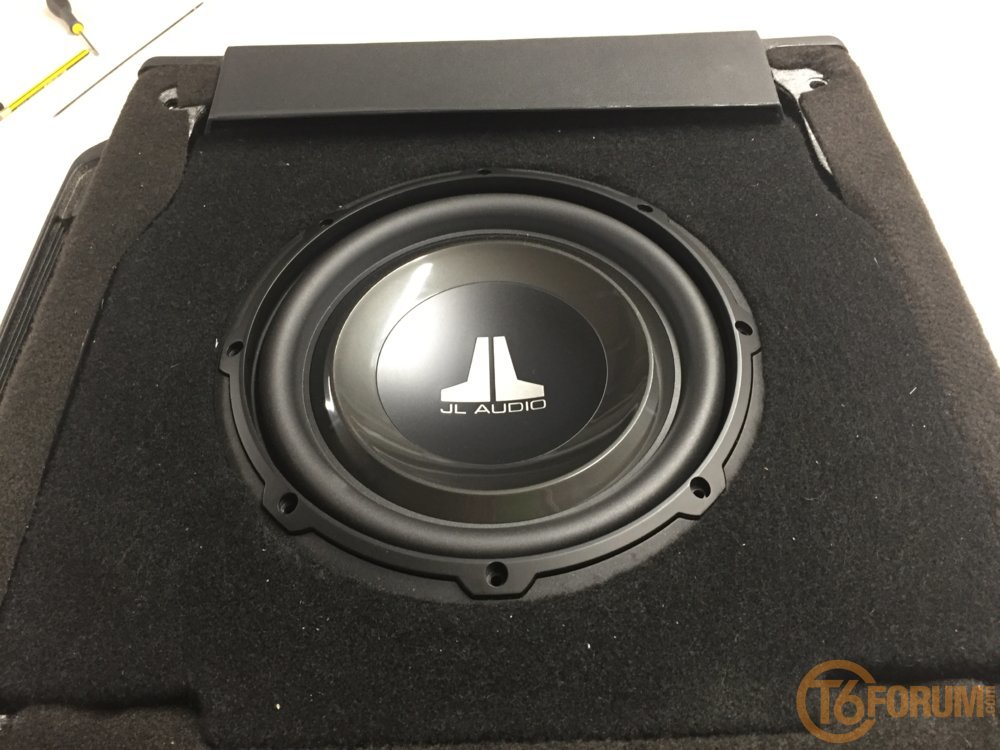
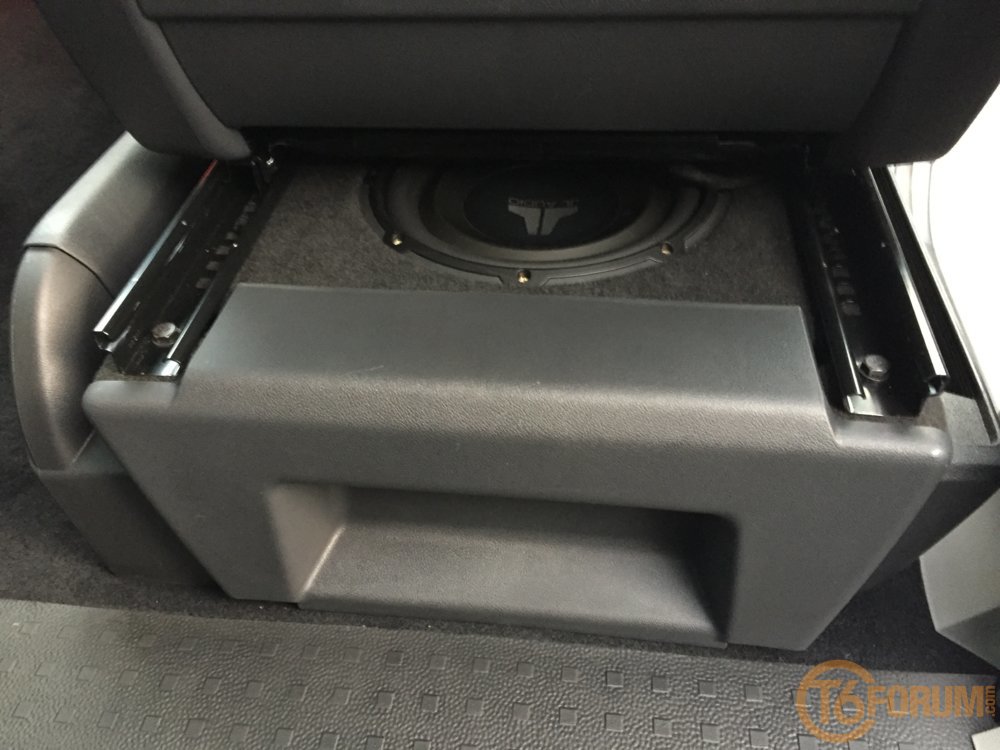
after peeling back the carpet and trimming the top board I carpeted the seat base and fitted the sub in.
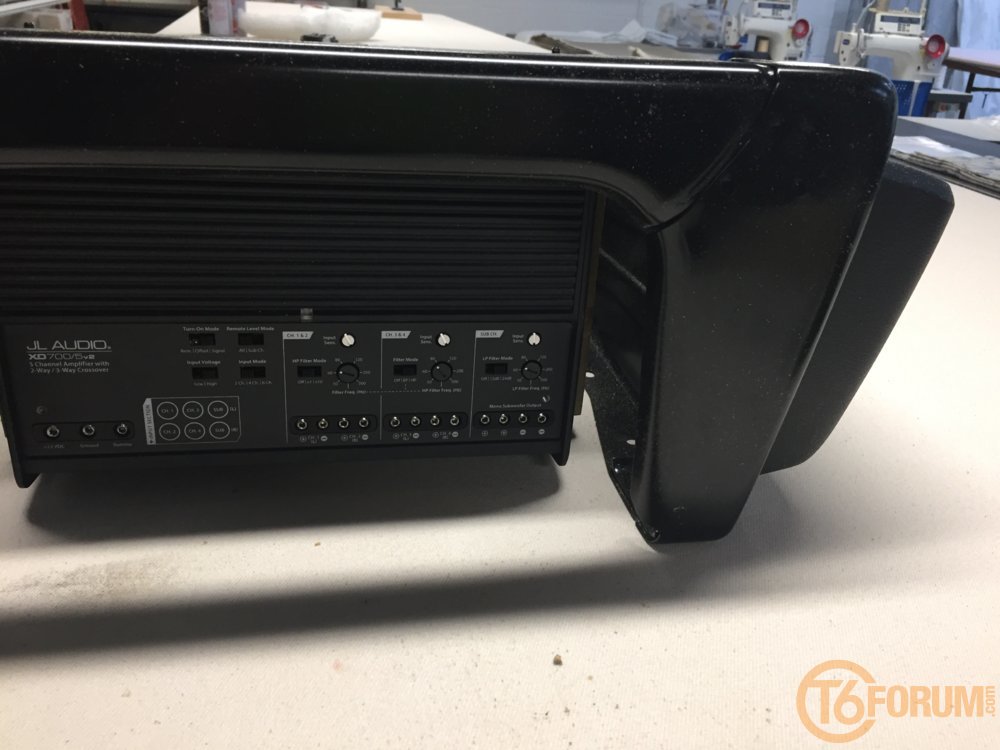
 
I fitted a rubber floor covering today that’s fixed ad sealed around the edges to some melamine board. On the tailgate end I added an extra flap to cover the bumper. The bike rack is a Thule roof rack mount that’s screwed to a couple of MDF pieces. Eventually, when my caravelle seat is in I’ll make the rack more of a permanent feature.

AE16346B-13B7-493E-9002-0C0DDAC43691.jpeg

70370B2A-D6AF-4A3E-ACE3-C66789275E3A.jpeg
 
Today I’ve fitted a few Calli bits supplied by our resident expert parts supplier @Pauly

First off was the sliding door cards. There’s a few metal clips that have to be inserted around the window aperture, if you have factory sliding windows, remove the plastic cover from the top and bottom. You’ll see that bottom row of clips are slightly impeded by the bottom rail of the window.

64507415-658F-47DE-AF44-24DF8C9AF940.jpeg

You can see the honeycomb structure that’s in the way. I carefully cut it away with a chisel and slid the clip in

BC2F32C8-56D4-4C8F-AB3E-166F2C83A4B1.jpeg

The rest of the clips up the sides and across the top of the window slide in easily.

30D3F647-802C-4F16-8C4F-9A325BDBEB08.jpeg

Make sure they’re pushed all the way in place

9CE437B3-EDB3-4B6D-9DBE-A477DED21D84.jpeg

Remove the existing plastic cover from around the lock mechanism, pull the door handle open to remove it. Remove the lock button too.

Offer the bottom card up and clip the metal clips in place below the window. Check the clips around the edge line up with their respective holes and clip it in place. For the top trim, first spray each metal clip with a little silicone spray or WD40. It makes it much easier to clip in place. Line up all the clips and push each in. They go in with a loud clip, you need to push hard to get them to lock. Finally put the new lock button on the stem, bend it forwards and slide it into the lock surround then manoeuvre the surround around the handle and clip it in place. Job done..

47AA8981-930E-42E9-95B8-DE57729E7A2B.jpeg

BCCE6503-BF43-4C76-9BD8-523DBA784822.jpeg

2B848BA1-183E-4EA5-84F2-D0F3CEED1699.jpeg
 
Nice job Deaky very informative and a great thread. threads like this help people like me that are trying to decide how to do things to there own T6. its what makes this a great forum.
 
Back
Top