ToddiesT6 - Build Log

ToddiesT6

Senior Member
VIP Member
T6 Guru
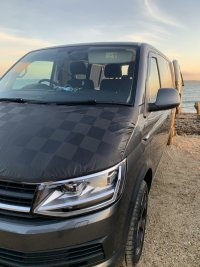
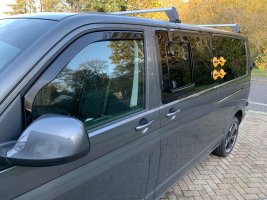
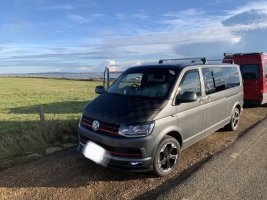
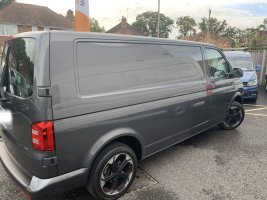
Hello from the sunny, but a bit chilly New Forest (UK) - I’m Toddie & have just (Nov22) purchased a Iridium grey 2018 T6 LWB panel van.

My plan is to convert her into a full blown camper over the coming year for the family to enjoy during the weekends or school breaks when I’m not sneaking away fishing, kayaking or other myself.

I’d be most grateful for any support, guidance or input along the way as it’s a new journey for me & as such intend to create a ‘build log’ for my own records as I’ve done before with my classic S1 Land Rover.

If this isn’t the correct location (admin) please say as I couldn’t find a better place to start -

As some might also be interested in this, I’ll bring the thread up to date in a few posts & build on this as & when.

For now, the base van!
CC8BE135-AF98-4529-81CD-BB8D55C83608.jpeg

F2BB1B78-67B3-4934-B218-8512BB0234E0.jpeg

5AF67385-A52A-4595-8489-84E1C409A06F.jpeg
 
Last edited:
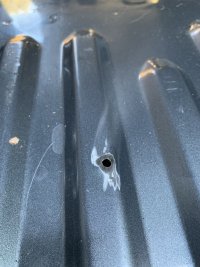
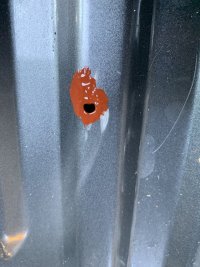
First things first - time to plug the floor holes from the trades guy who previously owned the T6 & used wood screws to secure the old ply liner!

Not sure what others have done to plug such holes (hadn’t joined forum at that time) & so was thinking I’d weld them up, but opted for simple debur, oxide coat & sika EBT to seal. Bit of a pig getting to the them all from below, but the crawler trolly came in useful again.

D45D5C00-03F1-4399-9EE5-8E7D932DA100.jpeg

98FC65E1-06E9-4795-8F62-490AE6E10349.jpeg
 
Last edited:
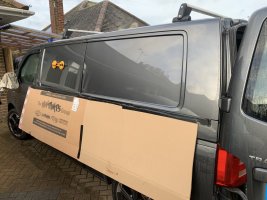
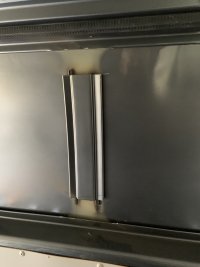
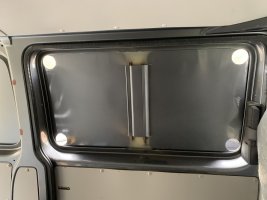
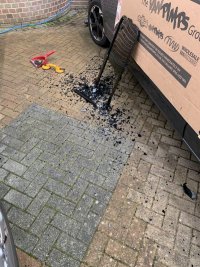
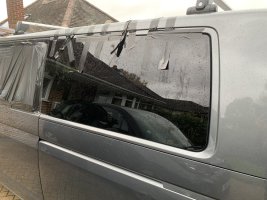
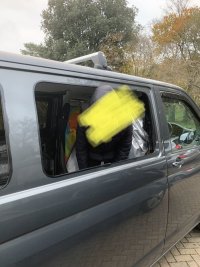
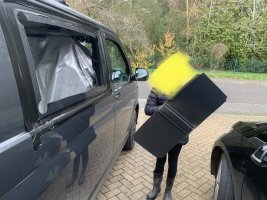
Another day & I plucked up the courage to start cutting metal….easy after the first aperture is done but it’s my new van!

Note to self, don’t get distracted by the old biddy next door, use cheap (old) tape else you’ll pay the #idiottax too!

1C7F9F6D-DED7-47B7-845C-4B3F0E5BC0CA.jpeg

92590487-E4C5-4438-AB62-1866A6941D32.jpeg

019CC5B3-E1A7-4359-9813-2EB0E6AF218B.jpeg

E6443CDA-7DD9-4A3C-8811-C8D774783570.jpeg

BBDD1210-5E72-45FD-8CB0-0EF1C52C0641.jpeg
 
Last edited:
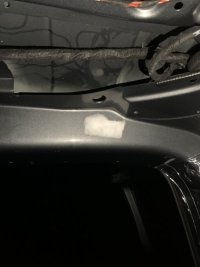
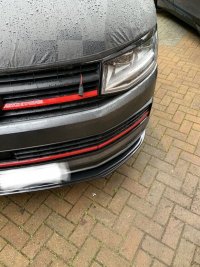
A little front end styling from ‘veedubs’ and the splitter, colour bars & eyebrows add to the ‘Heko’ deflectors of the previous image.

The cable is a ‘Noco’ trickle charger to keep the battery in top condition during these colder days - I’ll do a proper install when priorities allows.

CBE0BD13-857D-48E7-9B69-0032EB6E5F2D.jpeg
 
Last edited:
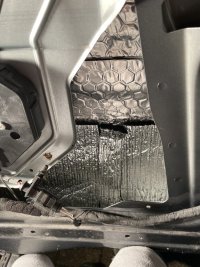
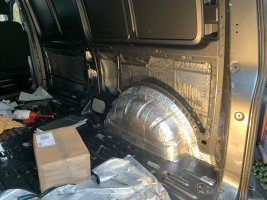
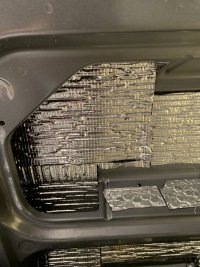
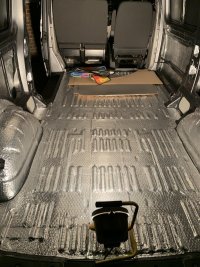
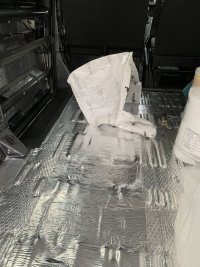
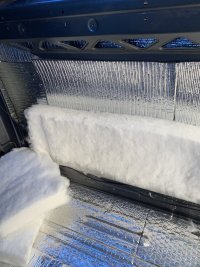
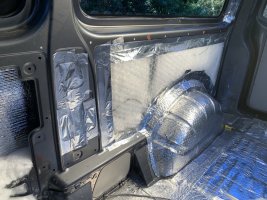
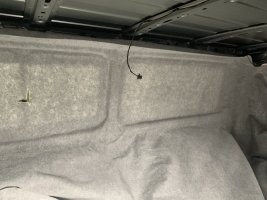
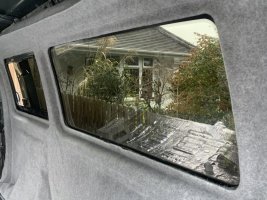
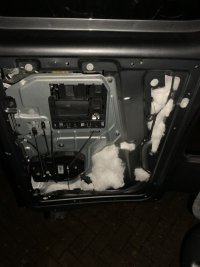
Was looking at the 100m recycled bottle insulation for ‘TransporterHQ’ but opted for what I believe is very similar stuff from ‘B&Q’ at half the price (Certainly better than the ‘Rockwell’ I installed in the 1990 T25 I did back in the day) I’ll find out if it’s different in time - but now the backs getting toasty with 3x rolls used up. - I’m fully insulated ;)

The bubble wrap /Alu tape is a short term “keep it in place” fix as I was planning to pause the build until the pop top is installed. Another forum suggested fitting carpets after your pop top to avoid swarf, but ‘Altitude roofs’ suggest it’s not an issue - would you agree?

Time to search the T6 forum as 12m of smoke arrives this week.

B8CB62EC-F0A7-4732-9724-AA28D0297580.jpeg

8B18B98E-9A08-4E2C-B41C-2660E795AFED.jpeg
 
Last edited:
And that’s the log up to date as of last weekend, when I enjoyed the new ride (& space to carry all my crap) with a winter fishing trip to Hurst spit (Lymington).

I might have blanked when it came to the target fish, but very happy to be getting back into VanLife.

0A05FB99-672C-4FCD-B321-4DD497F53062.jpeg
 
Last edited:
Nice work, good looking van.

Regarding PopTops and swarf- it depends on the installer. PopTops (Nulite) did mine, and I’m still finding rusty swarf in every orifice. A proper job would completely cover the van in sheets and tape to keep it out.
 
The bubble wrap /Alu tape is a short term “keep it in place” fix as I was planning to pause the build until the pop top is installed. Another forum suggested fitting carpets after your pop top to avoid swarf, but ‘Altitude roofs’ suggest it’s not an issue - would you agree?

Speak to whoever is doing your roof. If the internal frame is going to be carpeted then it makes sense for them to use your carpet so it matches.
I carpeted mine and left (I think) 16 inches all the way round the top just dangling down. The roof fitted then used this to cover the frame so there is no join and the carpet matches. And I got a little discount.
I did find a very few pieces of swarf in the carpet which I picked out as and when I saw them. No big issue.
 
Nice work, good looking van.

Regarding PopTops and swarf- it depends on the installer. PopTops (Nulite) did mine, and I’m still finding rusty swarf in every orifice. A proper job would completely cover the van in sheets and tape to keep it out.
5
Thank you sir - and I did think it would be simple to avoid the issue of swarf but I guess it’s very installer specific. Just pleased to be able to carpet & remove the bubble wrap!
 
Great looking van. Will enjoy following the development of your conversion as we continue to look for our ideal base vehicle.
 
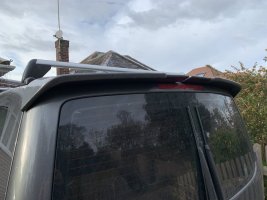
Nothing achieved this weekend on the van as the weathers been horrid. I fitted the spoiler before the bad weather using sika EBT as screwing through the door skin felt just wrong.

They came from veedub - a bit thin walled for my liking, but a few extra vent holes and 2 pack PU gave them some much needed core strength.

F9E25C28-CD12-4422-B0DD-9DBD2C8BC104.jpeg
 
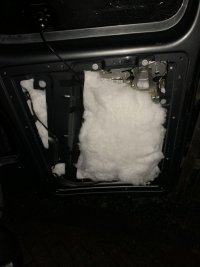
A hours lunch and the roof liner is down, lighting unit repaired (they fall apart if your not careful during removal) & barn door insulation complete.

But question - do you guys fill the space around the roof with insulation also?

Any idea how big the pop top aperture is??

F6F006AD-975A-4F17-9EE5-5641693F9F71.jpeg

D97F8EB5-A483-4505-A51A-7ECA9990CE58.jpeg

5B3EB18F-6BD7-4BE5-A9DF-F74FA36D1C28.jpeg

39EF2023-E7B6-47E8-B60B-BE155950775F.jpeg

8554C534-D1E1-453A-9F00-D0C9AC29F12C.jpeg
 
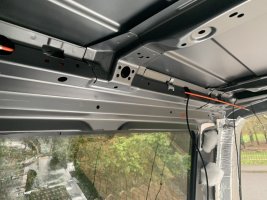
I left the space around the roof. I guessed any insulation in there would collect all the swarf and the roof fitter would probably take it out and bin it. The space isn’t big when you account for the wiring loop and any led wiring etc.
 
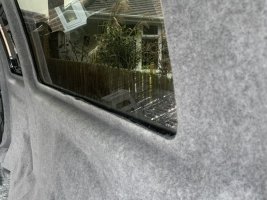
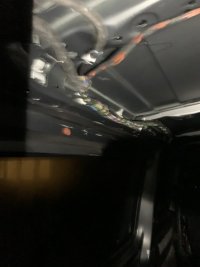
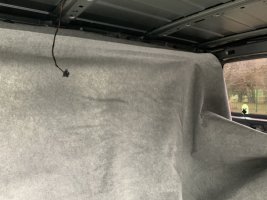
Another day + an early Xmas finish so I started on the carpets having routed the rear facing CCTV cables along the roof gully with fish tape.

As I’ve not decided on electrics or layout, I’ll not ‘carpet in 1’, rather ‘carpet chassis & panels’ separately - forgot to order more spray so I’m paused for a while…but happy so far with results.

1DB502B2-81DF-4325-A93F-4F7272FD5126.jpeg

0599C199-FD3C-42B7-BC62-A6622B9C4C8D.jpeg

B8AC03EB-7FF2-4CD5-BFD8-72DB86EA5BB4.jpeg

088FCA8F-F0D8-49D2-A797-DC73EBA24E26.jpeg

704CCA58-4CBB-4C1C-9165-844DDFD4231F.jpeg
 
Last edited:
Back
Top