Reversing camera - wiring up.


With the camera fixed in place it was time to wire it in.

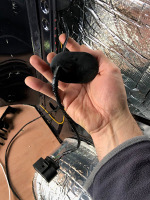
The earth cable needs to go on the earthing point at the rear passenger side.

IMG_9568.jpg

Removed the rear light cluster to check out the wiring.

IMG_9570.jpg

IMG_9571.jpg

With the seal removed I could push the cable back inside to make the connection internally.
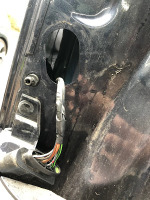
IMG_9572.jpg

IMG_9573.jpg

IMG_9574.jpg

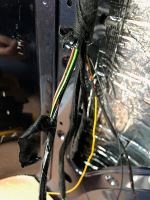
Back inside, found the Green/Black cable to make a connection.
IMG_9575.jpg

Used one of these temp connections to test before I hardwire.

IMG_9576.jpg

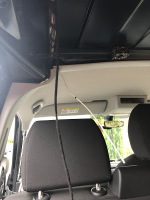
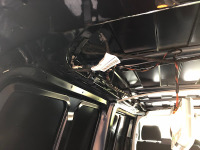
The rest of the cable is fixed to the rest of the main loom.
IMG_9578.jpg

IMG_9579.jpg
 
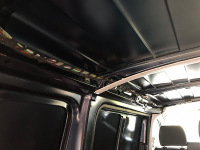
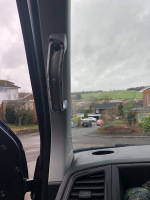
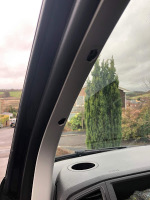
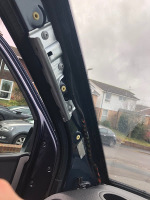
Need to remove the A pillar trim to run the cable down into the back of the dash.

IMG_9589.jpg

IMG_9590.jpg

IMG_9591.jpg

IMG_9592.jpg

My handy bit of plastic to pull the cable through.

IMG_9593.jpg

IMG_9594.jpg

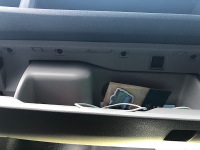
Remove glove box.. Remove all screws top and bottom.
IMG_9595.jpg

IMG_9596.jpg

Then release the glovebox from this top clip and it will pull out.
IMG_9597.jpg

Stereo out.. Sorry didn't take any pictures.. Trim removal tool around the edges and it pops off.

IMG_9598.jpg
 
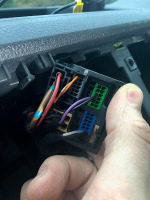
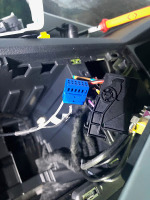
Then its blue connector, Black core = pin 12 and then Clear core = pin 6.. Mine already had something in the opposite side so replicated this.

IMG_9599.jpg

IMG_9600.jpg

IMG_9601.jpg

For some reason I couldn't push in one of the pins.. So had to unclip the connector to be able to push it into place.

Took the power from the main power feed into the unit.

IMG_9602.jpg

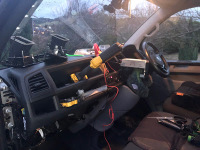
Right mess in here!

IMG_9603.jpg
 
Getting Pimped..


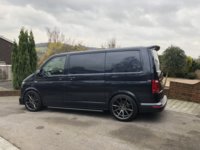
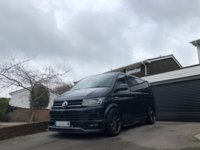
My van is back with Bognor Motor Company getting treated to some extras.

Cheeky picture from Oli there.

Looking forward to getting it back next week.

IMG_9630.jpg


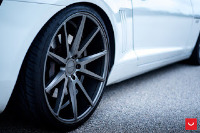
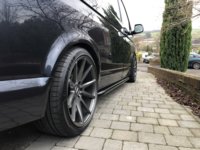
Change of plan on the wheels, now going for a set of Vossen VFS-1's in Matt Graphite.

As the kids say today.. Its gonna look SICK!

IMG_9635.jpg


IMG_9636.jpg
 
  • Like
Reactions: MrT
Was suppose to be tidying the garage / Trimming instead


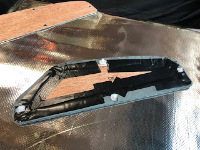
With the van back down at Bognor Motor Company.. I thought I better clean up the garage as its such a mess..

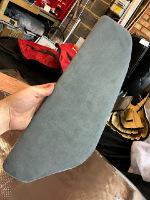
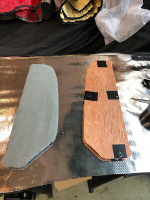
Made a good start tidying the garage then got distracted and started trimming..


IMG_9670.jpg

Using the Harrisons hidden fixings..

Van Seat Upholstery & Mats | Harrison's Trim Supplies

IMG_9671.jpg

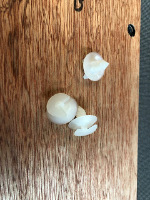
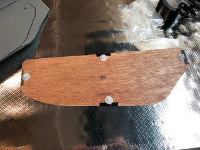
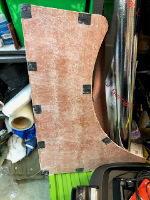
Seen a few conversions where the clips show so thought i'd attempt to hide them with some tape. Might be pointless but lets try..

IMG_9672.jpg

IMG_9674.jpg

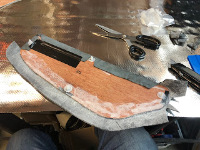
Good covering of contact adhesive..

IMG_9675.jpg

IMG_9676.jpg

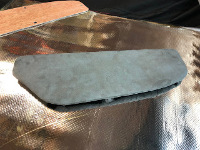
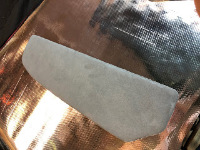
To help keep it all together and to cover up the excess glue I used some waterproof duct tape.

IMG_9677.jpg

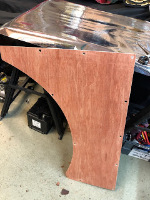
Really pleased with the results with my first go!

IMG_9678.jpg

IMG_9679.jpg

IMG_9680.jpg
 
More trimming..


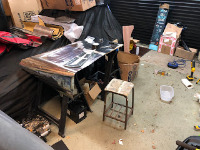
Here is my trimming station... Need a cushion on the stool!

IMG_9683.jpg

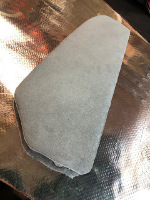
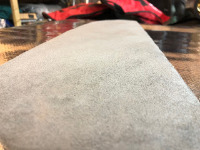
Some close ups of my suedeliner

IMG_9684.jpg

IMG_9685.jpg

IMG_9686.jpg

IMG_9687.jpg

Going up in size..

IMG_9688.jpg

Can't wait this stuff. Its expensive.

IMG_9689.jpg

IMG_9690.jpg

IMG_9691.jpg
 
Happy with the results again..

IMG_9692.jpg

IMG_9693.jpg

IMG_9694.jpg

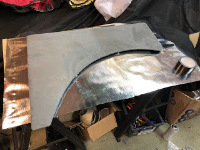
Need to test fit one before I trim it.. Not sure how I need to finish the holes.

IMG_9695.jpg

IMG_9696.jpg
 
Great read. Thanks and keep posting.

Looking forward to seeing how those graphite wheels look against the blue.
 
My next job is the suede lining... seeing that colour is making me think of going with it!! I measured 8 metres to be enough?! Colour is smoke?
 
Have you coded the camera in yet? Obviously we can do this whilst its with us?
 
Slight problem..


Turns out my stereo doesn't support the VW reversing camera.

I really must pay more attention to notes on sales adverts..

"This kit is not compatible with headunit Part No - 1K8035150 B/D/E/L, if you are unsure please check your headunit menu for info"

Next up... New head unit..
 
Awesome, love it.

Need them wheels in my life, and the best tyres on them too! What price can they do them for ?!
 
Back
Top