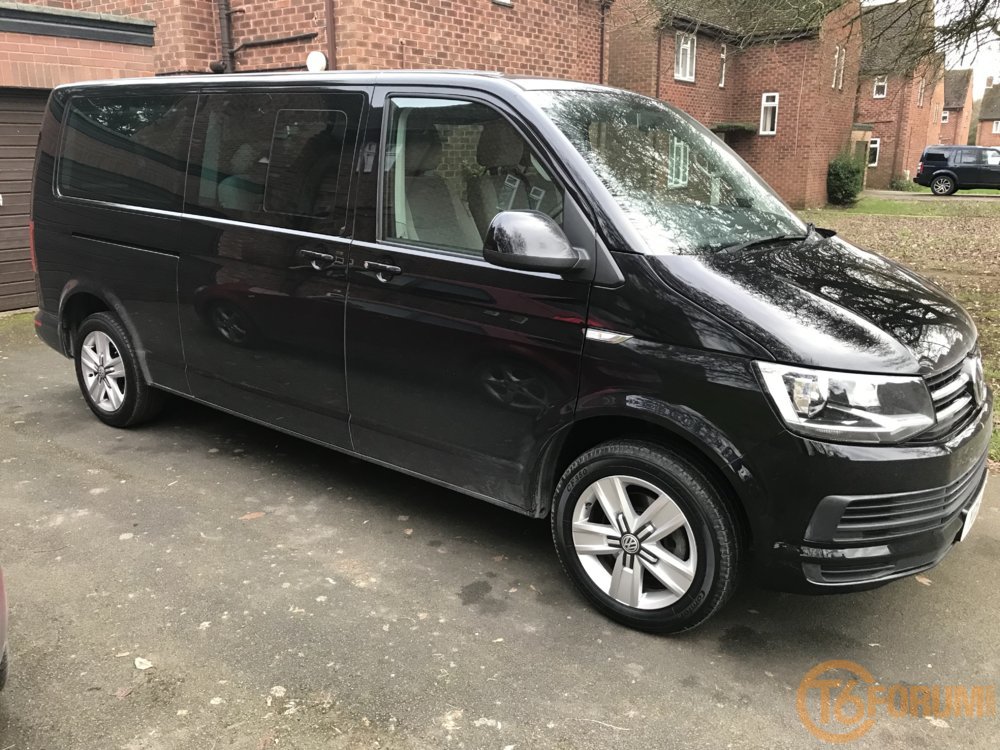
Welcome to my conversion thread.
We bought out van back in Feb, since then I've been carrying out work in fits and bursts as time allows but with easter holidays upon me, it's now full steam ahead with getting as much done as possible before work once again ruins my fun.
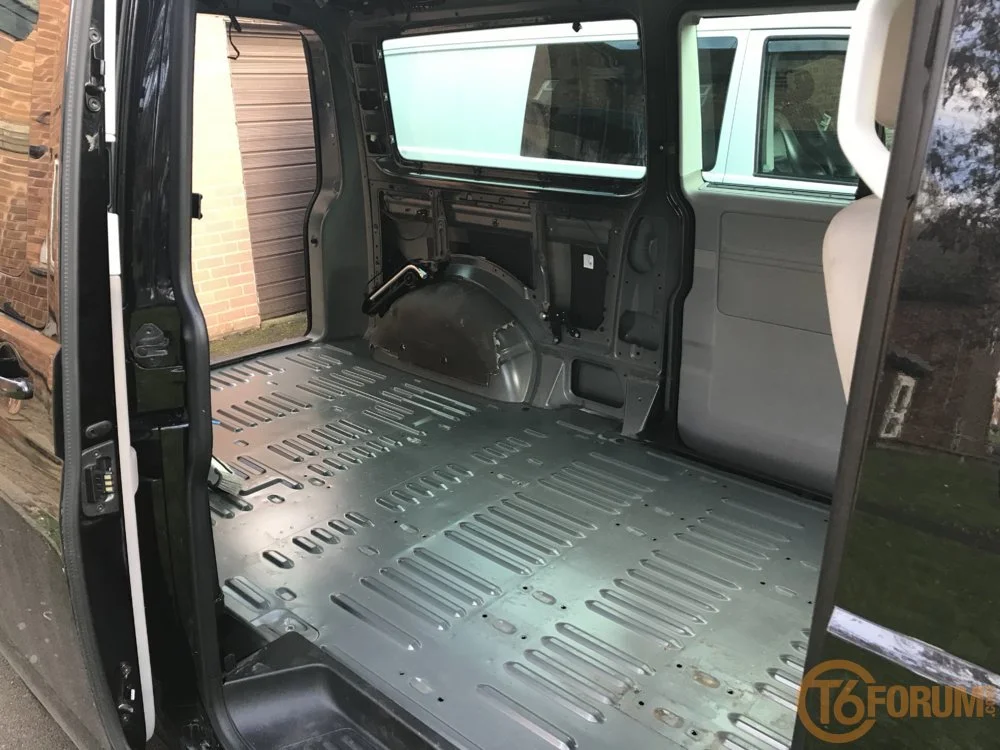
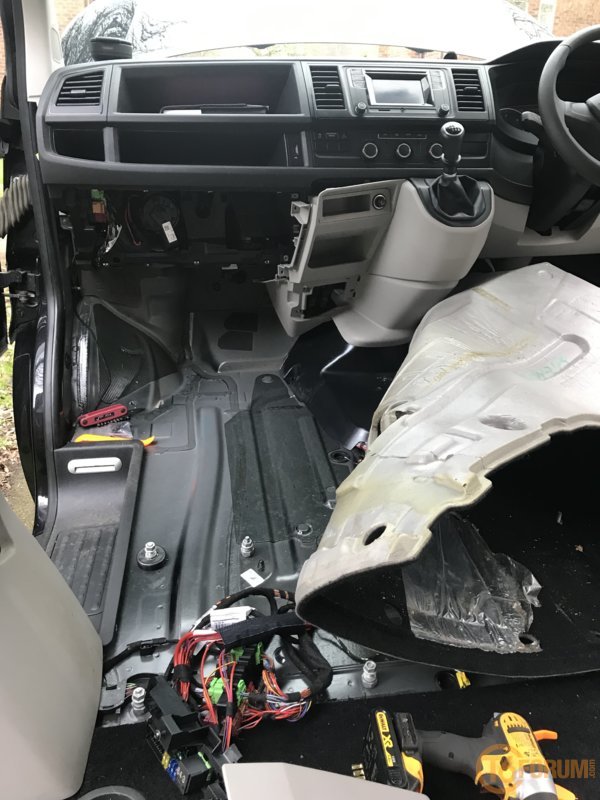
First thing first involved loosing the seats, seat brackets and carpet.
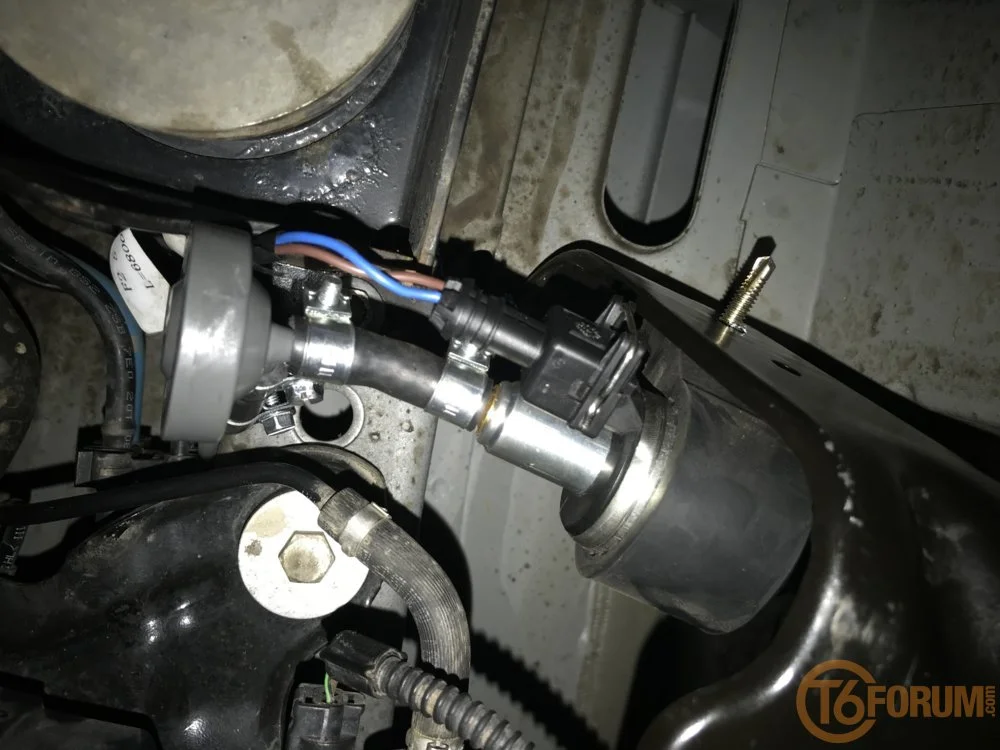
We fitted a camping heater, yes I know shuttles already have an aux heater but for the price of adapting it to be a parking heater that wouldn't kill the van battery, it made more sense just to get a dedicated unit. Fitting was actually made simpler having the aux heater already installed as I just took a Y junction and installed it into the existing fuel line. Fitting the rest of the heater was straightforward - the video on the Kiravans website is excellent and a must watch for anyone thinking of attempting to fit one.
Next up, fitting the electrics, leisure battery, charger controller and associated cabling. What a mammoth task, front seats out carpet up, and then getting all of the cables to the right length. Martin at Travel Volts supplied all of the equipment. I went with the Voltronic 30-20-250 three way charger. I know this is an unusual choice seeing as how most people normally go with the CTecs, but I wanted something that would charge DC-DC, from 240V mains or from Solar, the Voltronic will do all three and protect the battery all in one box.

Voltronic Charger going in, with 12v distribution box.

Mains fuse box going in.

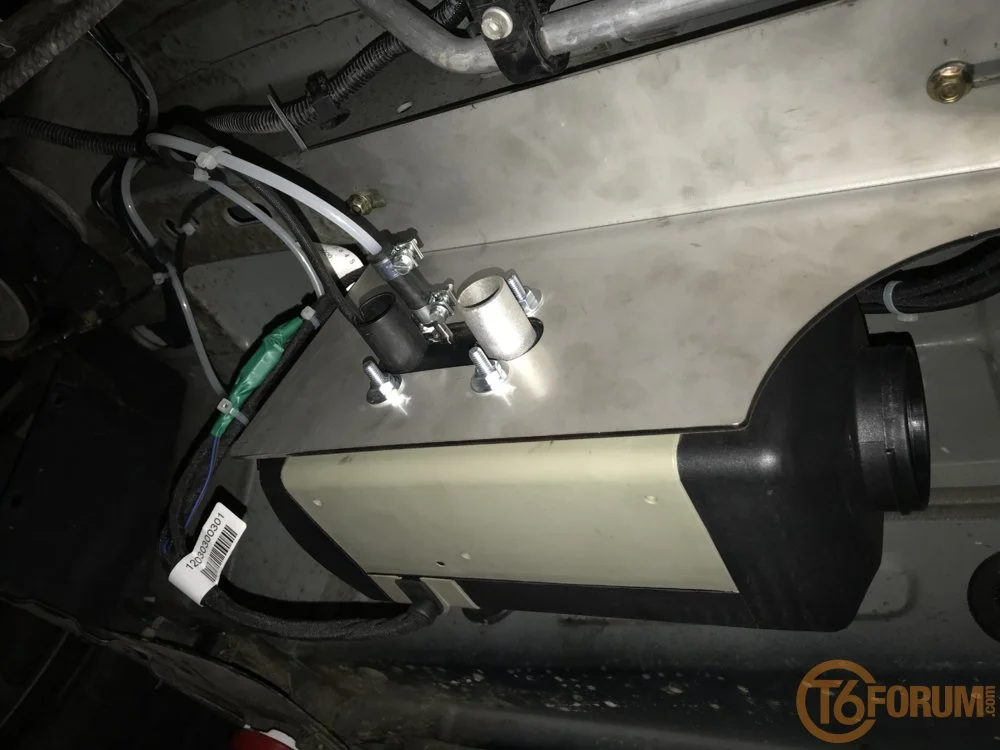
aaaand in. Somehow managed to get it so that none of the cables touch the hot air pipe, though I might wrap it in some insulation just in case.

Pro's of 110Amp/hr batteries - long life. Downside - bloody big!

...but I got there in the end. Even managed to make the cables look not a complete rats nest!
Next up, Insulation!
We bought out van back in Feb, since then I've been carrying out work in fits and bursts as time allows but with easter holidays upon me, it's now full steam ahead with getting as much done as possible before work once again ruins my fun.
First thing first involved loosing the seats, seat brackets and carpet.
We fitted a camping heater, yes I know shuttles already have an aux heater but for the price of adapting it to be a parking heater that wouldn't kill the van battery, it made more sense just to get a dedicated unit. Fitting was actually made simpler having the aux heater already installed as I just took a Y junction and installed it into the existing fuel line. Fitting the rest of the heater was straightforward - the video on the Kiravans website is excellent and a must watch for anyone thinking of attempting to fit one.
Next up, fitting the electrics, leisure battery, charger controller and associated cabling. What a mammoth task, front seats out carpet up, and then getting all of the cables to the right length. Martin at Travel Volts supplied all of the equipment. I went with the Voltronic 30-20-250 three way charger. I know this is an unusual choice seeing as how most people normally go with the CTecs, but I wanted something that would charge DC-DC, from 240V mains or from Solar, the Voltronic will do all three and protect the battery all in one box.
Voltronic Charger going in, with 12v distribution box.
Mains fuse box going in.
aaaand in. Somehow managed to get it so that none of the cables touch the hot air pipe, though I might wrap it in some insulation just in case.
Pro's of 110Amp/hr batteries - long life. Downside - bloody big!
...but I got there in the end. Even managed to make the cables look not a complete rats nest!
Next up, Insulation!

 .
.


 ). Though as you can see I still hadn't remembered about the over kitchen locker
  .
.


