My T5.1 Caravelle Project

TheKeymeister

Electrical Engineer
T6 Pro
I thought I should probably document my journey somewhere...and this is the forum I come to the most for information, so why not...

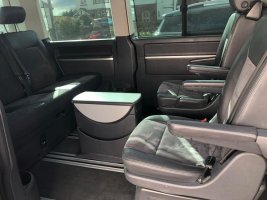
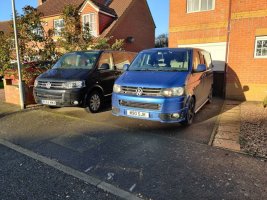
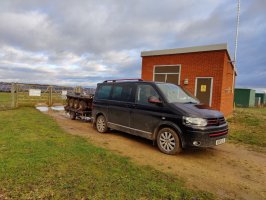
It's a 2012 T5.1 Caravelle, bought in December to replace my 2011 T5.1 panel van, expanding family, needed more seats and all that. Learnt from a year ish of owning the other van as to what I really wanted, so went all out, it's a 2.0 diesel 140 with the DSG box in Executive spec.
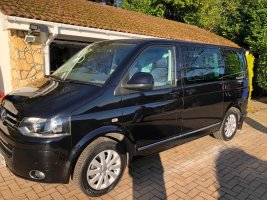
IMG-20201129-WA0084.jpg
IMG-20201129-WA0051.jpg
IMG-20201129-WA0070.jpg
1-both.jpg


The theory was, buying an Executive one would stop me messing with it, as everything's already there. Unfortunately, retrofitting is ingrained into me.

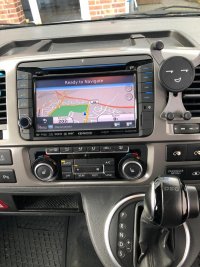
First job, the old Kenwood unit came out, and the Alpine Halo9 from the old van went in. I went for the CAN-UART interface this time, so the factory parking sensors came up, along with the climate control info.
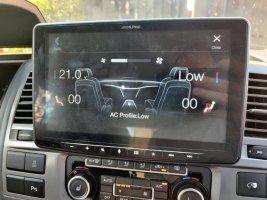
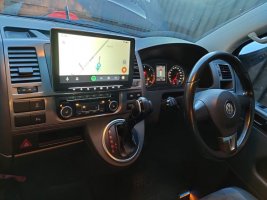
2-halo 2.jpg
2-halo.jpg

Second job, the original steering wheel came out, and a Passat CC wheel went in (3C8 419 091BF). This gave me DSG flappy paddles and multi function buttons, and let me keep the existing airbag. There was a small bit of wiring to do - an extra wire to the BCM, and a power wire which I looped across to the existing power feed for the cruise control stalks. There really was no need for the DSG paddles, as I've probably used them less than 5 times ever. But the wheel and airbag loom cost less than £100, and I sold the old steering wheel for a shade less than that. You'll notice my little custom boot logo for the Alpine, I modified the VW one and overlaid the Dynaudio logo with an Alpine logo. I've got the original saved somewhere if anyone wants a copy of it :)
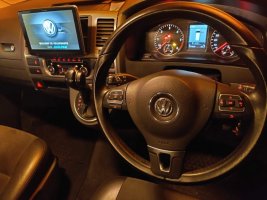
3-wheel.jpg

Next big job was the remote and timer interface for the factory fit Webasto heater. It's the coolant heater which, as standard, heats up the coolant loop in the vehicle when temperatures are below 5 degrees to help bring it up to temperature. I fitted the all singing all dancing kit from carsystems.eu here which has given me a timer and separate remote, fitting was very straightforward, passenger seat came out to assist with the work there, and the was an extra wire to go to the heater itself which is pretty much straight under the passenger seat. Timer controller was left loose under the seat, pending further work when it will be relocated to the glove box :) No photos of this bit unfortunately but there's not much to see other than a fob on the keyring.

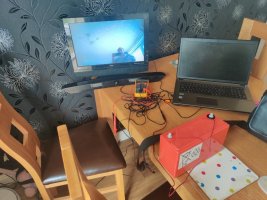
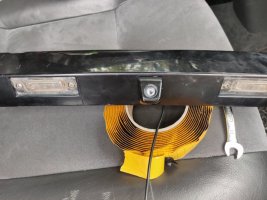
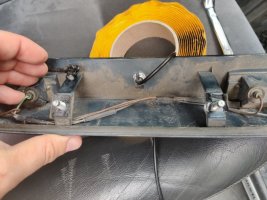
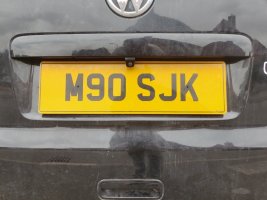
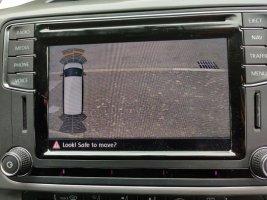
Next job was the reversing camera, I found one that fitted into the number plate light on Aliexpress. Wiring was installed through the tailgate (absolute nightmare) and along the head lining and down the A pillar to the stereo. Unfortunately it was absolutely rubbish, although it was advertised as suitable for Transporters, it points straight to the floor so you can't really see much :rolleyes: so don't buy one!
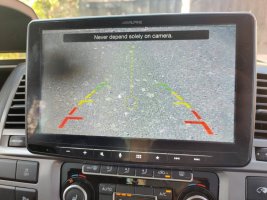
4-rev cam.jpg

Further updates to follow, plenty more has happened....
 
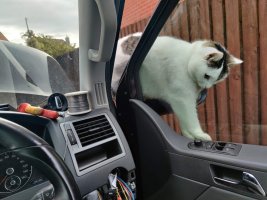
So, back in February I booked a few days off work to carry out the next big challenge. I wanted auto headlights, but because I'm a sucker for punishment, I wanted to do it the OEM way. I already had a rain & light sensor, but I also had the old style 17 pin headlight switch, so not much of it was managed by the BCM. The original plan was to upgrade to a 7H0937089/090 BCM from a T5.1, and one was indeed purchased, then rewire the internal wiring to suit the BCM controlling the lights, just like the T6s are, and T5.1s with Xenon lights or stop/start. Just before I started this work though, I had a puncture that went undetected for a little while, and at this point I discovered the Direct TPMS retrofit. As such, a T6 BCM was fitted (7E0937090) which just needed a small bit of repinning carrying out, and a new CAN connection between BCM and instrument cluster. I also extended my wiring to make the high beams controlled by the BCM like the T6 is, just in case I decide to go for High Beam Assist in the future :cool: Not many photos except this one of my helper joining in.

8-auto lights.jpg

Most of the information for this work came from ciclo on the UK-Polos forum (I believe he's also on here) who did most of the background work to make this possible for the masses. I made my own wiring looms as I went along, and everything was working apart from the fog lights, and the high beams were acting strangely. I ended up tracking this down to an errant adaptation - thanks to the information on the T6 forum on this post, I compared adaptation channels with the BCMs I had and against the info in the spreadsheet, and changing channel 72 from 1 to 0 fixed it. I have no idea why, or what channel 72 does, but it worked!

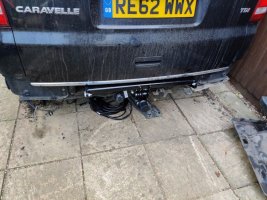
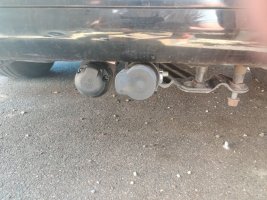
The other thing done on my few days off was to fit a detachable towbar and original VW wiring kit. The towbar itself is a detachable Umbra Rimorchi kit from eBay, cheap and cheerful but I fitted one to the last van and it worked well. The part number is 43061, and its suitable for both T5.1s and T6s apparently. Because of the parking sensors etc, I decided I needed a dedicated wiring kit this time, so managed to track down a genuine VW wiring kit (part number 7F0055204B) - it turned out this was actually for a chassis cab Transporter, but it all fitted fine, there was just a bit of extra length on the cable to the back. It's a fairly involved install, the main cable runs under the van, enters under the passenger seat, runs over to the drivers seat, comes up into the dash in the fusebox area, and also across to the BCM under the steering wheel. All installed, wired up, coded with VCDS and working fine :D

7- towbar.jpg

towbar 2.jpg

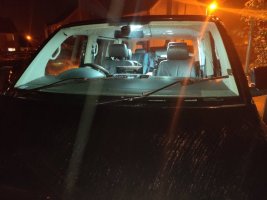
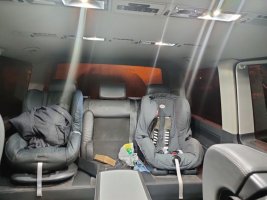
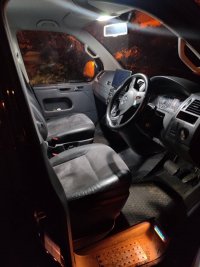
One of the cheapest but best modifications was the fitting of LED lights throughout. I purchased a kit from AliExpress and it absolutely transformed the inside. It arrived very quickly, just be mindful that a Caravelle is called a Multivan everywhere but the UK, and a Shuttle is called a Caravelle outside the UK...

6-int lt 1.jpg
6- int lt 2.jpg
6- int lt 3.jpg


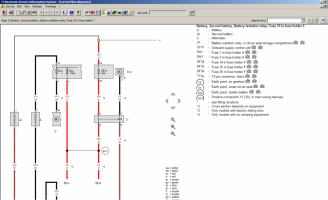
The next job was to install a second battery. I ran some extra wiring in during previous works, which fed things like the interior lights, auxiliary heater, and radio from the fusebox under the passenger seat in preparation for the second battery install. It's not a camper, so I only fitted a small 75Ah battery as it's just to run bits and pieces inside really. I used one of the plates widely found on eBay (this one, to be specific) but I wanted to keep it as per OEM - so I set to on ElsaWin to find some diagrams.

Second battery relay.png

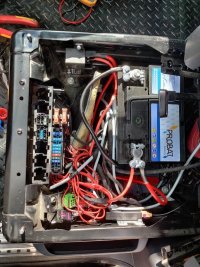
It turns out I had the "big wiring" already in place thanks to my twin electric sliding doors, and the factory fit charging relay is pretty straight forward - its just a 100A relay that is closed when the BCM sends a 12v signal from T73a/3 to say the engine is running. In any case, I tracked down the actual relay that VW fit (2D0951253B) secondhand for about £15, it's commonly fitted as a glow plug relay in other vehicles. Wire connected to ECU, other relay coil pin to earth, "big wiring" modified accordingly so the underseat fusebox is fed from the right battery, battery connected, job done :D I just needed to enable the battery separation relay in the long coding of the BCM using VCDS as well and it fired straight in when the engine is running. I was short of some big connectors, so it does need a little tidy up, but I'll sort it at some point, along with some better battery terminal covers. You can see the relay bolted to the seat box at the top of the photo using an existing hole.

second battery.jpg
 
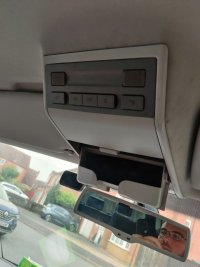
We're almost up to date now, I completed this one on Friday. Swapped the interior light console for one with a sunglasses holder, it wasn't straight forward and took some figuring out on how to do it. Full details in this thread >

console fitted 2.jpg


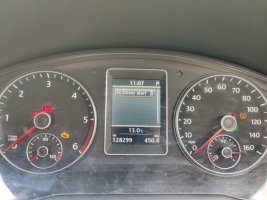
Another minor one from a bit back was adding Fatigue detection, it was just a coding change done thanks to the info on this forum.

9-driver alert.jpg

I am currently working on the following, they are in various stages, I'll post further information/photos/updates as and when they are complete:-
  • Discover Media retrofit inc USB hub
  • Direct TPMS retrofit
  • Updated PDC control unit
  • High beam assist
  • T6 steering wheel with cruise buttons on the wheel, and T6 stalk without cruise buttons to go with it
  • A better reversing camera where you can actually see something useful :rolleyes:

Future plans include:-
  • Side assist retrofit
  • Roof bars
  • Red coloured grill/mirror/side trims
  • Side rails
  • Electric tailgate
 
Last edited:
So, I've got a working reverse camera now...

The ones that clip into the number plate light seem to be absolute garbage, as they point straight to the floor as they aren't designed for a van. I went for another one of AliExpress's finest, but I wanted one without guiding lines, I prefer to use my own judgement as to how far away things are, and find the lines just get in the way...


16286724775725.jpg16286724775304.jpg16286724774733.jpg16286724774232.jpg16286724773721.jpg16286724772560.jpg

The quality is reasonable for the money, the only issue I had was the split nut wouldn't bite very well on the thread. A little wrap of some very sticky butyl mastic tape from work (that I prefer to call Rupert the Bear tape) sorted that out

It looks like it grew there, in my opinion :D


I've also now replaced my PDC module to the updated one, the main benefit being that it automatically activates on low-speed approach to things rather than only when in reverse. More information available in this thread. It was a major pain to physically access the module, the best guide I could find was here

The parts required were new PDC module (1K8919472C, or 5Q0919294K with reflashing), and wiring loom adapter from AliExpress. Pay attention to the one with the extra sheath plugged in, there was a sticker with some chinese writing on mine, I used Google Translate and it turned out it needs the sheath removing from the brown plug and replacing with the new sheath and plugged into that socket. Be aware because there is another identical socket, best to mark them with tape or something.

The 5Q0 module needed flashing to 1K8, I was unable to get ODIS-E to flash this as it kept coming back with errors, so I had to use a "poor quality" VCP instead. The parameter file then needs updating which dnoermann kindly uploaded to this forum here and I needed to use ODIS-E so converted it in the following post. All good after that and no excuses for reversing into things :cool:


I am also a little bit closer to getting the USB hub fitted to the Discover media, just awaiting a new cable to arrive and hopefully that will solve my problems so I can do a full write up
 
I can't believe it's been exactly a whole year since I updated this...the van did have to take a back seat due to some personal issues, but things have moved on slightly since then.

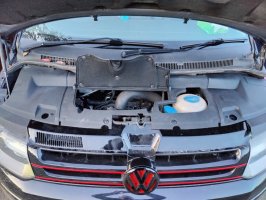
The red grille/roof bars/badge/mirror trims were eventually fitted after the grille was out of stock at Vanstyle for what seemed like forever. I'd like to say I've got a picture of it looking nice and shiny, but I haven't... I did fit the under bonnet engine cover/insulator thing too, could be my imagination but it seems a touch quieter. In terms of exterior styling, I would like to get the chrome strips painted/wrapped in red, and possibly the fog light rings if I manage to stay away from the Sportline style bumper...

16602553909634.jpg 16602563652915.jpg

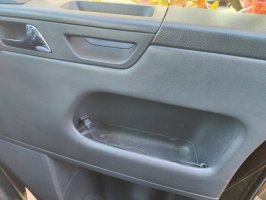
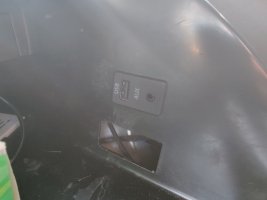
The Discover Media is finally working properly, and this has prompted me to do a writeup on how to wire it, and the strange situation about reversing some of the USB connectors to make it work. The issue I was having with the USB hub was down to 02xx software, which is strange as other people with 02xx software have said their hubs work fine. I've expanded on this by fitting USB sockets wired to the USB hub into both front door cards, and the third one is in the glovebox with a 3.5mm aux that I'll probably never ever use. Curiously, contrary to popular belief, I can use any of the three USB ports to use Android Auto etc, even though it allegedly only supports two with the third being for charging, this definitely isn't the case with mine.

I did also add a small shark fin antenna to the roof, which does DAB and GPS, and looks a little bit like a T6.1 one.

16602564191838.jpg 16602564191127.jpg 16602564190446.jpg

High Beam Assist was more of a pain than I thought it would be. For most T5.1 owners it's hardly worth doing, because the lighting wiring is so different and you need to swap the BCM, but I'd already adjusted my wiring and BCM when fitting auto headlights. What I didn't realise was the mirror mounting and rain/light sensor is completely different.

Firstly, removing the old mirror mount from the windscreen was a major job. In the end I used a cooker lighter and evenly heated it up, and kept gently prying it with a trim removal tool. If you do this, get a damp tea towel underneath so you don't melt anything when it eventually comes loose. After a bit of cleaning, I was ready to fit the new mount. Finding some 'proper' bonding stuff seemed next to impossible in a reasonable quantity, so I used 3M VHB assembly tape and it's lasted a good few months in hot weather without falling off so I think I can call that a win.

As mentioned above, the rain/light sensor is different. So, I took the opportunity to fit a better one, a 'Rain/light/humidity sensor', which allegedly works with the climate control to detect interior humidity. The part number is 5K7 955 547 and it's a direct swap for the T6 style one. Byte 8 bit 5 in the BCM coding needs enabling. All the info is here - I can't say whether it's changed anything yet to be honest!


Side Assist is nearing completion, I am just in the process of modifying the mirror casings to take the LEDs :D


Electric tailgate is progressing well, all wiring installed, along with the module. All other bits are ready to be fitted, other than I am still trying to source 1x actuator for a reasonable price.

Next big job on the list will be swapping the ABS module for the T6 one, to facilitate future retrofits like ACC/Front assist. I've already swapped the airbag module in anticipation...

Other than that, I am currently experiencing serious instrument cluster difficulties after a failed flashing, but hopefully we have a way forward that will result in a 3D cluster that'll do everything I need it to do, both now and in the future...
 
Back
Top