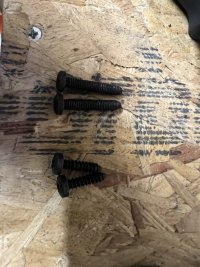
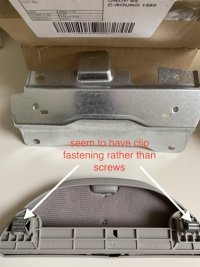
Now i have my new 6.1 I really miss the sunglasses holder that my T6 had (why did VW take it away !!)
I know theres a couple threads about part numbers and options for adding one but the info is partial/scattered so heres my guide to adding OEM parts with metal mounting bracket etc
Im not going to cover removal of the cabin headlining here as thats discussed elsewhere and i have plans for a new updated T6.1 liner removal coming soon so we are going to start with a parts list and method
I fitted the sunglasses holder but the method and parts are identical for fitting an additional grab handle
7E1 857 465A Y20 - Spectacle holder
7E5 858 688 - Mounting bracket
N 911 995 01 - Pop rivets for mounting bracket (4 required)
Couple things to note in the pictures, i have the optional full airbag system so thats what those weird white things are, i was doing other jobs during at the same time as this so have some non standard wiring that your van wont have and was also adding sound deadening/insulation so thats why the roof has magically turned into tin foil !
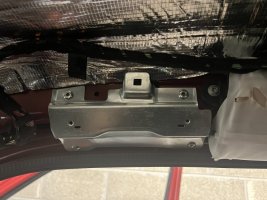
Heres a couple pics of the factory fitted left hand side bracket
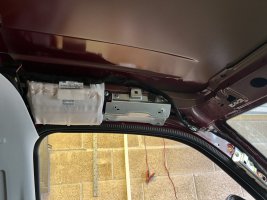
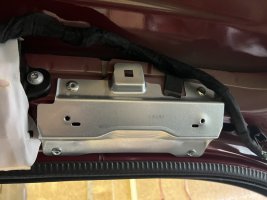
in comparison to the empty right hand side
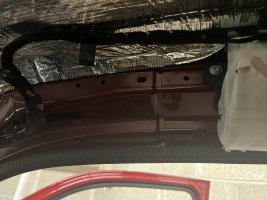
note all the holes are present for the four mounting points so just need to rivet the plate in place
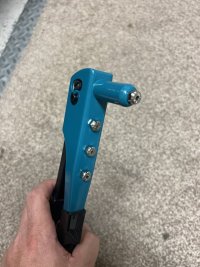
its worth noting the rivets are 6mm so a standard pop gun like this is no good as only goes to 4mm or 4.8mm which is not quite enough
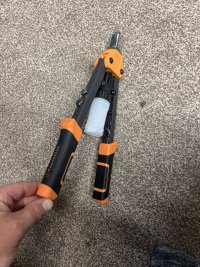
had a quick scan and found this one at screwfix for £19 and goes one size bigger to 6.4mm
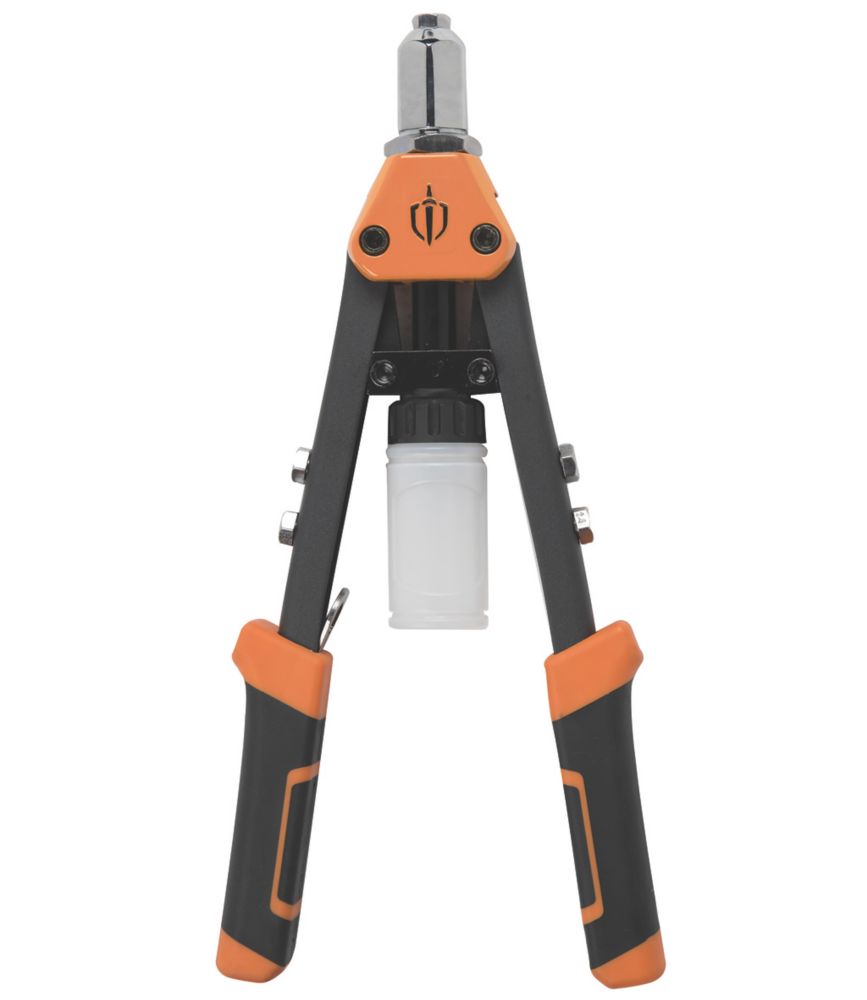
 www.screwfix.com
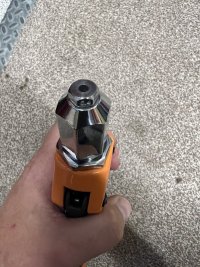
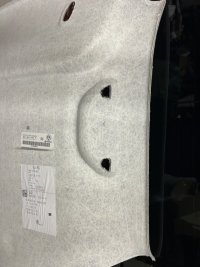
next up was the headliner, to mark it out i used a piece of paper behind the factory cut holes and marked with a pencil then cutout to give me a template
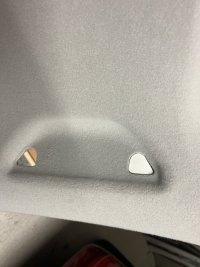
and used this paper template to mark out the rear of the drivers side
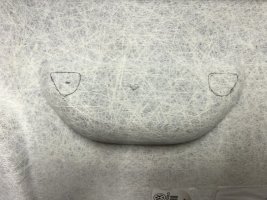
then i simply used a stanley knife with a fresh blade to trim it out
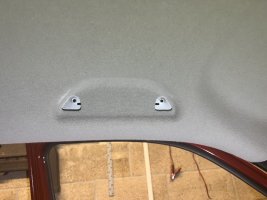
got the roof lining refitted and this is what it looked like
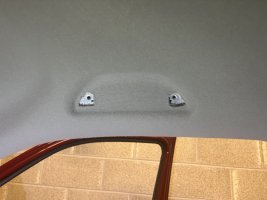
this is the factory side for comparison
and last step is to fit the unit with a T25 torx
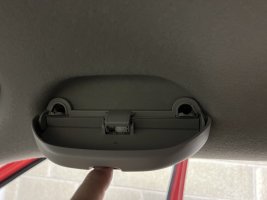
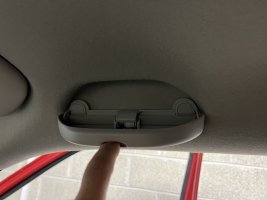
now we can stand back and admire our handywork
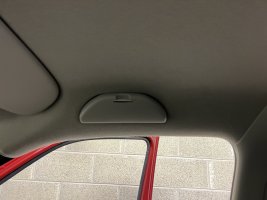
I know theres a couple threads about part numbers and options for adding one but the info is partial/scattered so heres my guide to adding OEM parts with metal mounting bracket etc
Im not going to cover removal of the cabin headlining here as thats discussed elsewhere and i have plans for a new updated T6.1 liner removal coming soon so we are going to start with a parts list and method
I fitted the sunglasses holder but the method and parts are identical for fitting an additional grab handle
7E1 857 465A Y20 - Spectacle holder
7E5 858 688 - Mounting bracket
N 911 995 01 - Pop rivets for mounting bracket (4 required)
Couple things to note in the pictures, i have the optional full airbag system so thats what those weird white things are, i was doing other jobs during at the same time as this so have some non standard wiring that your van wont have and was also adding sound deadening/insulation so thats why the roof has magically turned into tin foil !
Heres a couple pics of the factory fitted left hand side bracket


in comparison to the empty right hand side

note all the holes are present for the four mounting points so just need to rivet the plate in place

its worth noting the rivets are 6mm so a standard pop gun like this is no good as only goes to 4mm or 4.8mm which is not quite enough

had a quick scan and found this one at screwfix for £19 and goes one size bigger to 6.4mm

Magnusson Long Arm Riveter 13 1/2" (340mm) - Screwfix
Order online at Screwfix.com. Long arm riveter ideal for engineers, mechanics and maintenance technicians. Features soft grip handle for improved comfort when working and high performance 3-jaw gripping system with built-in mandrel collector, to capture the stems released from the riveter. Long...

next up was the headliner, to mark it out i used a piece of paper behind the factory cut holes and marked with a pencil then cutout to give me a template

and used this paper template to mark out the rear of the drivers side

then i simply used a stanley knife with a fresh blade to trim it out

got the roof lining refitted and this is what it looked like

this is the factory side for comparison

and last step is to fit the unit with a T25 torx


now we can stand back and admire our handywork


