Fitting Eberspacher D2 - My Experience

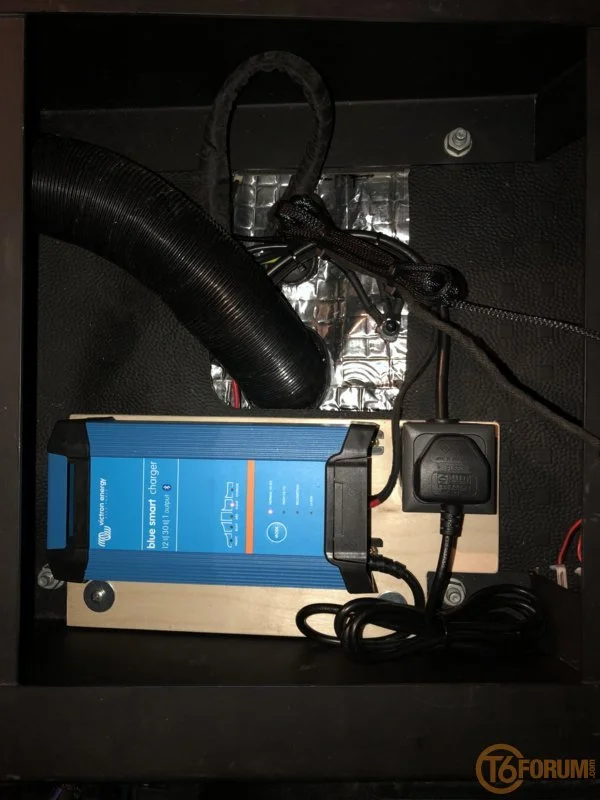
Can you disconnect it? If so check to see if you have 9.2kΩ across the terminals that the blue/red and blue black plug into on the disconnected piece - if so it is the easy scan connector with one incorrect colour wire ( unless my eyes are playing me up and it isn't 2 red wires that I can see there).
What I think that I am seeing there is just a connector with a terminating resistor for when the easy scan isn't connected.
 
Not had an opportunity to measure yet. Too focussed on completing the install.
All completed today but it’s too damn hot to test it comprehensively. as the van’s like a oven! I did attempt but had a few starts and stops with a few H1 displays.
H1 service
H1 fuel supply / pump > probably due to the tank being low on fuel ( Standpipe install)

Will fill up and retest tomorrow

2C5CA834-8BB9-4A52-8043-4B5423444E4B.jpeg
 
If you have not primed the fuel line before connecting it to the heater it can take a dozen or more start up attempts to get the fuel through - dependant upon length of fuel line. Sometimes it can be as low as 4 attempts. This you have to be careful of if it is one of those heaters that go into lockout with more than 3 attempts - crazy having that few attempts permitted if you rely on start ups to fill the fuel lines. I use a pulse generator which makes it quick and easy.
 
  • Like
Reactions: mmi
Hi Wills, that’s great you finished your install, did you just plug in the 4 way connector to the easy start controller and leave the rest of the wires unconnected?
I can’t quite finish mine off, for some reason the crimps for the fuse box/battery connection were not done on my loom, so I’m waiting to borrow my friends crimper, but I’m looking forward to testing the heater out, but on a cooler day like you say.

Hi @Blizzard , with the Ebers T6 supplied kit / loom, it’s a simple case of plug and play. With the fuse block, again it’s simple.
 
If you have not primed the fuel line before connecting it to the heater it can take a dozen or more start up attempts to get the fuel through - dependant upon length of fuel line. Sometimes it can be as low as 4 attempts. This you have to be careful of if it is one of those heaters that go into lockout with more than 3 attempts - crazy having that few attempts permitted if you rely on start ups to fill the fuel lines. I use a pulse generator which makes it quick and easy.
Thanks @oldiebut goodie whats the best practice when priming the pump?
 
The poor mans method is to use a couple of probes connected to a 12v supply and then keep one probe on a disconnected pump terminal and keep tapping the other probe onto the other terminal. If you do this before you connect the fuel line to the heater you can tell when you are getting a good regular spurt of fuel. ( I once told someone to think of Pamela Anderson whilst doing it - it took him a couple of days to work out what I meant!)
 
It's a great feeling once it is in and fires up for the first time. Makes all the skinned knuckles seem worthwhile.
It is around this time of year that I remind people that the heaters need to be run once a month throughout the warm season to keep them in fine fettle - petrol and diesel ones the same. It keeps moving parts moving and get fresh fuel drawn through.
 
it’s been written in so many posts in the past. It’s not a job to look forward to but so satisfying when the heater fires up for the 1st time. Not that it fired up for that long as the van was already in the 30’s Inside...
 
Just for reference this picture of mine is a Jennings lowered seat base so may make it look tighter. No chance of batteries in these but worth the compromise with the better seating position.

I have my mains charger that side then then Ring dc30 and heated seat gubbins under the passenger side. I have a twin leisure battery setup in my units at the rear.


Amazing photo thread. Thanks! Where did you get the steel bracket shown which the heater is mounted on please? Or did you make it up your self?
 
Amazing photo thread. Thanks! Where did you get the steel bracket shown which the heater is mounted on please? Or did you make it up your self?
I don't know if you are interested but I have a brand new steel heater mounting bracket available, £25 inclusive of shipping.
 
Hi I am about to do the wiring on my installation seems simple enough except for the metered fuel pump as there are two wires but doesn’t say which way around they go into the terminal. I can see the terminals are numbered 1 and 2 can anyone confirm which way around they go
Thanks phil
 
Back
Top