Fitting Eberspacher D2 - My Experience

Jack T

Senior Member
VIP Member
T6 Guru
Hi All,

Not sure if this is of use but I took a few pictures as I fitted my D2 diesel heater, may help people having a go themselves.

I’m not a pro at fitting these and this is the first I have done, any criticism is welcome.

For reference this is the underslung T6 specific kit and I’m fitting as part of my camper conversion on a 66plate euro 6 LWB highline 150.

So first job up on timber blocks rather than stands as I felt more comfortable that way for this.


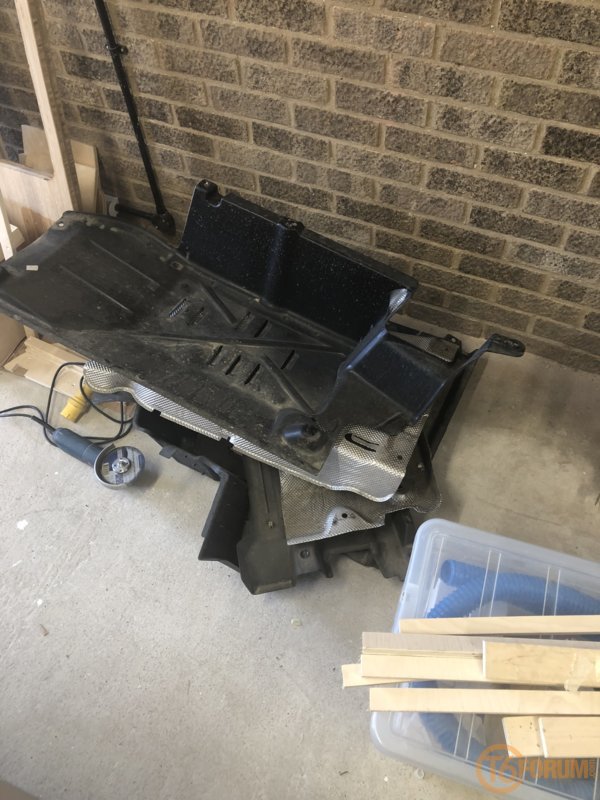
So next all the panels off left and right underneath, these were already off for me as doing various bits beneath.


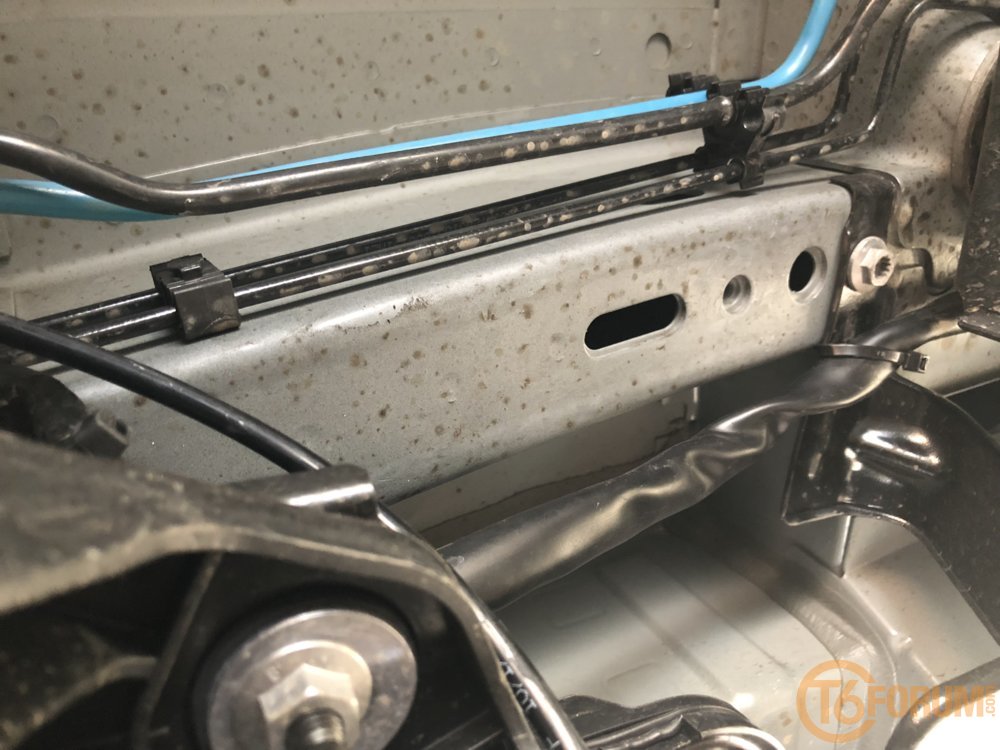
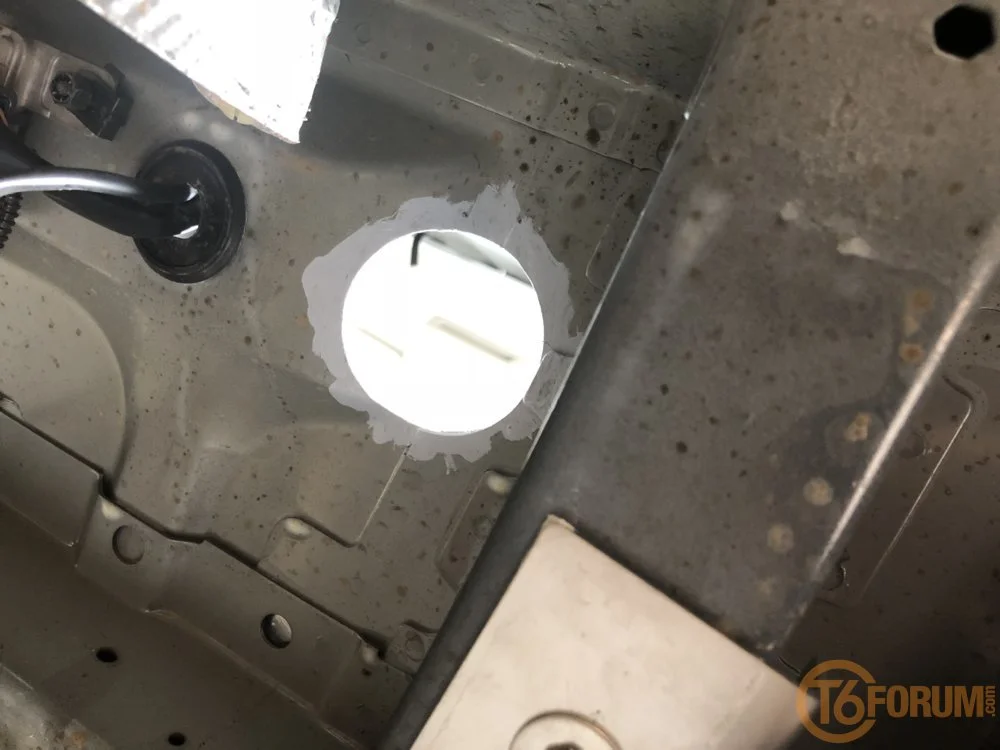
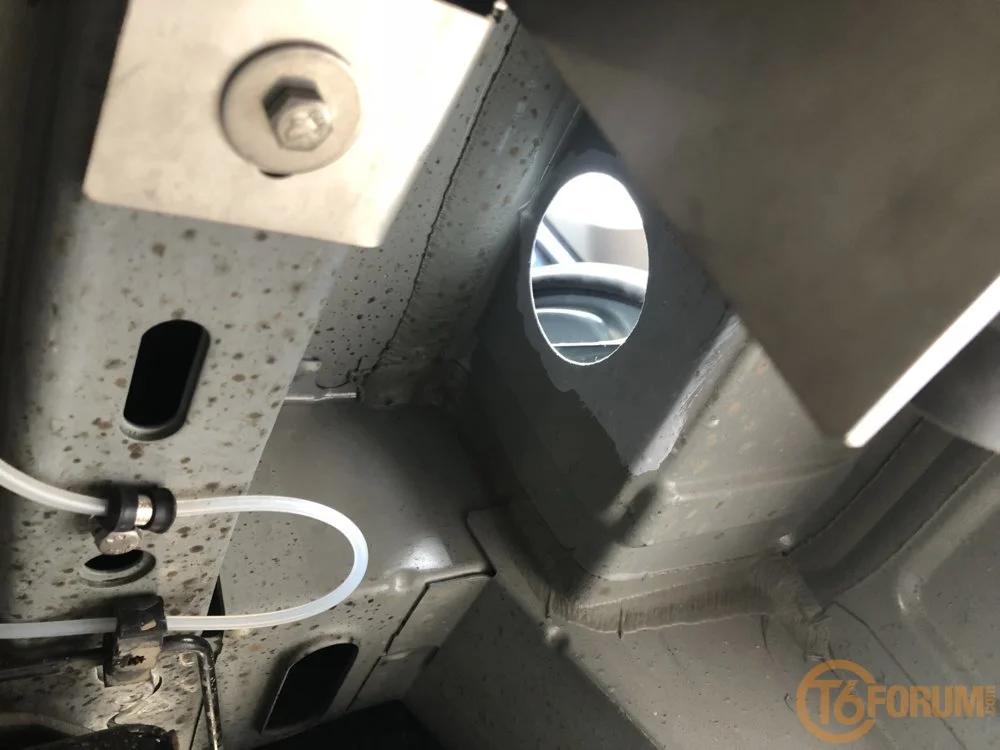
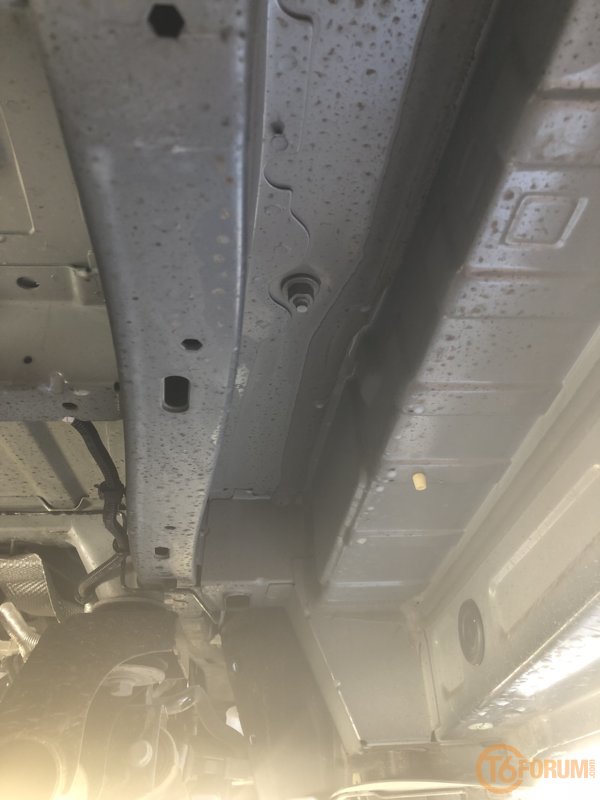
Next located the factory positions for rivnuts under drivers seat area.


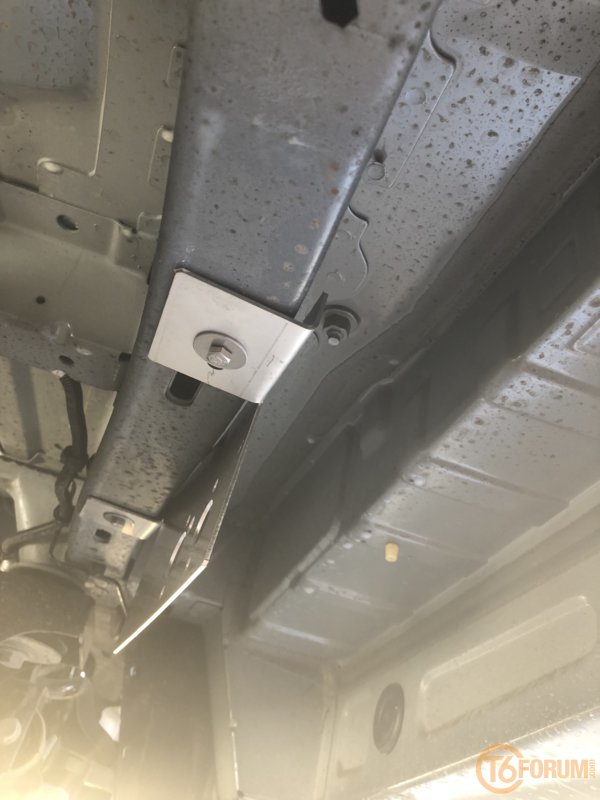
Fitted two m6 rivnuts and test fitted bracket, stainless fixings used throughout as I’m a bit of a tart and don’t like rust.


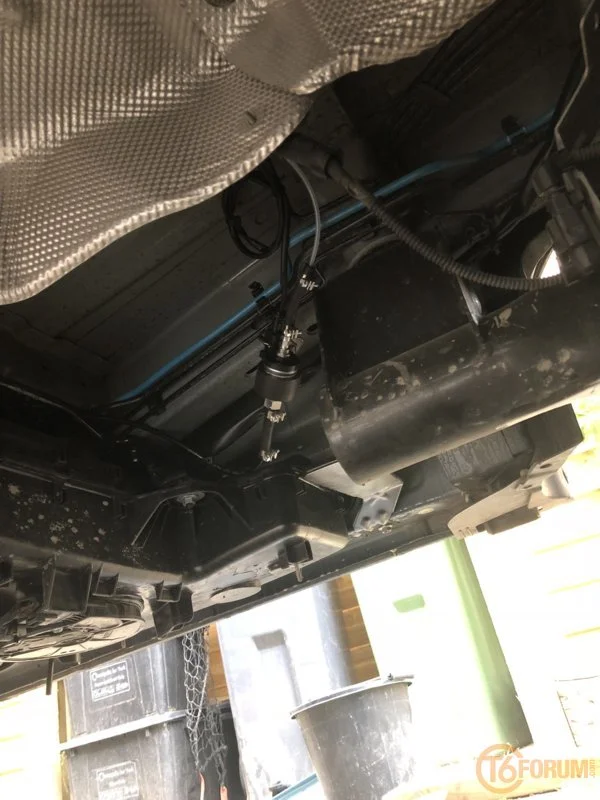
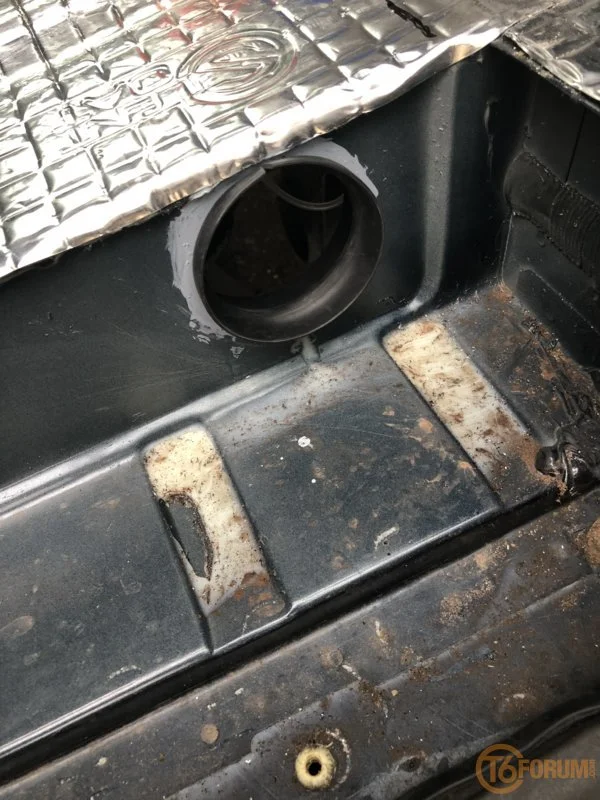
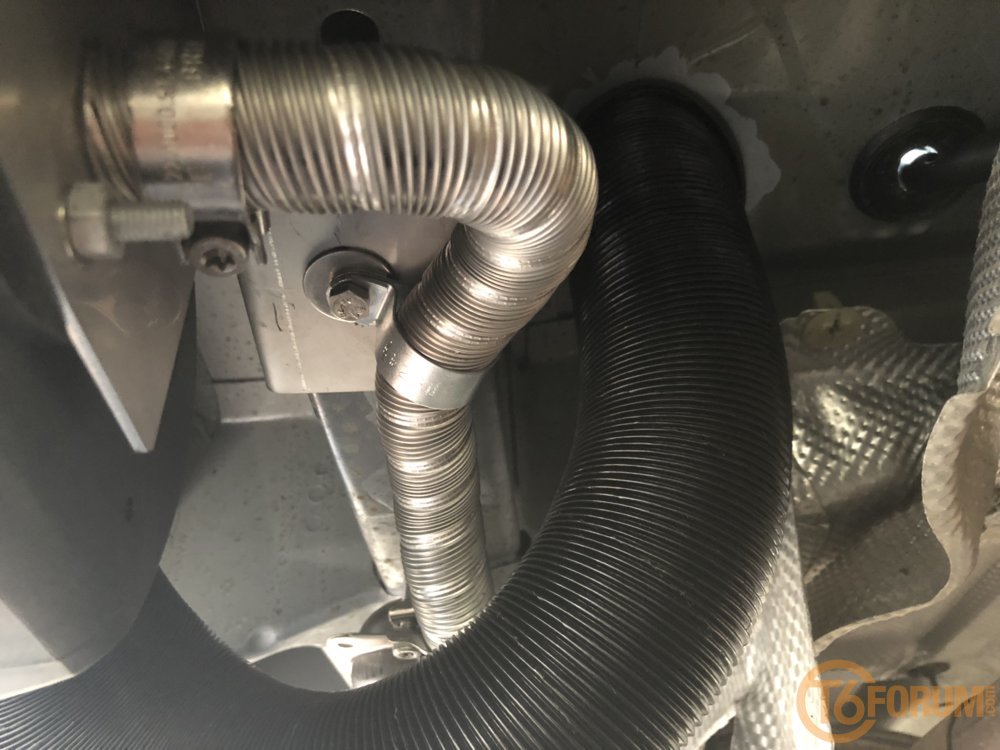
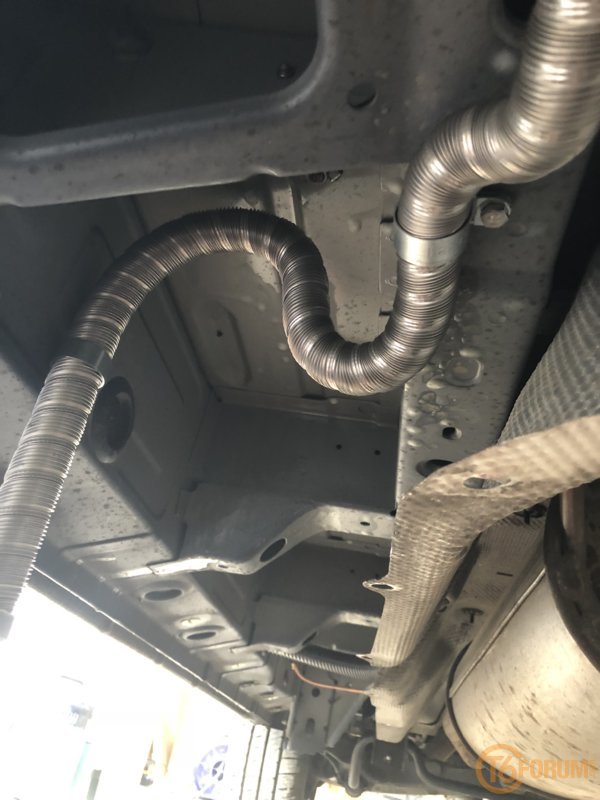
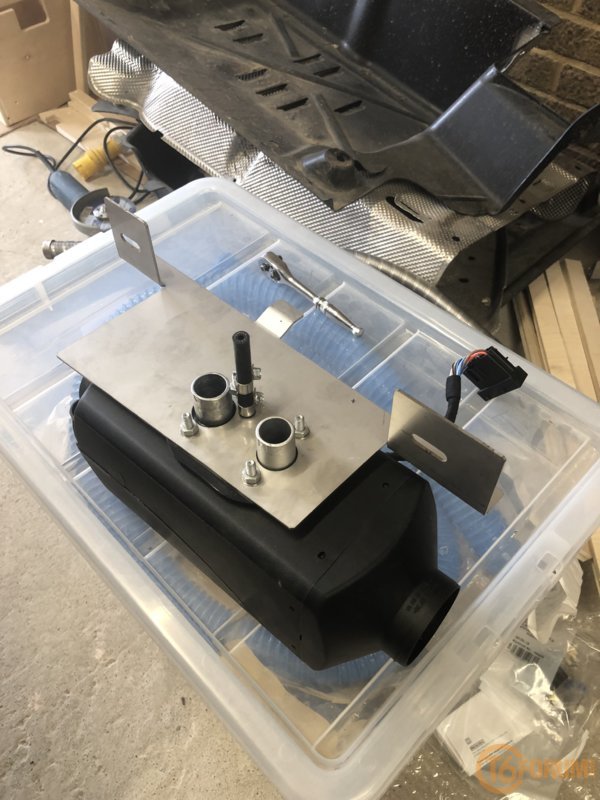
Fitted bracket to heater along with flexi pipe on high pressure side.


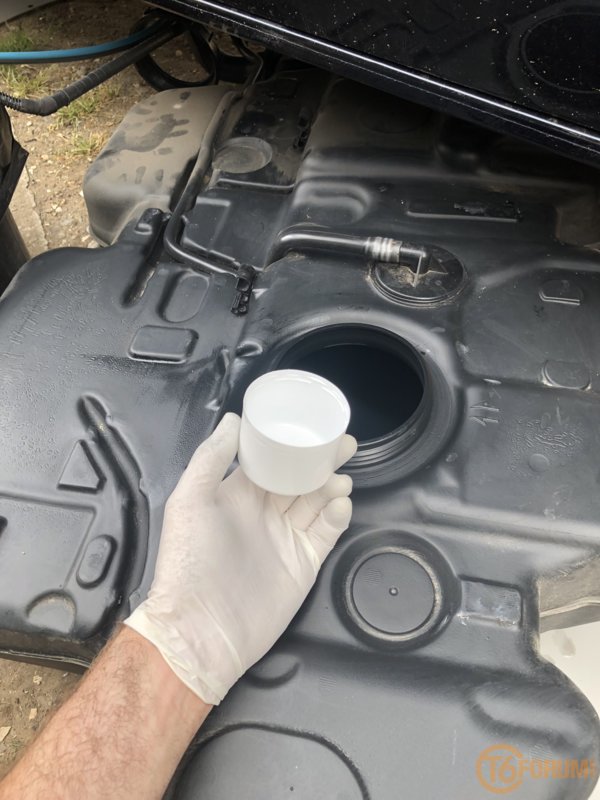
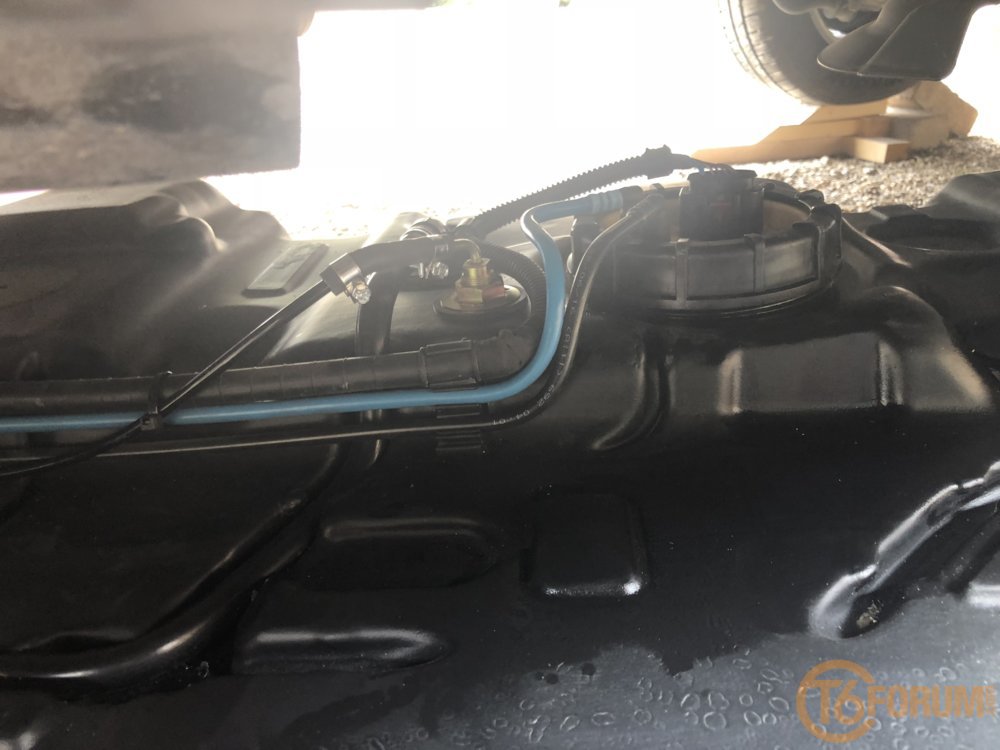
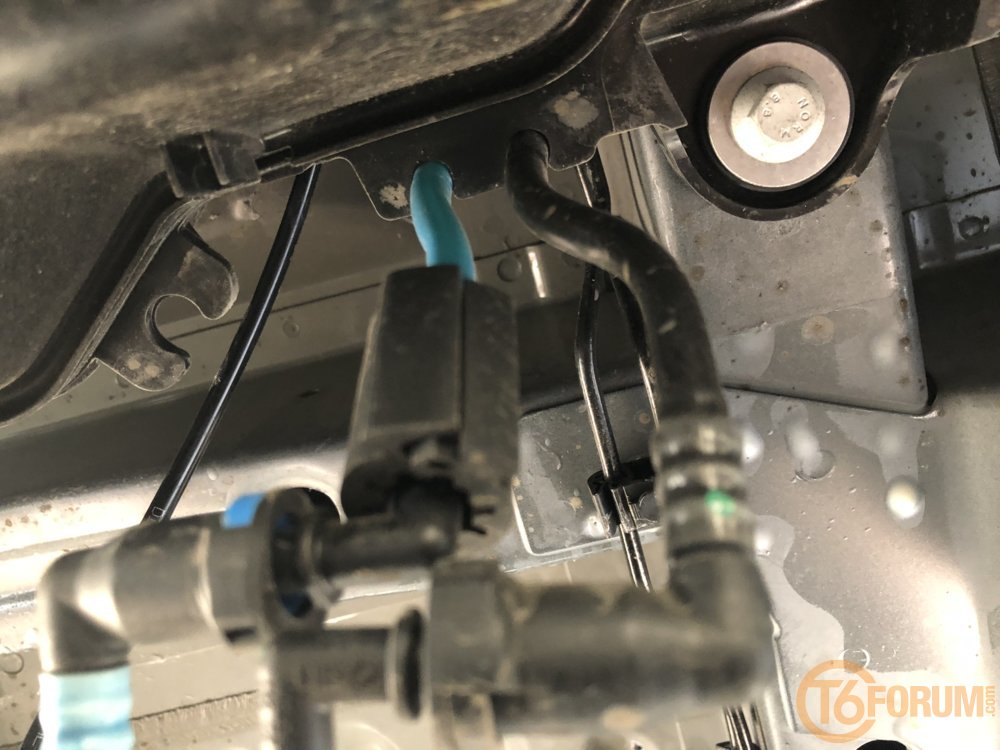
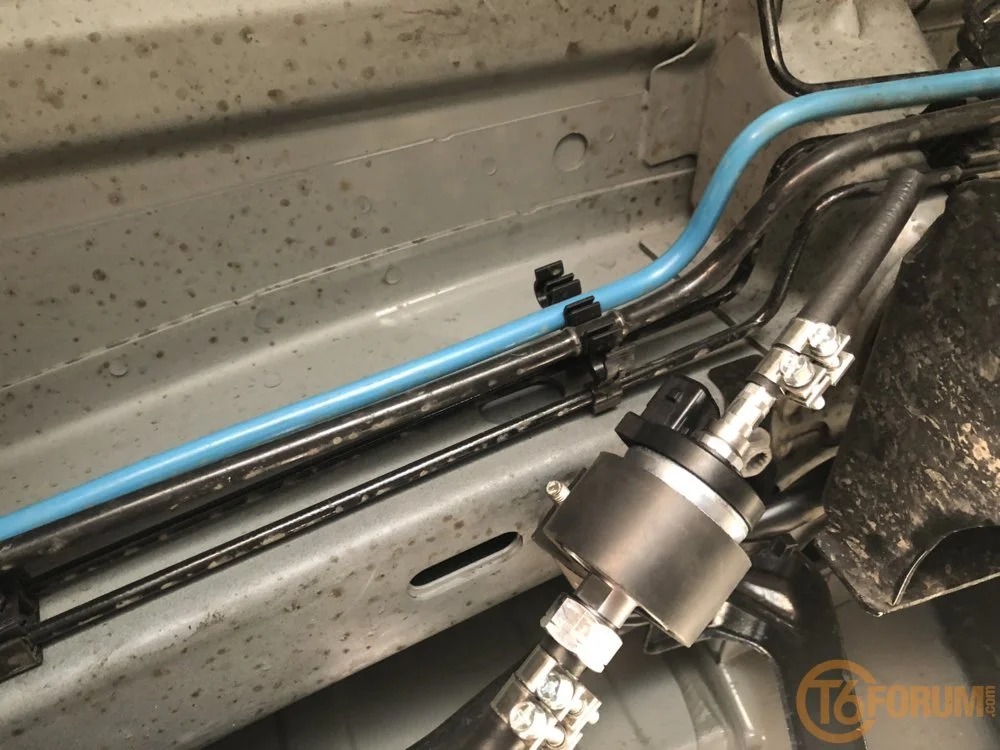
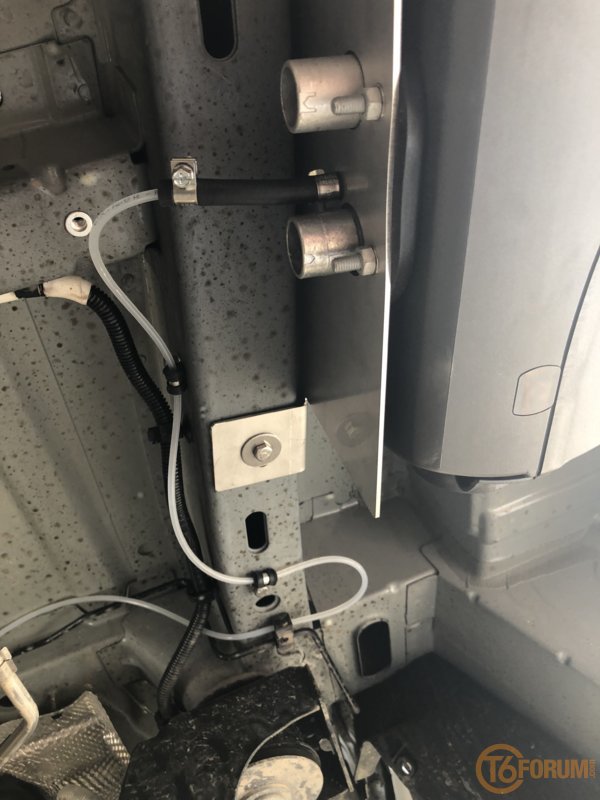
Bolted up and fitted high pressure line next, used rubber lined p clips to support. Used all factory holes with rivnuts for this, existing positions perfect. Then clipped along in spare point on existing clips towards tank.

 
Last edited:
Fuel tank removal next wasn’t looking forward to this but being a newer van the fixings etc were all good. Made sure the tank was ran right down, fuel station was bored of me sticking a tenner in only!

First job disconnect the filler from above, bit tight for this with the adblue filler but with that loosened off I was able to make it pass withough removing the adblue tank.


Straps dropped on tank and lowered on jack. Just enough length on pipes to get it in a workable position. Once out I gave the tank top a really good clean with apc for obvious reasons.


Removed the sender unit, tapped round with a large driver as it was very tight.


My kit had a drill into take dip tube rather than through the sender plate which I was fine with. So sender out and into a bucket with clean bag in.


Drilled the tank with 20mm holesaw whilst holding an aerosol cap beneath, someone elses idea I borrowed not mine.


Pipe in and ran along with existing pipes.


So tank back in, managed to sneak the low pressure pipe over the adblue tank to my preferred pump position.


So pump on next fitted to existing M8 boss in chassis rail, very handy. Very slight angle upwards on this as per instructions.

 
Last edited:
So pump on.


Loom next, big connector from heater and loom tie wrapped up easy enough, brought my cables up though existing grommet under drivers seat. Pump cable across under van with the fuel line, cables terminated and crimped into pump waterproof connector.


Drilled holes next for inlet and outlet, decided on step for inlet and base back for outlet. Just to note I’m using Jennings lowered bases so they look a bit different.

All holes primed, added some rubber trim and then sikaflexed.


Excuse the dirt!
 
Last edited:
Next fitted the exhaust pointing down at edge of sill with clearance hole cut in plastic panel. I had to drill a hole for 1 rivnut here but that was the only one so not bad. Inlet fitted too ran above the heater pointing towards rear of van.


Finished up my ductwork then in cab.


Wiring next, I left all the wiring that wasn’t required under the drivers seat. All sealed off with heat shrink and re loom taped just the cables i needed.


My heater is supplied from my leisure battery setup in my units so ran the cabling in a floor void I have previously created.


The two feeds came from my 12v fuse box so I dispensed with the fuse holders in the kit. I brought the negative here too as I didn’t want to add any more to the factory earth post under the seat at it may have looked a bit busy.


I used a basic easy start select controller as I wanted a simple on off system. Only three cores need here as the forth is for lighting control which wasn’t necessary. These are in a crimped connector which is provided with the controller.


And controller in with the rest of my wiring.


And that was it, probably about 10hrs which I know is slow! It fired up nicely after I made sure I had enough voltage from the battery.

Very pleased with it even if heating is the last thing needed as the moment. Can use it for ventilation only though I suppose!

Hope this helps.

Jack
 
Great write up, thanks for the detail :thumbsup:

I just ordered a Webasto Airstop 2000 yesterday and needed to look at guides for installing.
 
Brilliant write-up Jack. You make it look easy!

What’s next?

This was one of the last in a very long list, been converting it since September last year. Internally its all done so using it is next!

Not sure about making it look easy, there was some head scratching and cursing going on behind the scenes!
 
A clean and professional figment @Jack T . An excellent write up with pics too. This is one job left on my list that I want to complete...
I don’t like “fitters” working on my van.
Daft question... is there an opportunity to T into the existing fuel line to save attacking the tank? Or is the line high pressure straight from the tank pump?

You cannot use a high pressure fuel line - you must use a stand pipe on any vehicle with an intank pump. You can tap off the fuel line of a coolant heater if you already have one. Sometimes you can utilize the return line if the return goes sufficiently deep into the tank.
 
Next fitted the exhaust pointing down at edge of sill with clearance hole cut in plastic panel. I had to drill a hole for 1 rivnut here but that was the only one so not bad. Inlet fitted too ran above the heater pointing towards rear of van.


Jack
Very good, just one point:
As you have put an upwards loop in the exhaust drill a 1/8" hole at the lowest point to permit condensation to drain.
I supplied a heater that someone mounted with 3 m of exhaust and several downward loops and his heater stopped due to the exhaust getting filled with condensation!
 
You cannot use a high pressure fuel line - you must use a stand pipe on any vehicle with an intank pump. You can tap off the fuel line of a coolant heater if you already have one. Sometimes you can utilize the return line if the return goes sufficiently deep into the tank.

Yes I agree straight off tank is best, not too tricky either. It may be possible off the fuel line but just not worth the grief and over complicating it.
 
You can't take it off any fuel line that is fed from a pump as it will cause a heater to be overfuelled.
 
Very good, just one point:
As you have put an upwards loop in the exhaust drill a 1/8" hole at the lowest point to permit condensation to drain.
I supplied a heater that someone mounted with 3 m of exhaust and several downward loops and his heater stopped due to the exhaust getting filled with condensation!

I did think about this but was also was more concerned about not allowing any fumes to escape. The exhaust run is so short I don’t think it really has chance to cool down and condense.

I only added the loop to get it coming straight down away from the plastics and to look as neat as possible because I’m a bit funny about things like that.

It has been used extensively even doing the NC500 in Oct/Nov and hasn’t missed a beat so far.
 
It will condense in the depths of winter! If it is running back into the heater exhaust outlet it can also set up extra corrosion of the aluminium leading to premature replacement of the heat exchanger. The stainless to aluminium joint is prone to to corrosion after time anyway.
 
It will condense in the depths of winter! If it is running back into the heater exhaust outlet it can also set up extra corrosion of the aluminium leading to premature replacement of the heat exchanger. The stainless to aluminium joint is prone to to corrosion after time anyway.

Ok good shout, next time I’m under there and look at removing the loop.
 
I can show you a pile of heat exchangers that are perfectly serviceable except for corrosion on the exhaust outlet so anything that you can do to minimize it is good. Exhaust jointing paste helps as it prevents moisture getting in there easily. The manuals only mention using paste when completing a marine installation to ensure an absolutely gas-tight joint as it will be in an enclosed space but is beneficial in other cases also.
 
Back
Top