You are using an out of date browser. It may not display this or other websites correctly.
You should upgrade or use an alternative browser.
You should upgrade or use an alternative browser.
CandyVan conversion journey
- Thread starter drinfinity
- Start date
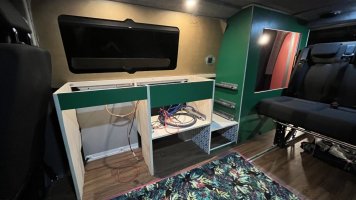
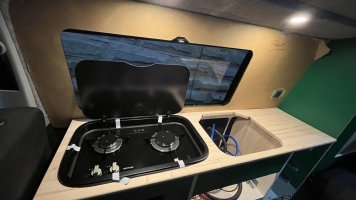
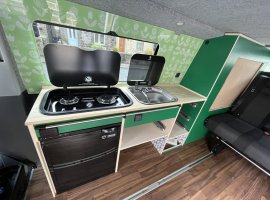
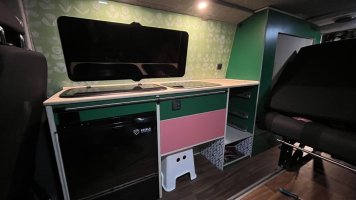
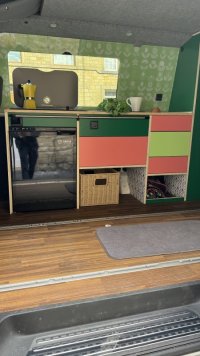
Worktop is sealed with Osmo Oil. The timber used to be the Velodrome track at the National Cycling Centre (daughter riding), and I bought a pile of it when they relaid the surface.
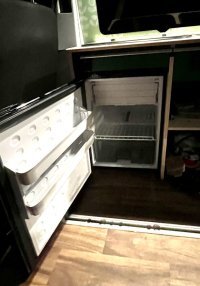
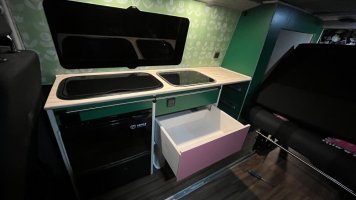
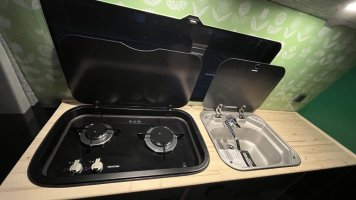
Kitchen fitted and gas connected. There is a Sureflow pump tucked behind the sink. The pump is fed from a relay operated by the tap switch, so it won’t run when drained of water.
The Thetford 165 hob runs to full power from the Cadac dual. Minor issue that there was a damaged wire in the ignition circuit which blew a fuse. Easy fix, and all good now.


This looks really cool, looks like a good set up.Worktop is sealed with Osmo Oil. The timber used to be the Velodrome track at the National Cycling Centre (daughter riding), and I bought a pile of it when they relaid the surface.
Kitchen fitted and gas connected. There is a Sureflow pump tucked behind the sink. The pump is fed from a relay operated by the tap switch, so it won’t run when drained of water.
The Thetford 165 hob runs to full power from the Cadac dual. Minor issue that there was a damaged wire in the ignition circuit which blew a fuse. Easy fix, and all good now.
View attachment 194041
View attachment 194042
View attachment 194043
View attachment 194044
View attachment 194045
Thanks! The artwork was done by my partner on some free software called Repper. She picked up the colour from the hex code of one of the accent paints on the drawers (still to be built). Vanshades helped us scale it to fit the splashback.Love that splashback!
I updated the bifold bed struts from 120N each side to 220N. The 120 were fine to lift the bed, and just held the surprisingly heavy inflatable mattress too, but weren’t enough when the van was pointing downhill last weekend. I might have to beef up the front rods too - I’ll see how that goes.
220N per side is enough to firmly hold the mattress, and also store a mattress topper for downstairs.
220N per side is enough to firmly hold the mattress, and also store a mattress topper for downstairs.
Two little mods today. Firstly a switch for the wireless charge pad, to stop the parasitic drain. Then the agreed value insurance additional premium for the full conversion. An easy process through JustKampers. I emailed them the form, photos inside and out, and a stack of receipts. A couple of weeks and it was agreed with no fuss.


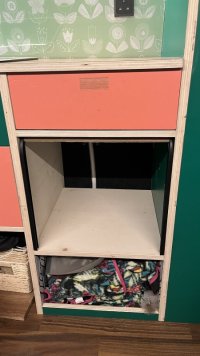
Another kitchen mod. Originally we had two drawers under the cutlery drawer, but they only open with the seats in the rearmost position. Turns out we like the seats mostly further forwards, so I replaced drawers with a tambour door from Tambourline (to match the wardrobe door). A slot routed into the base rail gives a flush finger lift. Much easier to build than the drawers they are replacing! Cupboard interior dividers to follow.



Similar threads
- Replies
- 9
- Views
- 1K
- Replies
- 4
- Views
- 1K
- Replies
- 26
- Views
- 3K

