CandyVan conversion journey

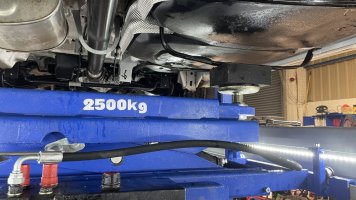
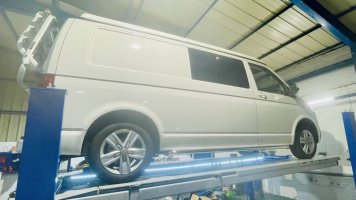
Two days off for an early Christmas present from the parents, who bought me two days ramp hire at East Lancashire Vehicle Storage Solutions .

It was a real pleasure to work on a new van, and the sliding jack built in made it really easy to lower and lift the fuel and water tanks. Much better than crawling under in the road like last time!

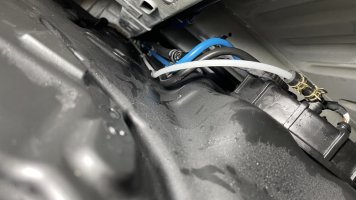
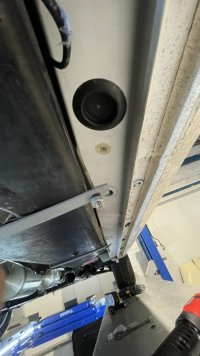
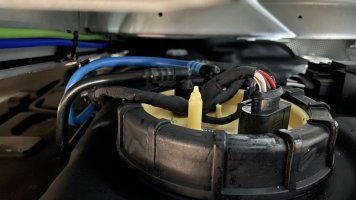
First job was fitting the fuel line. Thanks to the forum, I learned about the new fitting on top of the fuel sender, so I just had to drop the tank far enough to snip the end off, and hook up the push-fit connector. The pipe then clipped into the existing VW routing, and over to the driver’s side.
AD0CE408-C63E-42DB-9E5C-38AC4214DB4D.jpeg

D512228E-A2CC-406F-9648-AC82D4FF9CAD.jpeg

CB5B7132-125B-43D9-8CE3-1619481E873B.jpeg

EC34A3E8-7906-44E0-AD6A-A5D3BBFDB271.jpeg

74F7BF50-0A01-43A2-9A90-37190CAB1858.jpeg
 
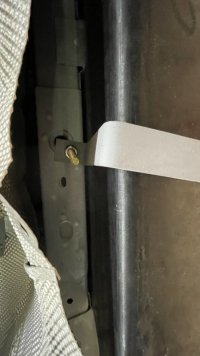
Next job was the heater. 2kw Vevor under the driver’s step. It came with soft green fuel line, but I used some hard white instead. Mounted to existing holes in the chassis with Rivnuts. Pump mounted on the heater mounting plate so the line runs uphill to the heater.

The exhaust muffler was exactly the same diameter as the pipe, so I had to get some copper pipe to be a sleeve inside. I need to extend the exhaust tail a bit to properly clear the exit.
A7F5302C-C198-41F3-ADC5-EEA049C95C50.jpeg
 
Next up was the water tank. I am using the skirt tank from Caktanks. I ordered it with the filler at the front, so they sent it with filler at the back. They took it back, and refitted it at the front, but too high so it fouled on the chassis. They took it back again and finally put it in the right place.

I put some primer on the brackets (which should have been done by the manufacturer) and figured out where to put the hooks and drill an extra hole. The instructions provided are rubbish. Unfortunately Caktanks are the only company that makes a tank that goes here, and they are a shambles.

E6101EF1-B51B-4ACC-BFFB-DC1D06E78040.jpeg

3CC5A628-E060-4AEC-8CCE-1FC5E5F9D1DB.jpeg

DEDC2322-7D2A-4E3A-8143-84EB19655317.jpeg

265D7716-ED55-412A-9B80-1B44AC4EF8BC.jpeg

CDA43537-2280-4985-B060-C23EB4F3375A.jpeg

1193AB48-CA8B-4260-AAF4-B2EFFE9A51E4.jpeg
 
Pipe routing. There was a grommet behind the tank that led through a second hole to the inside of the van, which took the supply and waste pipes and level gauge cable. I routed the fill pipe up into the engine bay where there is a space to put the inlet without going through the van skin.

DAF111B6-2DF0-46F3-8728-770CFFFBF2C8.jpeg

AA124C74-ADC2-4B14-BF9D-1A1040F5834F.jpeg
 
Under seat electric installation underway. Hoping to make some progress with a week off work. Spent a while cursing Pop Tops fitting. Their factory is as messy as their website, and my van is covered in now-rusty jigsaw swarf. It cleans off, one spot at a time.

View attachment 176953
It was for fear of this I never did get anyone to fit a pop-top on my campervan
 
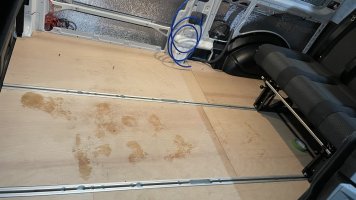
Work underway on the floor now. The seat rails added some complexity. 15mm ply (left over from the lifting bed base) glued in the spaces between ribs. 9mm insulation board glued on the ribs.

The floor is 18mm Ultralight ply/XPS sandwich, with another 5mm ply layer on top, and will have 2mm Altro over it. To fit the along rails, I had to rebate a channel, and plane down some of the packing where the van floor isn’t flat. The B pillars had to be trimmed at the bottom.

Next up will be the scribing to fit wheelarches and step.

8D273826-B492-4229-A820-BD2F0A2572A2.jpeg

C716A533-3086-4B8E-8303-D9965C8632CC.jpeg

D8D44E4F-C3BD-4833-BBDD-798D80F7D64B.jpeg
 
Floor panels cut now. Since they are so thick, the angles at the bases of the pillars and wheelarches all had to be cut in. I will be happy to see this all glued together and covered by the vinyl.

7683434D-6012-456D-9168-34DD9E04492D.jpeg
 
  • Like
Reactions: CAB
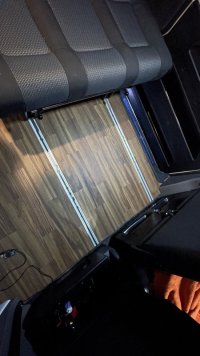
Floor done now. So many layers, levels and bevels to get to a flat plane. Only front and rear edge trim and rear threshold to do.

Caravelle step is in, and the light works. I think it needs a bit of packing underneath.

965C6F6F-E227-446B-8D14-469A22DC366F.jpeg

331AD31C-2112-46DB-B15A-76E09ECF8DF6.jpeg
 
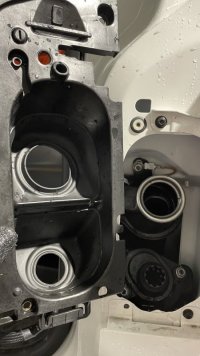
Water filler added under the bonnet. There is an M6 tapped hole on the van already to take the bracket I made. The pipe goes down to a skirt tank.

I might add one of those Hozelock style adapters to the cap later.

567F0D72-EAA9-455F-A263-EC7174D77B44.jpeg
 
Ply lining panel made and carpetted, insulation in, lamp lit. The front edge will be under a Vanshades Splashback which is on order. Combination of original VW clips, and some longer ones around the wheel arch. They are more secure than the hidden clips I feel, and will be inside the wardrobe.

89DB4FC2-40B8-44B4-85D3-0087EDD02AE0.jpeg

2C1DA313-D973-42AF-ACB2-060F7B008473.jpeg
 
Vanshades splashback, printed with our own design (to reveal later when the paper comes off).

Started the kitchen build. I had to set part of one panel back behind the fridge, to gain the last few millimetres so the fridge will clear the sliding bed. The panels are cut and scribed in, and the front edge of the 18mm Garnica routed and inset with 9mm poplar ply. Just offered up now to check it all fits.

7FFBBCC8-F713-4F51-890C-76AEF4A73685.jpeg

7537A80A-116C-4C49-878C-1F9F0B992A00.jpeg
 
  • Like
Reactions: CAB
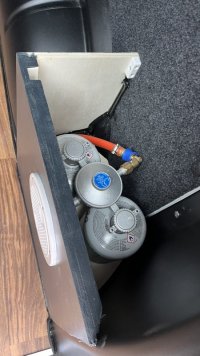
Cadac Dual locker installed, with space for two spare bottles below and a dropout vent. I installed a deck hatch (Amazon) to get to the valve. There will be a hatch in the floor of the wardrobe to access from the inside, and for changing bottles. Only just enough clearance, but it will give me a long space accessible from the back for camping chairs alongside the wheelarch.

41B0378B-FAAB-404B-9FA1-8626AF305529.jpeg

6D2DED8E-BB83-4B25-B8C6-81FC84A6D3D6.jpeg

A6874DA4-EC89-49BC-8EEC-FEA590A17147.jpeg
 
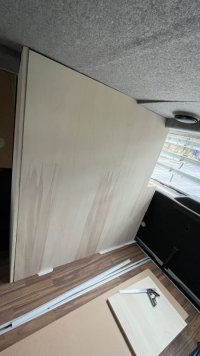
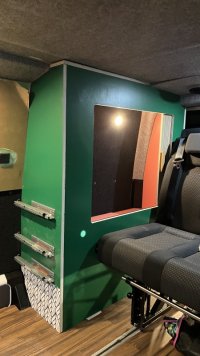
Lots of tinkering in the cellar, and after the delivery of a Tambourline oak veneer door I have my wardrobe built. Weeks of fiddling and scribing and all the flat pack is made and assembled. 30 minutes later it’s finally in the van.

I’ve cut up a 125mm duct which fits around the spiral, so I don’t get anything wedged in it. Push to open draw runners installed. Kitchen fitting next.

C0F24E96-9DD3-44A6-96E9-7B2B0C6AD9A3.jpeg

72D2B97F-6DA8-4811-973A-8AD3C7C8500A.jpeg

880B5CC3-5DC7-4720-A1BA-7ED9A9D3DF33.jpeg
 
Back
Top