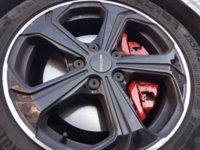
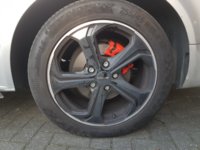
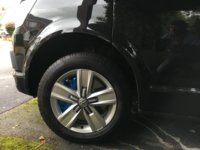
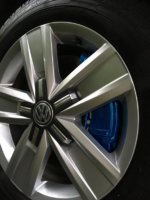
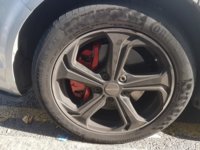
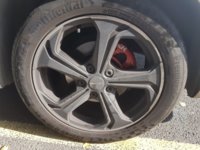
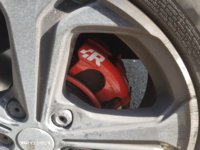
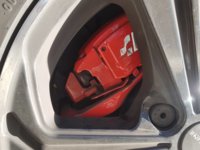
Caliper/brake painting... how I done it.

Dellmassive

T32 204 DSG LWB SLN PV MY18 & T30 SWB KMB MY67
VCDS User
Moderator
VIP Member
T6 Master
This one took a while to get around too, so there is some general chat and details below........ Then onto the the actual MOD, Plus Video near the bottom of the thread too =]

Happy Watching


**********************************************************************************


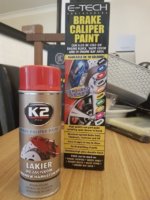
Any1 tried any of these?

Fancy a bit of Red calipers this week . . . . =]

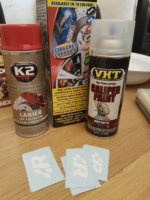
got both as they seemed cheap enough.

Anyone already tried either? or got any tips/tricks?

or am i being silly and should grow up and act my age and not do it?

last time i painted my brakes it was on a 1976 Ford XR2 Fiesta back in the boy-racer days.
2.jpg

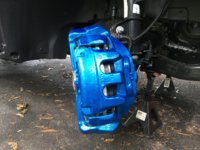
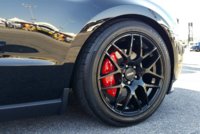
i was thinking about this kinda look . . . . . . .
3.jpg


More info over here > Dellmassive`s -- "how I Done It" -- Thread

.


Last edited:
Post up some pics and which works when you have done them as quite fancy doing mine as it has the big brakes
 
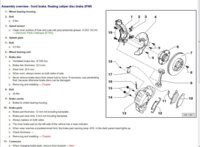
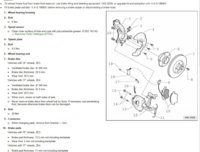
To do this job properly, you would need to take the Calipers & hangers off. So what are the torque settings for re-assembly?
 
That would be:


two options below . . . . . . . .

Twin piston calliper:

19 - Bolt
Threaded connection, brake carrier to wheel bearing housing.
Always renew after removing
180 Nm + 45°


14 - Guide pin
Use tool 9 mm socket -T50036 - .
60 Nm


a1.JPG


and


single piston caliper:

20 - Bolt
Always renew after removing
180 Nm + 45°

14 - Guide pin
30 Nm


a2.JPG


.


Dellmassive`s -- "how I Done It" -- Thread

.
 
Last edited:
Looks every bit as good as my calipers, except mine cost me £700, I must be mad, lazy or both.
 
@Dellmassive, did you split your Caliper down to do this? I take it you had to mask everything off to spray the laquer on.
Where did you get your decals from?

Wondering what colour might go well with my stormtrooper. Thinking yellow or green as a tad different.
 
@DaveyB . . . . simple answer to this is no!

I wanted a quick job now before the wet, winter weather kicks in . . . and things are crazy busy ATM and couldn't afford to have the van off the road for the few days it would take to do the job on a full strip down.


So I decided to go with the quick and dirty approach as the pads and discs are almost new. So i decided to do a "in situ" paint job without taking anything off except the wheel.

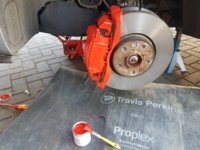
i went for the tined paint and few different sized paint brushes, i went for about 3 coats.

The paint is like a Home Gloss or Nail-varnish so it flows nicely and after a few coats fills in all the imperfections in the caliper casting and gives you a lush smooth gloss finish.


I went for the tined paint as when i tested the spray can it was too messy and didnt give a very thick coat of paint.........it wasnt worth the time and agro of masking everything up.


The lacquer was easy and just a basics for masking off . . . ripped open bin liner and a few bits of card, paper, masking tape to cover the rotors etc.


Some points to note were that:

Leave at least 45mins between colour coats or the new coat will wet the previous coat.
Leave the colour coat a full couple of days to fully cure before adding any decals ( i didnt and the decal pulled the red paint off, so i had to redo it!)
Add the clear coat straight away after adding the decals to seal them under the varnish.


so it was kinda a rush job - - - - just for now.

The idea being that when its time for new pads or discs etc and i have to remove the caliper . . . . i can touch it all up and make a better job of it.

(look at the available colours of the E-Tech paint . . . see below)

(Decals on ebay . . . . see below)


heres a few more pics:

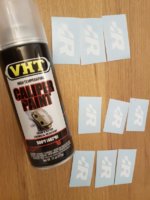
Decals from Ebay - Hi Temp stickers . . .

001.JPG
.

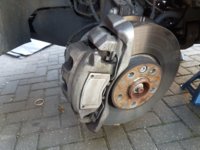
what they looked like to start . . .

.

20180927_135724.jpg

.

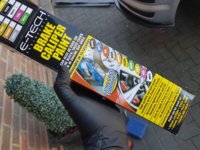
this is the paint we used . . .

.


20180927_135737.jpg

.

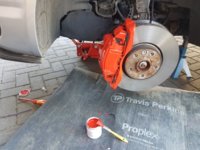
after 3 coats od red . . .

.


20180927_145636.jpg

.

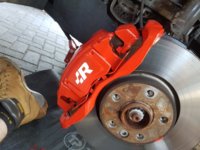
decals and HT lacquer . . .

.

20180927_150449.jpg

.

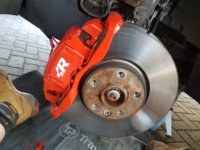
Fronts - red base, new decals, HT clear coat on top. . . .

.


20180927_155349.jpg

.

Rears - same again . . .

.


20180929_121819.jpg

.

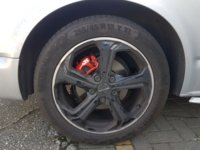
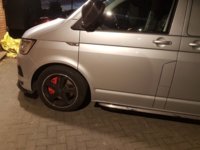
end of 1st day . . . . waiting for red colour to fully cure over the next 24hrs.

.


20180927_193054.jpg

.
 
@DaveyB . . . . simple answer to this is no!

I wanted a quick job now before the wet, winter weather kicks in . . . and things are crazy busy ATM and couldn't afford to have the van off the road for the few days it would take to do the job on a full strip down.


So I decided to go with the quick and dirty approach as the pads and discs are almost new. So i decided to do a "in situ" paint job without taking anything off except the wheel.

i went for the tined paint and few different sized paint brushes, i went for about 3 coats.

The paint is like a Home Gloss or Nail-varnish so it flows nicely and after a few coats fills in all the imperfections in the caliper casting and gives you a lush smooth gloss finish.


I went for the tined paint as when i tested the spray can it was too messy and didnt give a very thick coat of paint.........it wasnt worth the time and agro of masking everything up.


The lacquer was easy and just a basics for masking off . . . ripped open bin liner and a few bits of card, paper, masking tape to cover the rotors etc.


Some points to note were that:

Leave at least 45mins between colour coats or the new coat will wet the previous coat.
Leave the colour coat a full couple of days to fully cure before adding any decals ( i didnt and the decal pulled the red paint off, so i had to redo it!)
Add the clear coat straight away after adding the decals to seal them under the varnish.


so it was kinda a rush job - - - - just for now.

The idea being that when its time for new pads or discs etc and i have to remove the caliper . . . . i can touch it all up and make a better job of it.

(look at the available colours of the E-Tech paint . . . see below)

(Decals on ebay . . . . see below)


heres a few more pics:

Decals from Ebay - Hi Temp stickers . . .

View attachment 29319
.

what they looked like to start . . .

.

View attachment 29321

.

this is the paint we used . . .

.


View attachment 29322

.

after 3 coats od red . . .

.


View attachment 29323

.

decals and HT lacquer . . .

.

View attachment 29324

.

Fronts - red base, new decals, HT clear coat on top. . . .

.


View attachment 29326

.

Rears - same again . . .

.


View attachment 29327

.

end of 1st day . . . . waiting for red colour to fully cure over the next 24hrs.

.


View attachment 29328

.
Cracking, cheers @Dellmassive
 
Back
Top