Brake Pad & Disc change - How I Done It -

Dellmassive

T32 204 DSG LWB SLN PV MY18 & T30 SWB KMB MY67
VCDS User
Moderator
VIP Member
T6 Master
Brake Pad & Disc change - How I Done It -


After a recent trip to the Dealer for Service and Cambelt job, ( we had the dealers do it as we are in a 2yrs extended warranty ) : Cambelt + Water Pump Replacement - Official guidance


At the time, they advised that the rear pads were 90% worn.

which as we all know is an easy money spinner for them, I'm sure every time I've walked into the dealers they taken one look am me and the van and said "Pads & discs all round -Sir? " without even checking.

anyway we know there game, so i politely declined their offer to do the Pads & Discs at the time and carried on like normal.

in the back of my mind i knew that the front and rear brakes have wear sensors of them, and that these come on when the pads are down to 80/90% - and i hadn't seen any warning yet.

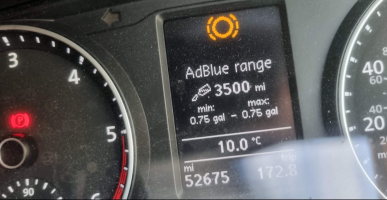
so imagine my surprise when almost two weeks to the day, . . . . . this happened.
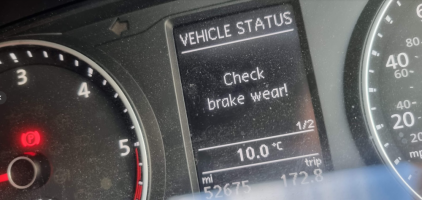

1649577046383.png1649577057566.png


that message is triggered form one of the brake pad sensors, there is one on each axel. - its assumed that both side are changed at the same time so they save money and weight by just instaklling two sensors and not four.


OK no big deal, they are obviously due to be changed. were at 52k miles,

and i can see from my records that the pads were changed all-round at 29k miles.


1649577329104.png

looking over here we can see what's required: Service Parts List - What Goes Where -


++++++++++++++++++++++++++++++++++++++++++++++


Brakes:

Pads:

308mm F Pagid Brake Pad (Front Axle) Product Code: 101441298
340mm F Pagid Pagid Brake Pad (Front Axle)Product Code: 101441868
340mm F Brembo Brembo Brake Pad (Front)Product Code: 10144186A
294mm R Pagid Brake Pad (Rear Axle) Product Code: 101441318
294mm R Brembo Brembo Brake Pad (Rear)Product Code: 10144131A

Discs:
Smaller 308mm Front: Pagid Brake Disc (Front Axle)Product Code: 104441288
larger 340mm front; Pagid Brake Disc (Front Axle)Product Code: 104442118
larger 340mm front Brembo Brembo Brake Disc (Front)Product Code: 10444211A
standard 294mm rears: Pagid Brake Disc (Rear Axle)Product Code: 104441368
standard 294mm rears Brembo Brembo Brake Disc (Rear)Product Code: 10444136A


++++++++++++++++++++++++++++++++++++++++++++++


I run a T32 204 DSG and as such have the Larger 340mm front brakes,

that means i need the :

larger 340mm front; Pagid Brake Disc (Front Axle)Product Code: 104442118
340mm F Pagid Pagid Brake Pad (Front Axle)Product Code: 101441868

standard 294mm rears: Pagid Brake Disc (Rear Axle)Product Code: 104441368
294mm R Pagid Brake Pad (Rear Axle) Product Code: 101441318


++++++++++++++++++++++++++++++++++++++++++++++


Now about a year ago, well, two by now . . . i made use of the BLACK FRIDAY sale and procured a full set of BREMBO pads and discs.

I've had them in the garage ever since . . . . . . 4x discs and a full set of pads.

larger 340mm front Brembo Brembo Brake Disc (Front)Product Code: 10444211A
340mm F Brembo Brembo Brake Pad (Front)Product Code: 10144186A
standard 294mm rears Brembo Brembo Brake Disc (Rear)Product Code: 10444136A
294mm R Brembo Brembo Brake Pad (Rear)Product Code: 10144131A
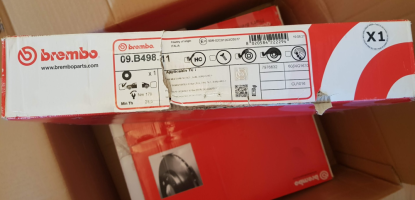

1649577723112.png

.

+++++++++++++++++++++++++++++++++

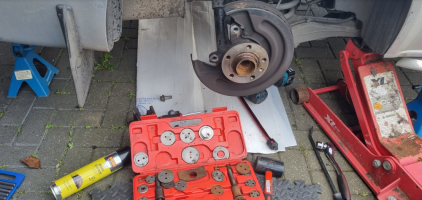
iv already got all the tools to do the job . . so lets that a quick look. . . .


Trolley Jack and axle stands are standard, but there are a few extra bits you need.


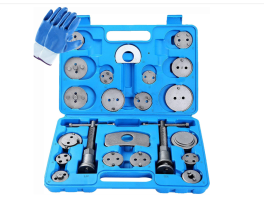
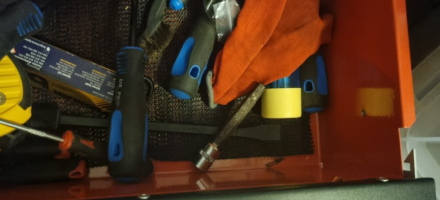
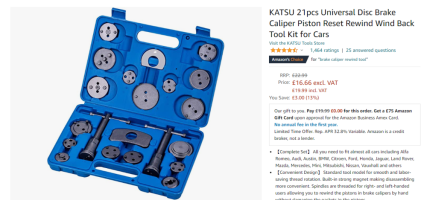
you will need a brake calliper wind back tool, i have the kit form as i do other pad jobs.


1649578184676.png

+++

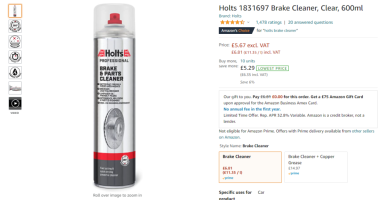
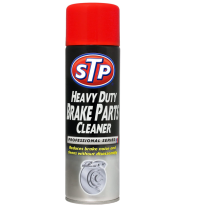
Brake cleaner is a must . . .


1649578327342.png


+++++

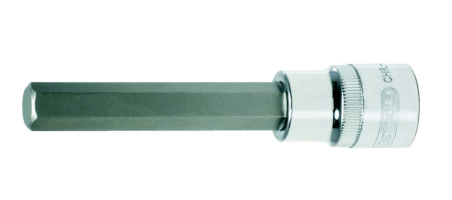
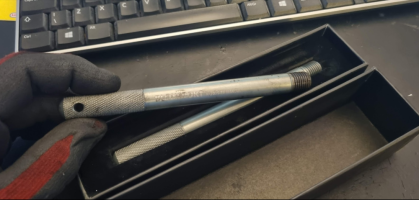
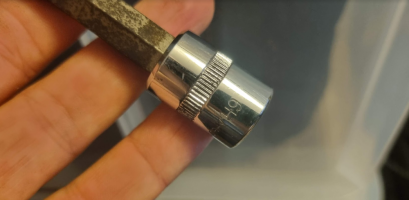
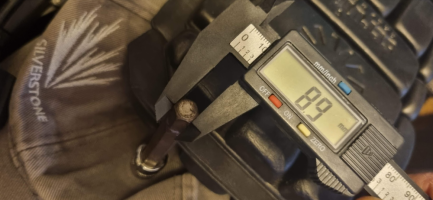
there is the 9mm long bit for the slider guide pin. . . . but i check that fully after.


+++++


Then some standard garage hand tools.


++++++

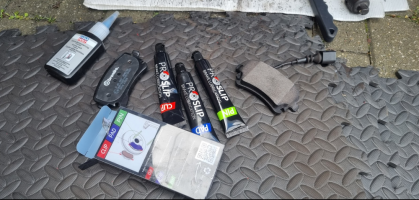
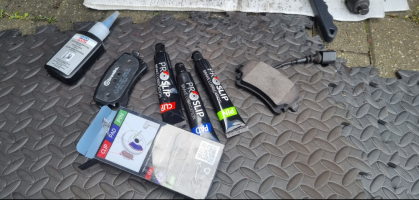
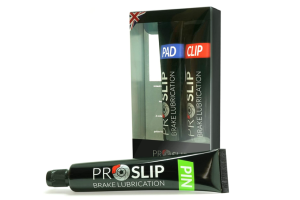
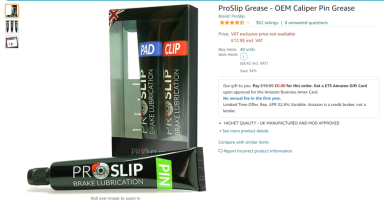
I decided to try this new little ProSlip Grease kit highlighted by a fellow T6F member . .


1649577934973.png


.


ill be doing the job soon . .

so starting this thread now.


.
 
p2

reference material


++++


+++


+++


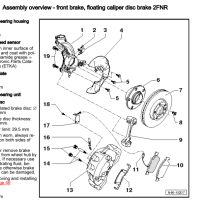
we have the OEM guides available in the download section.


Fronts : T6 & T6.1 - Brake Pad Replacement

1649578777528.png


...


Braking System Workshop Manual​


1649578847560.png


.


+++

Rear guide by @Loz - https://www.t6forum.com/threads/how-to-changing-rear-disks-rotors-and-pads.12709/


+++
 
Last edited:
p3

Torques and settings:

+++

front

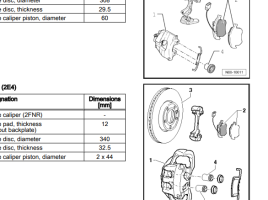
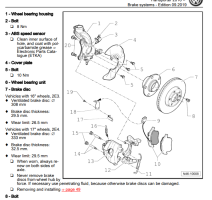
- Brake disc Vehicles with 16'' wheels, 2E3. ♦ Ventilated brake disc: ∅ 308 mm. ♦ Brake disc thickness: 29.5 mm. ♦ Wear limit: 26.5 mm.

Vehicles with 17'' wheels, 2E4. ♦ Ventilated brake disc: ∅ 340 mm. ♦ Brake disc thickness: 32.5 mm. ♦ Wear limit: 29.5 mm. ❑

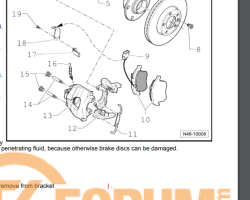
When worn, renew on both sides of axle. ❑ Never remove brake discs from wheel hubby force. If necessary use penetrating fluid, because otherwise brake discs can be damaged.


...

front

- Brake pads Vehicles with 16'' wheels, 2E3. Brake pad thickness: 12.5 mm not including backplate . Wear limit: 2 mm not including backplate.

Vehicles with 17'' wheels, 2E4. . Brake pad thickness: 11 mm not including backplate . Wear limit: 2 mm not including backplate.
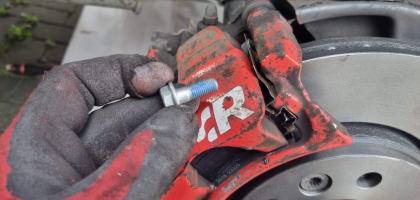
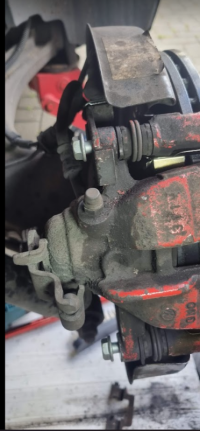
Always replace on both sides ❑ The inner pad on the left side of the vehicle has a wear indicator. ❑ When wear reaches a predetermined limit (maximum 2to 3 mm), brakepad warninglamp - K32- indash panel insert lights up

...

rear:

Brake pads Brake pad thickness: 11.5 mm not including backplate Wear limit: 2 mm not including backplate. Always replace on both sides The inner pad on the right side of the vehicle has a wear indicator. When wear reaches a predetermined limit (limit: 2-3 mm), a warning lamp in dash panel insert comes on.


- Brake disc Ventilated brake disc: Ø 294 mm. Brake disc thickness: 22 mm. Wear limit: 19.9 mm. When worn, always renew on both sides of axle.


...


...
 
Last edited:
p4:


Fitting Fronts

i done the rears first , so see below.

Then i done the fronts. . . .

this time,

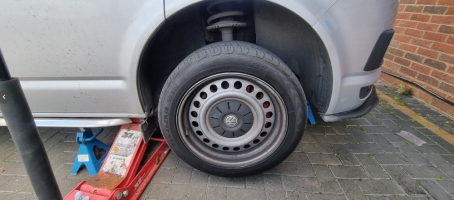
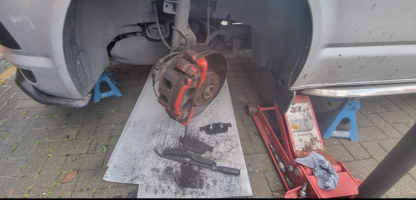
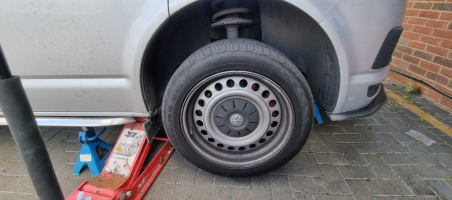
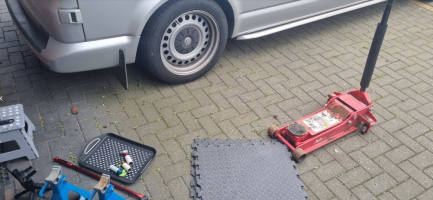
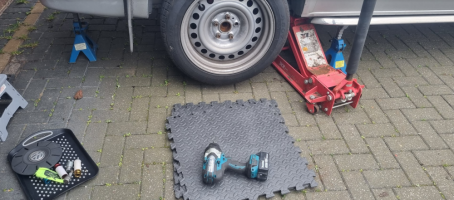
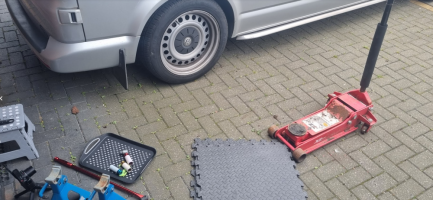
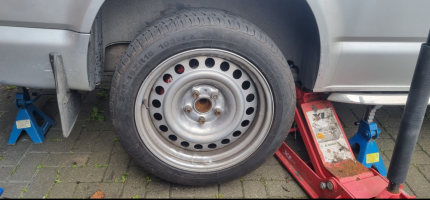
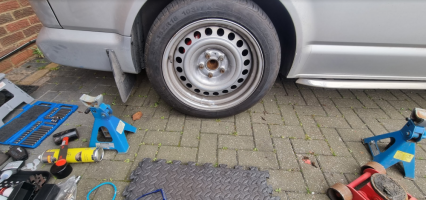
jack up and wheel chocks, then axel stands. . .

1649866979259.png

..

wheel off . . . .

this time im adding the wd40 from the start to give as much time to soak in as possible ( after having trouble with the rears - below)

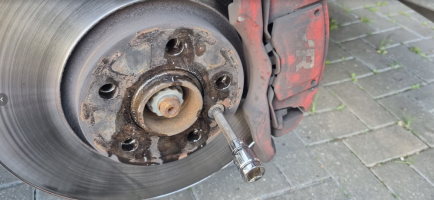
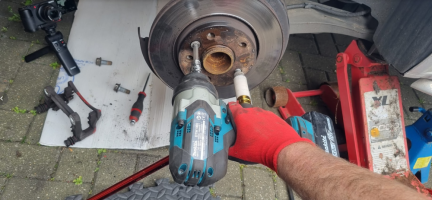
then spline bit in on the impact gun . .

1649867068819.png

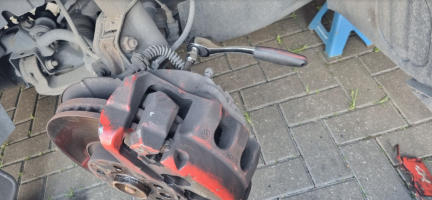
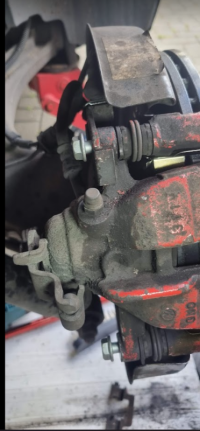
next up was removing the slide pin caps . .

and using the 9mm long Allen socket to remove the pin bolts. . . .

1649867137868.png

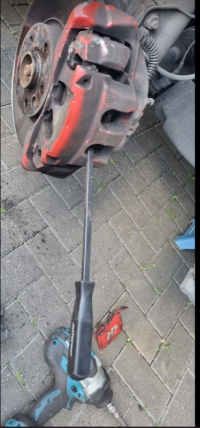
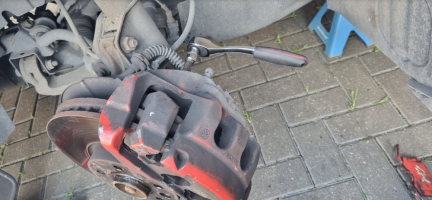
with them out i used a pry bar against the caliper housing and the old pads to compress the pistons back in . . .

there is no wind back on the fronts. . . . you can use the wind back tool to push them back in . . .

but i find using a pry bar is easier . . .

1649867261501.png

pry-bar successful .

the calliper can be removed and the pads remove. . .


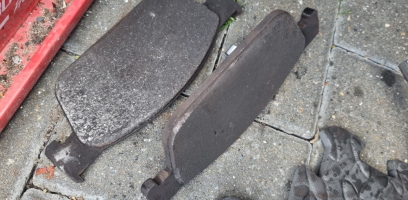
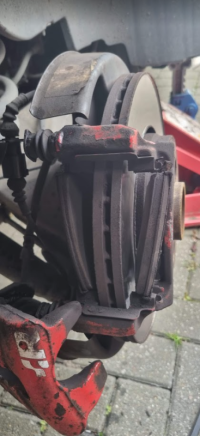
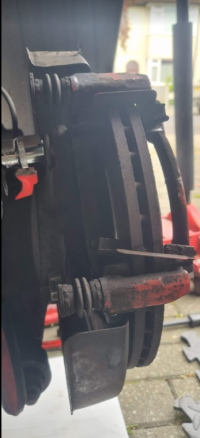
this is what we had left . . .


id say i got my moneys worth out of these . . .

1649867334672.png
1649867356860.png1649867370165.png1649867383248.png

now . . .

at this point its time to remove the two 21mm calliper bracket bolts, to remove the bracket,

so we can swap the disc. . .

the lower 21mm bolt come out no problem - with the impact.

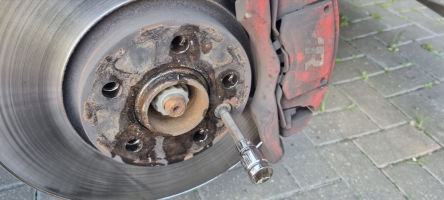
but the upper 21mm bolt wouldn't budge . . . with the impact or the breaker bar.

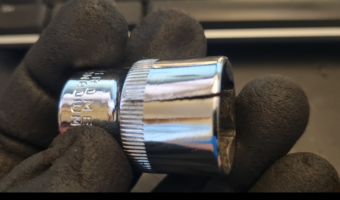
to the point i split the socket :mad: - so its game over for today.

i thin the bolt will need heating up and trying again with a new socket.

so for now as the disc are a good thickness . . . . ill carry on as just a PAD SWAP job.


1649925743273.png


++++++++++++++++++++++++++++

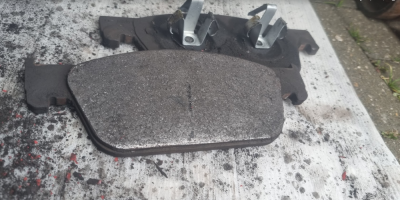
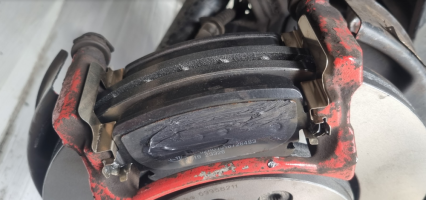
time to refit the new pads . . .


with the pistons pushed full back . . .

one half the pads set pushes into the piston.

the other side sits in the caliper bracket . . .

both together. . .

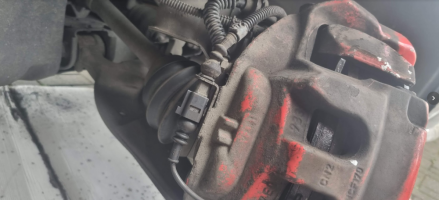
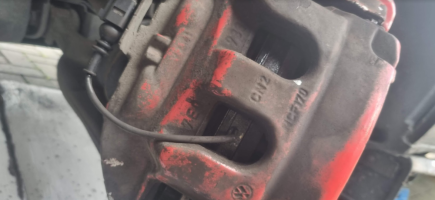
and add the break pad sensor . . .

1649867728324.png


which is fitted to the pad for you install it . . .

1649867752546.png


with the slider pins greased and reinstalled 35Nm . . . . its just time for the spring plates next. . .

1649867814323.png

so plate back on , , ,

disc spline bolt back in . . .

1649867858211.png

then wheel back on . . .

1649867942459.png
..


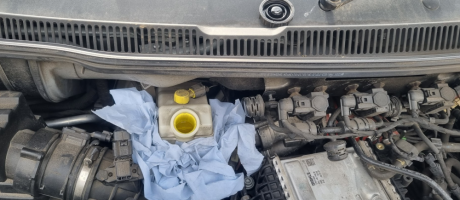
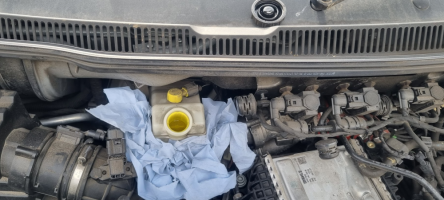
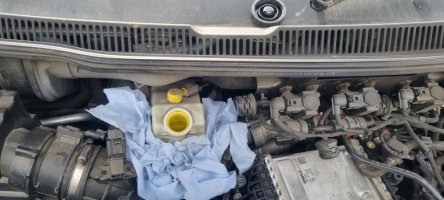
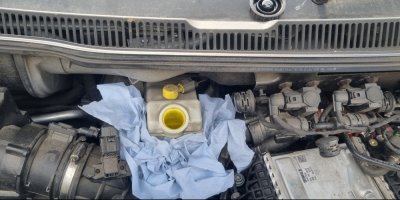
now to check the master cylinder oil level and cap. . .


...


1649867926577.png

next up is to pump the break peddle, , ,6 or 7 times . . .


this is to take up the slack from the piston push back . . .


ding ding round two . . .


now repeat for the other side of the van.


+++++++++++++++++


.......


once both side are done.


pump the break peddle 5-10 times.

then start the engine and then - pump the break peddle 5-10 times - again.

now go for a test drive, being cautious and carful as the new pads / discs will take a while to bed in be 100%,

so drive carefully for the next 50 - 100miles and don't break too hard until they are bedded in.

+++

1649868070789.png

taking the van for a short test drive . . .


its time to call it a day . . .


1649868107858.png


I'm not sure how i got so covered in grime. . . . but that's just how it goes.


I've still got the new front discs ready to be fitted on the next pad swap. . .

but i need to get a new 21mm socket. . . .

ill probably get a set of impact rated sockets.

and might need to heat the bolt up . . .

well see next time.


+++++


end

1649867138363.png
 
Last edited:
p5

fitting fronts - pt2 - discs TBC
 
Last edited:
p6

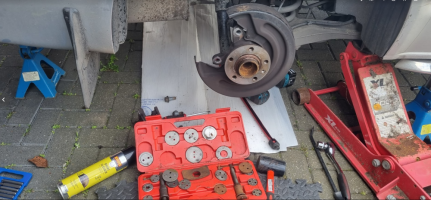
fitting rears:


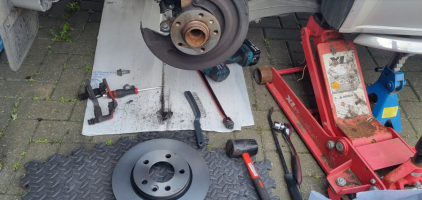
so it begins . . .

locking wheel nut out ,

wheel bolts cracked,

jacked up and axel stands fitted.


1649864572515.png

1649864491939.png

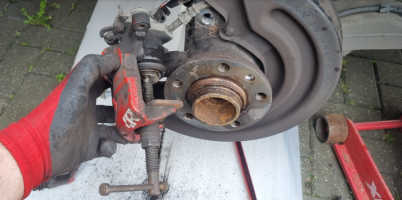
wheel off, first thing is to crack the slider pins off . . .

1649864617170.png

with the bolts removed, we can remove the carrier. . . .

i didn't bother removing the hand break cable,

so carrier out the way . . . we can get to the pads. . .

1649864704342.png


pads out, . . . . now at this point,

its new pads back in and start to rebuild. but, . . . . . . . .

as we are doing the disc too we have more to disassemble. . .

2x 21mm bolts with the breaker bar are next - they are well tight . . . . 185Nm tight.

so you need to use a long bar or a Impact wrench of serious capacity.

1649864899181.png

once those bolts are out you can remove the carrier bracket. . .

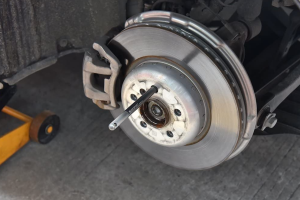
next up is the disc itself . . . its held on with the wheel bolts . . .

but during factory manufacture, they fit this pesky spline bolt.

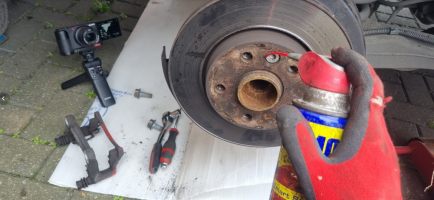
first thing to do is WD40 everything . . . round the hub,

in all the bolt holes,

and around the spline bolt . . .


1649864956871.png

i used the 18v impact with the bit adapter to remove the bolt . . .

it come flying out. . .

1649865162267.png

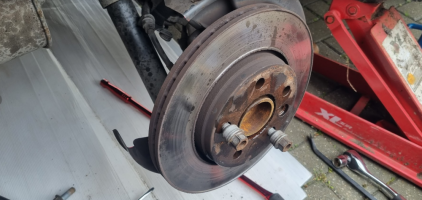
once that's out, its just rust and corrosion holding the rotor onto the hub . . . and its stuck on good.

so add some more WD40, , , , , ,

i also put two wheel bolts in loosely. . .

this is to stop the disc dropping off in the next step . . . .

next step = smash the granny out of the rotor . . . . . rotate 90degrees, smash again.

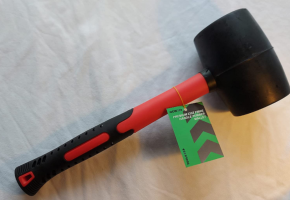
im using a heavy duty rubber mallet . . . . and its taking some beating.


1649865281037.png

finally it will break free . .

so clean the hub and get your wind back tool ready for the calliper piston wind back.


1649865386297.png

first step is to prepare the master cylinder . . . . just in case someone has topped-up the master cylinder ( i hate this, why top it up !!!!) - ( it doesn't need topping up - its just pad wear, now with new pads we will be pushing that extra fluid back out the system and it will spill all out the master cylinder !!!)
1649865547594.png

then lubricate the piston gator with wd40 and start winding back . . . . . . they go in clockwise.

1649865630116.png

job done. . . . . .

now for the rebuild. . . . .

get the new disc. . . . .

fit and replace the spline hold down bolt. . . .

1649865684491.png

now to try out the fancy assembly grease kit . . . .

1649865724068.png

calliper bracket back on and torqued down to 185Nm . . .

then new pad shim plates (supplied with new pads)

then fit new pads wear sensor . . . .

apply the CLIP and PAD grease as shown in the kit diagrams . . . .

1649865876605.png

now slide the calliper housing back one and replace with new bolts ( supplied in the new pad kit)

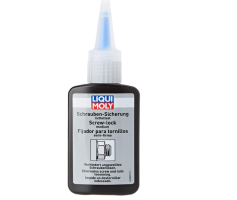
I've added a couple of drop of blue thread lock

1649865945336.png
1649866004541.png

tourqed down to 35Nm . . .

1649866043197.png


now its wheel back on . . .


end.

1649865607738.png

1649866029317.png

1649865724582.png
 
Last edited:
p7

fitting rears pt2.

now its wheel back on . . .

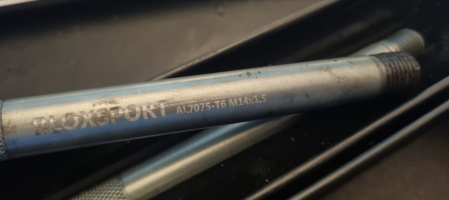
i used the BLOX SLIDE PINS to help get the wheel back on.


1649866140582.png

dropping the jack and axel stands. . . .

1649866197048.png

next up is to pump the break peddle, , ,

and do the handbreak 6 or 7 times . . .

this is to take up the slack from the piston push back . . .


ding ding round two . . .


now repeat for the other side of the van.


+++++++++++++++++


once thats done . . .


remember to put the master cylinder back together.

1649866335953.png


.......


once both side are done.


pump the break peddle 5-10 times.

then start the engine and then - pump the break peddle 5-10 times - again.

now go for a test drive, being cautious and carful as the new pads / discs will take a while to bed in be 100%,

so drive carefully for the next 50 - 100miles and don't break too hard until they are bedded in.

+++


.


end
 
Last edited:
p8

kit & tools used . . .

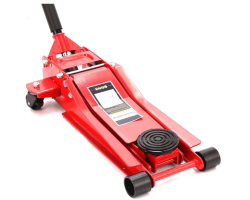
3t jack - https://amzn.to/3E9TEXD

1649916667497.png

++


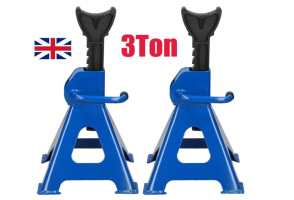
HD Axel stands - https://amzn.to/3KN3ktx

1649916711271.png

++


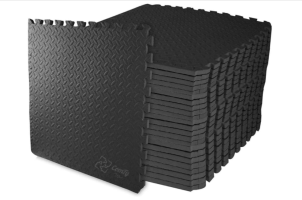
rubber matts - https://amzn.to/3uEfBL5

1649916770846.png

+++


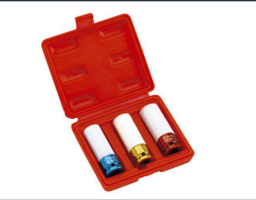
3set wheel sockets - https://amzn.to/3jCYjIg

1649916820791.png

+++


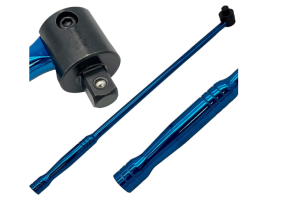
breaker bar - https://amzn.to/36cTv9j

1649916875140.png

+++

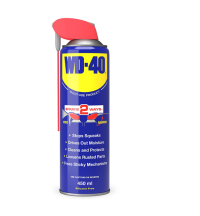
wd40 - https://amzn.to/3uGdsyM

1649916984647.png


+++

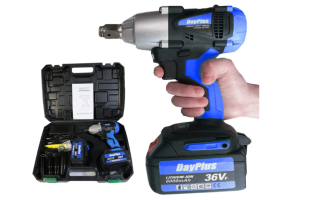
impact gun - https://amzn.to/3ObeAC8

1649917069096.png


+++

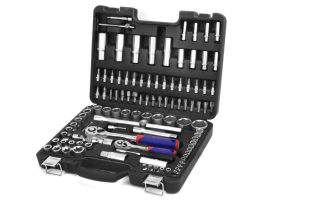
socket set 21mm,12mm,13mm - https://amzn.to/3xxfza1

1649917169294.png


+++

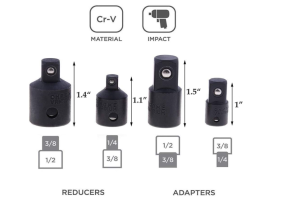
socket reducer set - https://amzn.to/37PX31t

1649919278588.png


+++

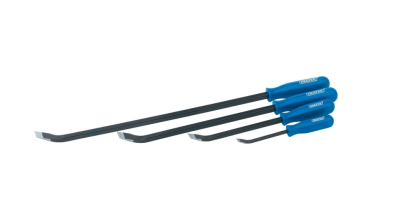
pry bar - https://amzn.to/3vg90Wo


1649919329584.png

+++

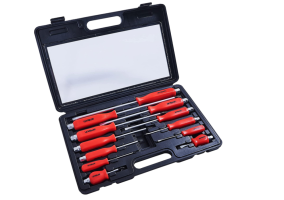
screwdriver set - https://amzn.to/3jAoHCn


1649919379353.png


+++

9mm long bit - https://amzn.to/3Eb63uc

1649919732284.png

+++

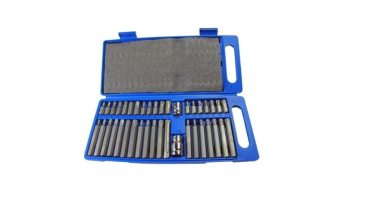
vw spline set - https://amzn.to/3xrAxXy

1649919772973.png


+++

caliper wind back tool - https://amzn.to/3rpxr2s


1649919810715.png


+++

rubber mallet - https://amzn.to/36i5cM0


1649919861234.png


+++

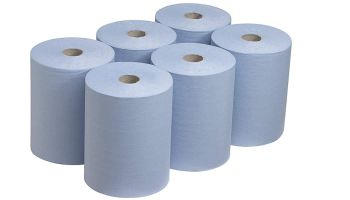
blue roll - https://amzn.to/3KN9dXF


1649919905434.png


+++

proslip grease kit - https://amzn.to/3vcQLkG


1649919967887.png


+++

blue threadlock - https://amzn.to/3JGewa2


1649920013704.png


+++

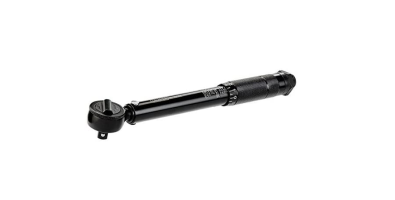
torque wrench small - https://amzn.to/3vlUfS9

1649920143334.png

+++

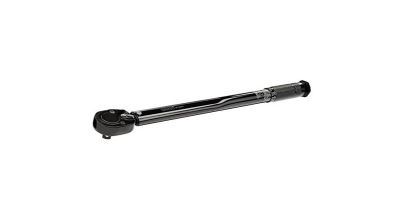
torque wrench large - https://amzn.to/3JAf29y

1649920171700.png

+++
 
Last edited:
p10


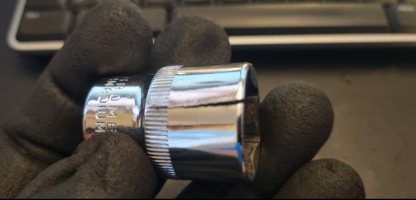
looking at that split 21mm socket. . . it just couldn't take the torque and split,

ill need to replace it. . .

1649924433488.png


+++++++++++++++

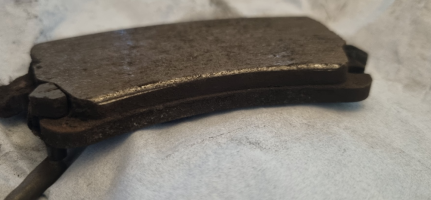
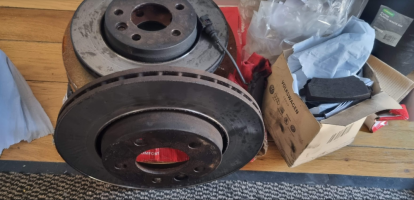
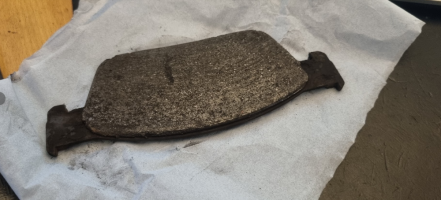
this is the old pads and discs removed from the rear.

new pads are 12mm,

When wear reaches a predetermined limit (limit: 2-3 mm), a warning lamp in dash panel insert comes on.


to be fair the rears didn't need replacing just yet . . . it was the fronts that triggered the dash light.

you can see the wear sensor is still untouched. - but we done them anyway.

. ( there lasted 23,000 miles and still some left on them )


1649924517180.png

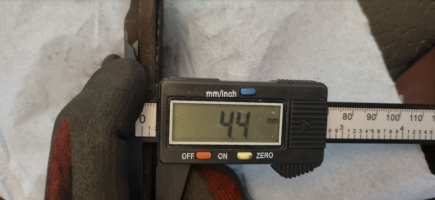
we had 4.4mm of pad left . . . .


1649924543892.png


as for the rear disk . . .

it looked fairly good TBH. . .

1649924602269.png

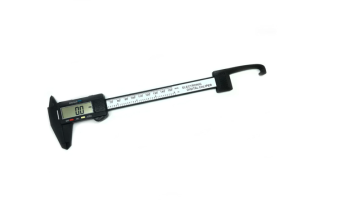
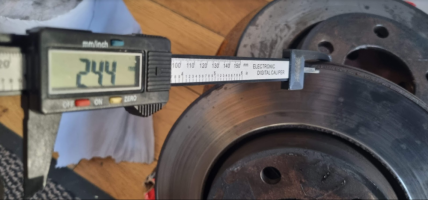
and measured 24.4mm thick . . . so there is still 5mm left in them (2.5mm per side)

" Brake disc Ventilated brake disc: Ø 294 mm. Brake disc thickness: 22 mm. Wear limit: 19.9 mm. When worn, always renew on both sides of axle."

these are the original discs . . . . so have 52,000 miles on them


1649924621367.png

++++++++++++++

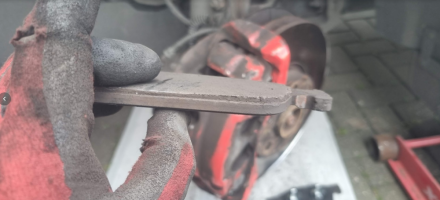
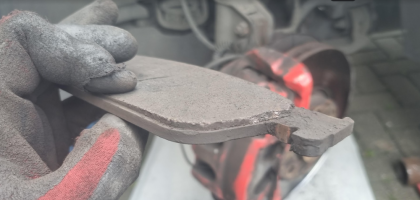
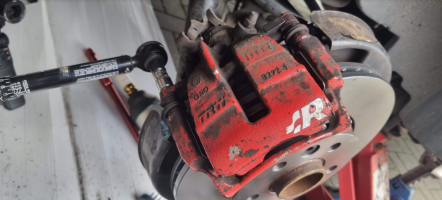
this is the old pads removed from the front.

Vehicles with 17'' wheels, 2E4. . Brake pad thickness: 11 mm not including backplate . Wear limit: 2 mm not including backplate.


1649924744902.png


these defo needed replacing. . . . ( there lasted 23,000 miles )


they measured 2.8mm - so almost at the min limit.

"Vehicles with 17'' wheels, 2E4. . Brake pad thickness: 11 mm not including backplate . Wear limit: 2 mm not including backplate."


..................


the front discs are also original . . and don't need replacing just yet.

these are the original discs . . . . so have 52,000 miles on them

but i dint get a thickness reading yesterday. . .

ill update soon. . .


+++++++++++++++


+++++++++++++++++++++++++++

questions answered

other
 
Last edited:
Think its 7mm long bit not 9mm ?? maybe edit that in after
Yep I think your right... but not sure now.

just just checked mine . . . its 9mm

Its listed as a H9.


1649582776993.png1649582784127.png1649582794294.png


+++++

Big Fronts . . .

1649582923796.png

1649582906850.png


+++++


smaller fronts . . .


1649583183157.png

1649583224143.png


.


++++


1649583272737.png


+++


now wondering if the smaller fronts have the same 9mm or if they have smaller guide pin as in 7mm?


+++++
 
Yes... Possible.

I'm defo 9mm.

Just need to 100% confirm that the smaller calliper has the 7mm slide pins long-Allen bit.
 
I was set to change front pads and disks today (changed rear yesterday). But those slide pins is actually 11mm on my T6, and 11mm seems to be almost impossible to find. Can anyone confirm that on some cars it is 11mm hex key? It is the 204hp diesel 4-motion model 2017 with large disks.
 
That should be 9mm Allen bolt. Same as my 2018 T32.
 
done the rear pads and discs today . . . .

I've edited above:

so link back up -


.


1649866740945.png
 
Back
Top