Dash Centre Storage-Tray

I fitted a dual USB A outlet in that location, removed the blanking plug and fitted it in, no existing wiring on my van but its a short drop down to the fusebox where you can add a way in the spare slots if you have the time.
I will be changing it soon for a USB C outlet (switched) as my new phone is USB C input that will take higher output current.
I’d like to do this. Does it require removing much of the dash to run the wires? Or can they be fished straight through to the fuse box?
 
You will need to remove the vent grille which is attached to the radio surround (see the ‘where the clips are’ thread for details of removing that). I needed to remove the dash surround and the clocks unit to get access to feed the wires around the bits supporting the dash inside the dashboard area.
To get access to the fusebox to add a wire terminal to it to run a dedicated feed to the socket you install, requires a bit more work, actually removing most of the dash panels is required to get the fuse box out (under dash panels, lower dash panels, gearstick surround, panel that covers the fusebox, glove box, etc etc)
It’s not difficult with a few trim removal tools and some torx drivers but there’s a lot that has to be taken out (and replaced) in the right order to do it. Certainly think about what else you can do while everything is apart, and source some terminals to install fuse ways before you start work.
 
It pops out easy enough by levering gently up at the centre.
I needed a place to hide my Garmin satnav / reversing camera monitor so I made a hinged cover. By chance it also keeps the sun off the Garmin screen so it’s always visible.


View attachment 45852 View attachment 45853
Do you have any instructions on how to make this and the hinge needed? It looks great...I was looking for something similar to mount a Ram track on. Appreciate your time.
 
Do you have any instructions on how to make this and the hinge needed? It looks great...I was looking for something similar to mount a Ram track on. Appreciate your time.
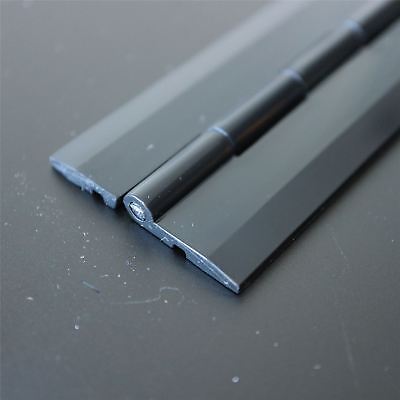
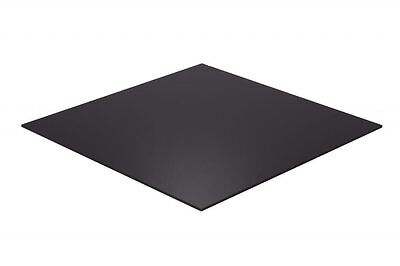
The hinge is bonded to the sheet and the trim to avoid screw holes.
The removable trim at the front of the storage area needs to be removed and be cut to a straight edge to accept the hinge, simple enough.
Bonding the hinge to the trim creates the only datum for taking measurements for the sheet as the sides of the storage pocket are not straight and have also radiused corners. It took some time to get the fit correct.
If you have some patience and are fairly precise with hand tools and taking templates it’s straight forward.
 
Back
Top