Shuttle Shenanigans

archersam

Senior Member
VIP Member
T6 Guru
I meant to start this when I got it in December for somewhere to document the changes but things went a bit quicker than planned.

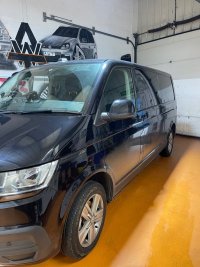
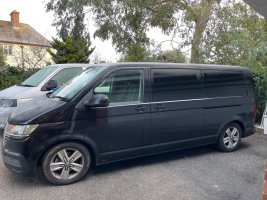
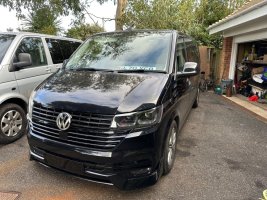
150 Shuttle LWB just hit 2 years old at end of 2022 circa 13500 miles.IMG_5538.jpg

Even before I had collected I had ordered sunglasses holder to replace the grab handle, the rubber wedge for the windscreen, VIP membership here and the smoked LED side repeaters.

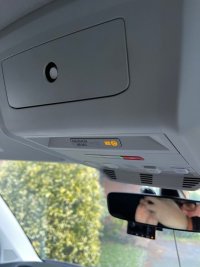
Installed remote in the ceiling cubby hole for our gates - many thanks to the posters on here for the instructions on removal. Just remember this has the airbag light in so if you disconnect it don't do as I did and turn ignition on. A friend reset it and then I got myself a Launch diagnostics tool as it was bound to be needed.

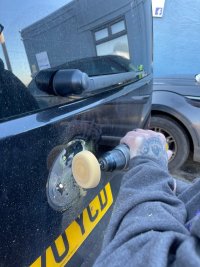
Gloss black rear badge. I am pretty sure the tailgate been painted at some point and the badge was super stuck on. Glad I was at my friends bodyshop when I mentioned it and he volunteered to do it.

Added some Heko wind deflectors. Didn’t like the wind noise on drivers side, so removed them as had a 900 mile European winter journey as wasn’t prepared to have it present. I will retry as despite having fitted other brands it is clear they were not fitted properly and many others rate them.

Bowden cables fixed under warranty before our sub zero road trip.

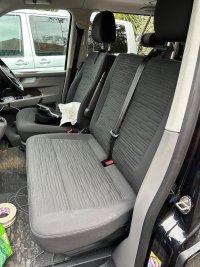
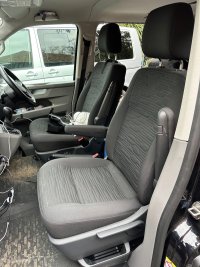
Rear triple removed and stored as occasionally I will need the extra seats.

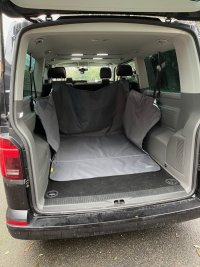
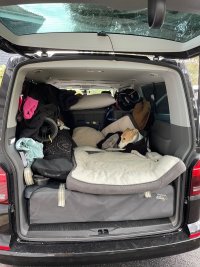
Rhino load mat installed as I often carry a lot of stuff around and didn’t want to ruin the inside of this one like I did on my previously T5.1 Shuttle. These are custom made however they sent the SWB and not the wheelbase. It only arrived one day before I had to load her before the long road trip.
IMG_6061.jpg

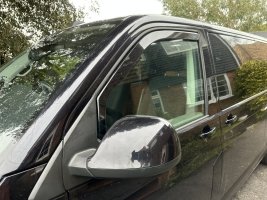
15% window tint.

IMG_5860.jpgIMG_5876.jpg

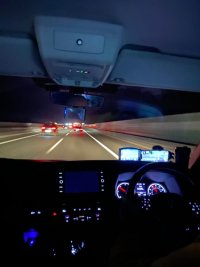
Temporarily hard wired with piggybacks a 5 way USB which currently powers 1 dash cam and phone charger. Temporarily hard wired Thinkware X1000 front and rear camera. Intention is to remove the piggybacks as I am not a fan of them.
28016ecb-448b-41bc-98ed-32f130f2959f.JPG

Had a reverse camera installed and coded. Universal car/ vehicle fixed screw thread (Under hang) front/ rear view camera (NTSC) - InCarTec

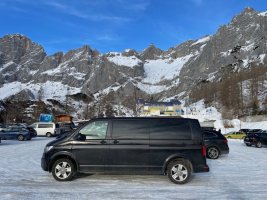
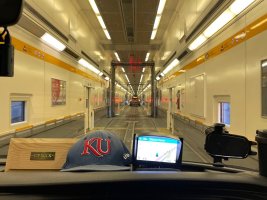
Then I loaded up and went on a 3500 mile road trip to Slovakia to see the parents in law with our new born and have a bit of time snowboarding in Austria.
IMG_6341.jpg

IMG_6350.jpg

IMG_7044.jpg

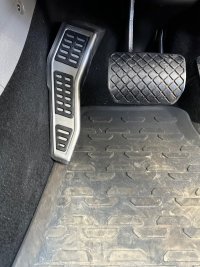
The road trip there confirmed that the lack of footrest was going to be an issue for me in the long term. It exacerbated a knee issue due to angle leg falls at after 7 years of a 5.1 with a footrest. Solution posted on another thread but will update here when I get to that bit.

IMG_5538.jpg

IMG_5973.jpg

IMG_5974.jpg
 
Back in the UK:

Lowered on B14 Komforts

IMG_7968.jpg

Added:
- LV front spoiler,
- gloss black dog bones,
- gloss black grill,
- fog lights,
- rear spoiler and
- LV rear bumper

IMG_8231.jpg

IMG_8308.jpg

Also added THQ v3 lights with LED bulbs, MOT station adjusted the beam pattern – one was a bit high and the other a bit low.

Added wheel spacers as the Devonports now looked lost and I didn’t want bigger rims. 20 Rear and 15 to the front
.IMG_8429.jpg

IMG_8433 (1).jpg

Much happier with how the Devonports sit now.

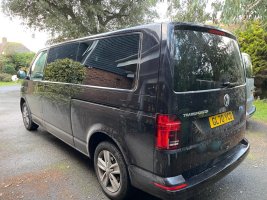
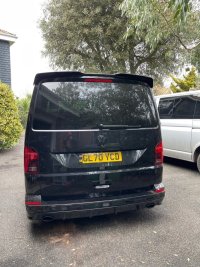
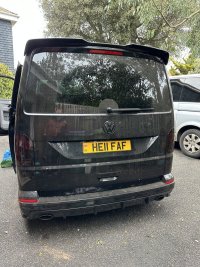
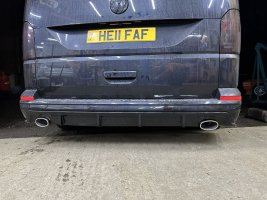
Tinted the rear lights and added a private FAF plate
IMG_8519.jpg

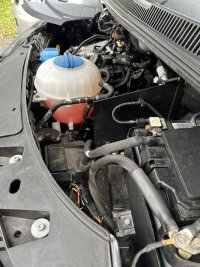
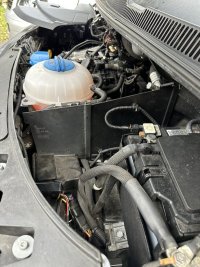
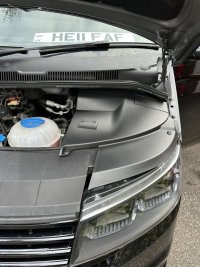
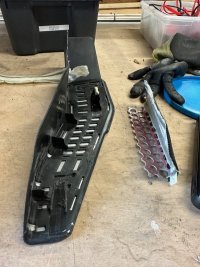
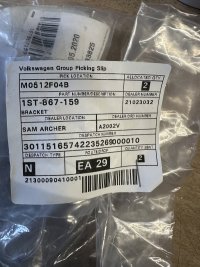
Added in the missing plastics for the side of the battery and the battery cover
IMG_8504.jpg

IMG_8505 (1).jpg

IMG_8509.jpg

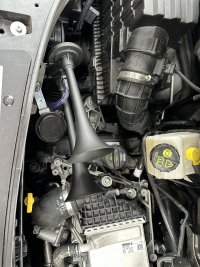
Fitted some airhorns IMG_8512.jpg
 
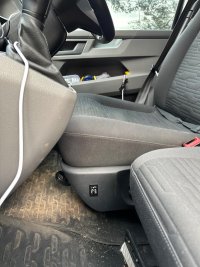
Installed switch for heated seats (pads to be fitted when can find a trimmer with time to fit them) IMG_8501.jpg

Swapped out the double for a single IMG_8514.jpg

IMG_8517.jpg

Had to swap the wires around for the different connectors, again thanks to the advice on here.

Fitted a footrest. It is fixed with velcro, posted on it separately.

IMG_8555 (1).jpg

IMG_8580 (1).jpg

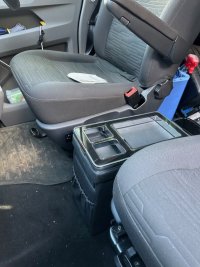
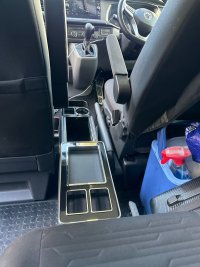
Added a centre console that can be installed both ways round as on our European trip it wouldnt slide back as there is always a cool box in that spot!

IMG_8582.jpg

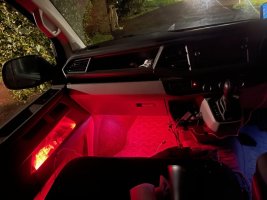
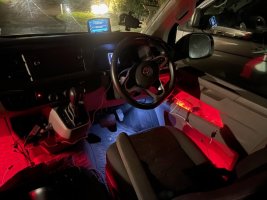
WIP playing with RGBW led strips in door pockets and footwells.
IMG_8135.jpg

IMG_8136.jpg

Very happy with how she has turned out.

IMG_8561.jpg

I think the son has his eyes on it. 19951fbc-279a-48cf-b5f1-fb496f1cc78e.JPG
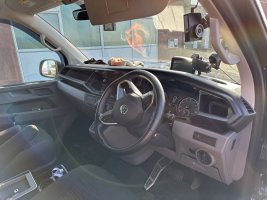
Whole bunch of small ish things on the go, last large items are speakers and sound deadening in the front and a custom back box with twin pipes rather than the plastic ones.

IMG_8586.jpg
 
Added my heko wind deflectors. I had had these installed originally but they were not fitted properly and so I got some extra clips and they fitted nicely this time.

Slight increase in noise on motorway but not an issue. 63B87BAD-0F50-4BEB-83C2-BB2A841CF3F9.jpeg
 
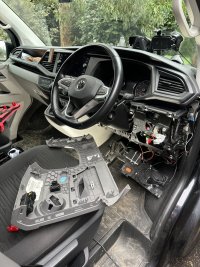
Learning how it comes apart - I really want to be able to get to the rest of the fuse box to insert spare wires to use the spare OEM fuse slots.

However todays Investigations suggest it is a dash out jobby as the black plastic in front of the fuse box appears to be fixed to the upper parts of the dash. If anyone knows different keen to learn!!

ADA3D806-D669-461A-8E63-ED3CBECA2F89.jpeg
 
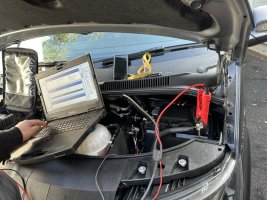
Very nice man from VW Assist found an unexplained .75 draw on the battery when everything is off and disconnected which explains the battery draining overnight most nights.

So off to VW she needs to go.

Anything I’ve added / connected were of course disconnected before he arrived and during th tests we even disconnected the switched live items “just in case”. No impact. :).
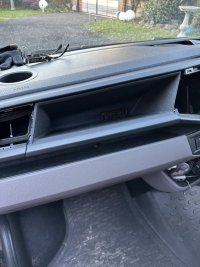
It has an EFB? and not an AGM which was useful to learn.

A81EE6B0-5B76-4C3C-95CA-CB58D8620D46.jpeg

1F5988A3-761B-4D34-8F18-DA9A8FD31200.jpeg
 
Was always my plan but expedited it as VW cannot get me in for diagnostics for 2 weeks which means daily jumping or overnight trickle charging. So I added an earth mount.

Strap goes to the engine hoist (m6 torx already installed) and has a rubber cap. 1946B2CD-57E4-43AB-AD24-F5B5A1C59525.jpeg

789AAB4F-5888-4E18-85CE-17AC20C2D5D9.jpeg

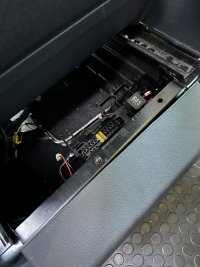
Also added the hardware for additional switched live circuits for the rear passenger And a photo of the relocated fuse block which is no longer exposed under the seat as once the rear plastic cover is clipped in place all are hidden from view

175EB86E-B968-4523-B54E-C80FFF9B43C4.jpeg230EFC12-9B32-4637-B32E-D526839EAD77.jpeg

4A5DB9A8-B440-4729-98B7-30BB8AB67C64.jpeg

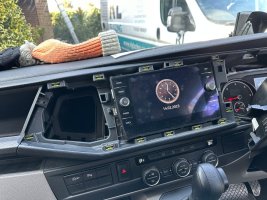
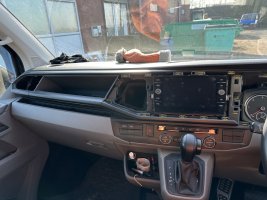
Then decided to take off the dash trims and the vents for some customising.

Vents were quite challenging to remove and then even more fun to split the surround from the “vent” but patience and about a dozen screwdrivers and bradawls fixed that.

30629C28-B7DA-4FFB-B5ED-4F0EFA7B0C4E.jpeg

C723BB58-F76A-4632-8135-77ACB1899F19.jpeg
7771A2B8-E442-4F9A-8AB1-D99093976438.jpeg

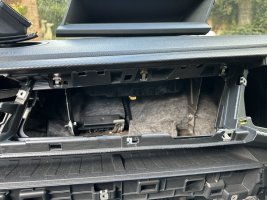
Got stumped with the upper “glovebox” insert but subsequently learnt off of FB that there is a screw that is exposed when glovebox is removed.

1435C41A-22FD-4DA4-AC3A-415A7F9BF069.jpeg

Then went to film some drone cottage for a friend and caught the setting sun.

874DF35D-B44D-4308-9CFE-D5388FC79975.jpeg
 
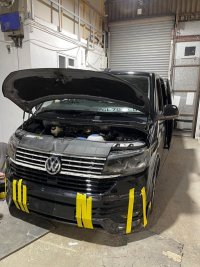
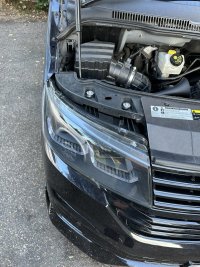
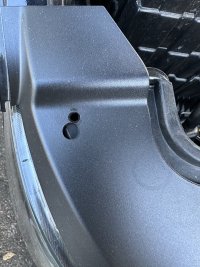
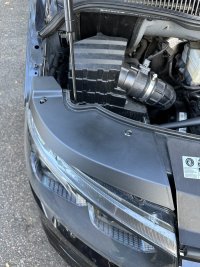
As I’m under the bonnet a lot at the moment the lack of plastics over the OS light annoys me. Minor I know. This is from a t5.1.

Thought I’d at least try it and with just a small extra hole it kind of fits. Far from perfect bUt it will do.

I’ve not seen these for 6.1 however if they do exist happy to receive a link. EC4ECD18-5FAF-41AF-ACA9-B171A13FB0A7.jpeg

B8E76C35-9EFF-4E6A-B4D9-A1506EA96743.jpeg

BDEA469F-5039-4DE6-ADC1-409949E77C86.jpeg
 
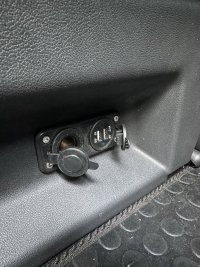
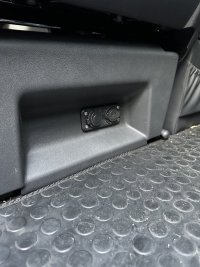
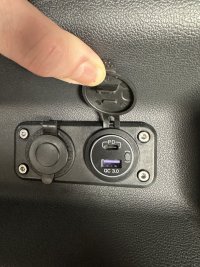
Swapped out the old usb for a more modern version albeit its sat in the garage as was all removed for when it went to vw for battery drain investigations. 48550F50-A544-43D8-80EB-DAE9BB3695CD.jpeg
 
So after 5 days including the weekend I got it back from VW. nothing wrong with battery drain or battery in complete contrast to what Vw Assist said.

Spoken to vw assist again who told me to speak to customer service who told me to monitor it - so let’s see if battery goes flat however as it’s gone flat a few times over a week or two I’m concerned it’s possibly damaged?

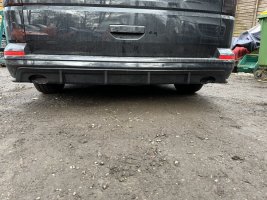
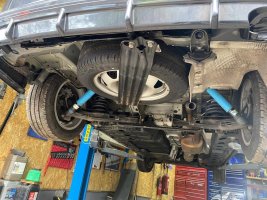
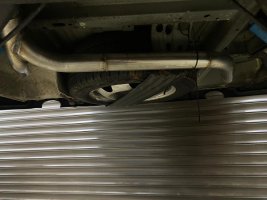
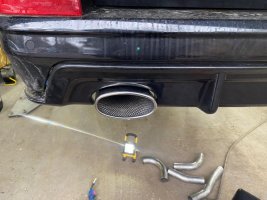
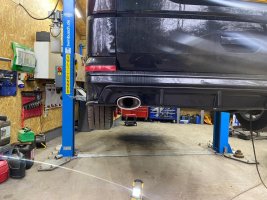
Anyhow was now. back in time for my visit to Powerspeed to get my stainless exhaust and twin pipes fabricated.

Before with the fake tailpipes removed
D939076B-1075-4911-8DAE-DC7DD30A7189.jpeg
You can see where it has been cut just after the back box.
FC04BA8E-A436-43C9-9D80-C7CB75015277.jpeg

D5EAD2F2-BB4E-4DEF-8935-1E5B01CE935F.jpeg

65131ABF-BD43-484E-9875-5A84106E422C.jpeg
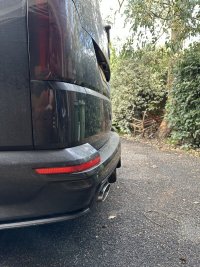
Doesn’t protrude past bumper
DCBA8BF0-3318-4DE4-9B11-89245B36D467.jpeg

Added an 84pence clip from Skoda for parking tickets.
301322F0-4FBC-40D8-8C34-727EC600CC11.jpeg
2D8740EB-5C3B-4B92-8F45-4162841976B4.jpeg
8878CE7E-BC38-44FF-9272-61B0D011184B.jpeg

7580A041-76FA-444F-B2ED-D1CC0B26AEA7.jpeg

315BEEFA-C850-4D50-B68A-4356114BAE2D.jpeg
 
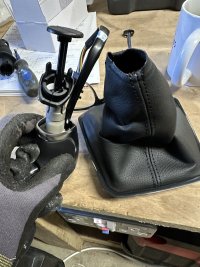
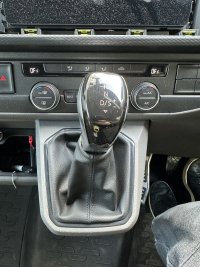
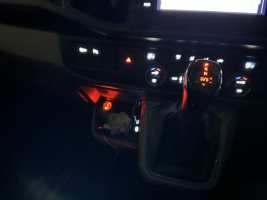
whilst it was at Vw The Tiguan led knob and 6.1 manual gaitor turned up

B5F2EB1D-A93A-4E84-9A1D-E058CB5D6573.jpeg
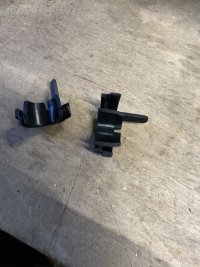
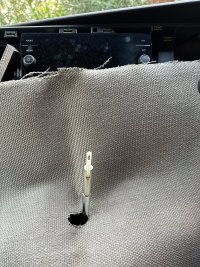
I broke this piece
472D8D91-F953-4ECE-B161-2424D4189089.jpeg
So had to overcome that with zippy tie and some hot glue to stop it falling. 8E2F36F3-247C-42EA-A2DB-DA79C73235C2.jpeg
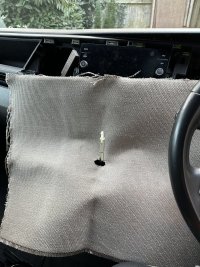
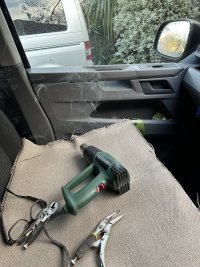
Laid out some heat mat to protect everything
B58BA22A-BD83-49FF-AE44-0BEF035AAF01.jpeg

Good job i did as three minutes into it the heat gun spat out lots of hot sparks then smoked up

2156664C-B05D-471B-B1C9-B52862718006.jpeg

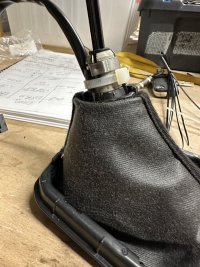
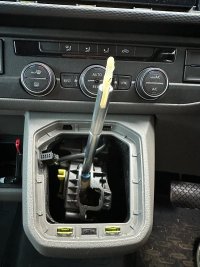
Quick trip to Screwfix and was back on track. Approx 20mins of careful heating and twisting and we had rotated 90degree. I didn’t use the mole grips preferring to use my hands. The plastic wasn’t that hot.
5DE47845-872C-4C88-980C-557E568B02EE.jpeg
Plug in the new one and push it home then test
FE878284-8D15-4B97-8258-03B32C056225.jpeg

Was quite a stressful overall procedure. Firstly last night when the clip broke however lovely fella I’d met on FB who had done it was happy RL be asked stupid questions.

Then of course taking a heat gun to the gearstick is in itself somewhat stressful for variety of reasons.

E7ACD96A-0416-47DD-8E34-FCCBC4B63DFB.jpeg
 
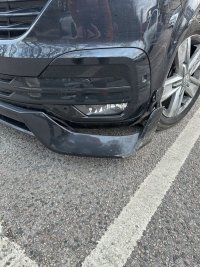
Ooof, looks like a very low van. Unless you cut the ribbon I’m guessing you weren’t the first to drive through there.
Yeh it is quite low, in fact never had a nice spoiler on my 5.1 so not used to be "aware" plus it isnt somewhere I would usually drive and was a bit focused on teh rear - I mean completely my fault, the "badly designed" was just a bit of deflection for my mistake. :slow rofl:
 
  • Like
Reactions: DXX
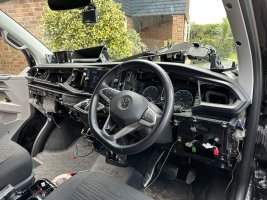
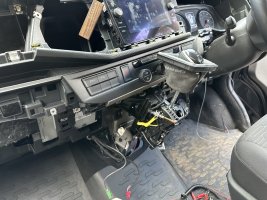
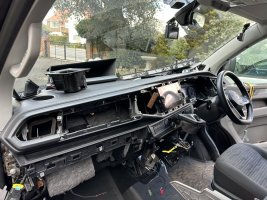
As much of dash was out I then stripped out rest of dash to plan for when I lay my wiring.
C91EB771-09BE-45A0-8D28-CD1388E55B23.jpeg
8E24AFFB-7C71-43E9-B26D-8D59E16C367F.jpeg

Wow the dash cubby box is a challenge to remove even after the hidden screw underneath accessibly only with the glovebox removed.

C917B3C1-BCD8-495A-A4C3-795326EE4003.jpeg

Added a couple of red bullet leds to the 12v socket to see how it worked but will replace with the colour changing strips.
D57FC6D8-A965-4756-9EB8-CDBD61923121.jpeg

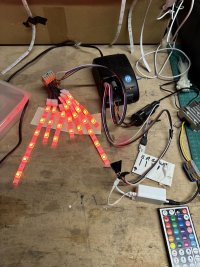
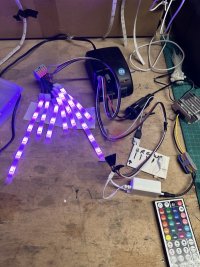
Bench testing the rgb colour changing strips as things keep failing in the van and am not sure if it is voltage related or connections or connections.

Have added a 12v voltage stabiliser installed now and all the connections are hard wired rather than using the 4 prong joiners that they come with.

I’ll put this in the van and road test it from cig lighter to see how it behaves. 2770DE99-9A1E-4174-B54C-978C76882E28.jpeg

F3E5F23A-5089-4865-BA10-521FC971D3CB.jpeg

4A4D0B59-E787-496C-868E-E5B6B641D488.jpeg
 
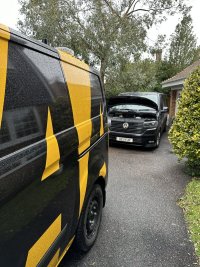
I had booked in vw assist to come this morning as despite main dealer saying no drain and battery is good I am still having to jump it every few days.

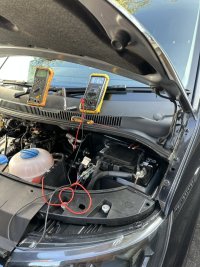
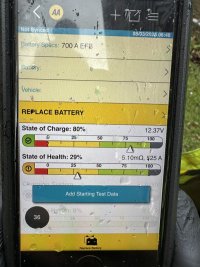
So the AA Man arrives and once i overcome my annoyance (knowing he won’t have the battery and cannot code it etc) having a nice chat and he’s educating me on how to use an amp clamp (I’ve been doing it the more traditional and accurate way) but an amp clamp is easier and good enough for simple testing apparently.

I’d left the bonnet fake locked so it could be opened without unlocking car and activating systems etc meaning it had been locked for a few hours. This made him very happy.

Well he does his test, Yep no drain. I knew this of course as I’d been doing the test for last two hours on and off.

Battery needs to be replaced.

Now I’ve got to go main dealer which won’t be the one that told me nothing wrong with it as much as I’d like to go “told you so” it won’t do ongoing relationship any good.

6262E15A-DBB5-4E61-ADEB-DE03A6060B3D.jpeg

3AF3382C-832C-426D-A7C3-02EE3F2184CF.jpeg
 
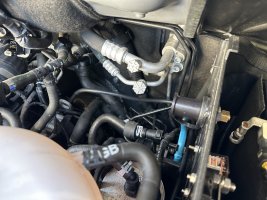
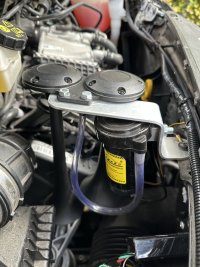
I had removed the air horn install and looped up the wiring out of the way when it went in for diagnostics so it was one less accessory they could potentially blame (even though I’d tested and proven myself that it wasn’t this causing a drain).

Now drain retested after install and all is good.

I was never happy with the way the trumpets were almost angled up nor the way I had fixed to back of headlight so with a bit of brain work bashed about a strip of alloy I had lying around and made a combined compressor and horn mount in one.

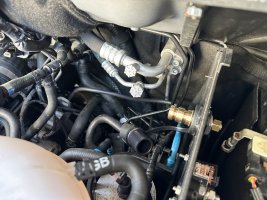
Long horn sits nicely between air box and engine and even with major hand “rattling” isn’t knocking on anything.

71C48D14-8CFA-4948-B989-CE01675DB8B1.jpeg
 
Back
Top