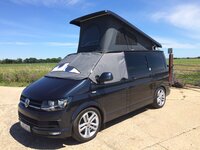
Project Wynona

m4cca

Member
How did we get here??? We decided some years back when planning a family that we would not holiday abroad when the kids are young, with that in mind we made the decision to buy a 8 man tent and go camping in the summer months which we did with all the baby gear two cars etc, never even used an electrical hook up always batteries and gas.

Now my two girls are a bit older (currently 8&9) last year for the first time we stayed in a static van and loved the fact that we could just get in the car and drive off, packing to go home was easy and stress free.

Now i’ve always been a fan of the air cooled stuff and have looked into early bay vans many times but with two other toy cars to play with I just couldn’t justify the expense of another vehicle sitting around, and the thought of being stranded on holiday with a broken down van and a family at the side of the road....
At this time my brother in law had converted 3, T5.1s into campers and we thought they were great.

This was when we really liked the idea of being able to camp and just drive off and go wherever or whenever we wanted. I had a budget ( not that having a budget means much...) and starting looking at T4s, then I looked at T5s and just couldn’t find the right van in the right condition and when I looked at converted vans I just wanted to rip it apart and change everything.
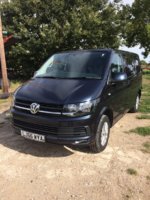
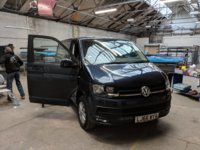
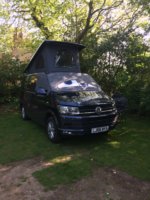
This is when I started looking at T6s, and in mid September last year we stumbled across Wynona.

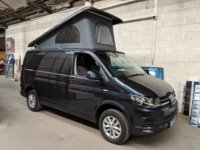
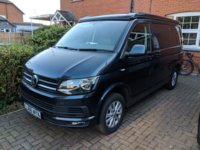
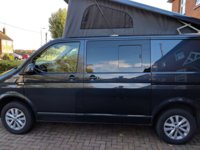
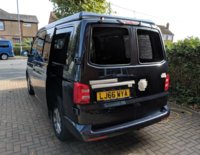
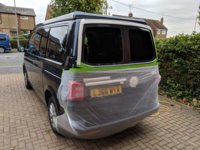
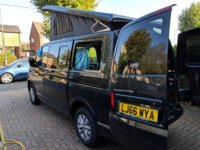
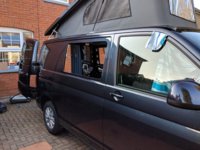
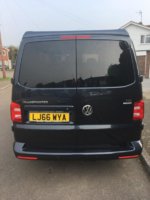
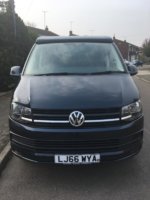
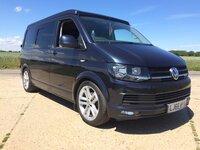
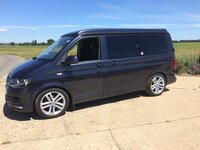
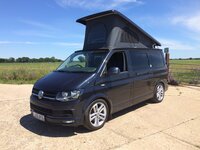
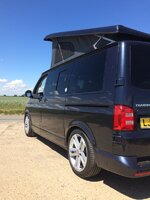
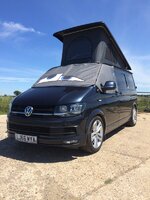
She’s a 102 swb highline in Starlight Blue and currently has 32k on the clock
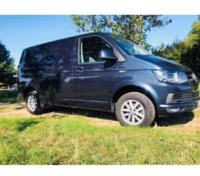
A0F5E42A-BFC8-4218-B793-A5D3375DA8F8.jpeg FDE1EB50-78A4-4CC4-ACCC-FB04264D204D.jpeg

Now Wynona is not a perfect bus, she was owned by a hire company and has many small dents and scratches on her, this doesn’t worry me too much as she will be used as much as possible and will also be the family car and the missis uses it to go to and from work.

Oh and my budget, blown straight away just buying the van...:cry:
 
After picking Wynona up at the beginning of October and being short of funds we decided to get half the work done before Xmas so she was usable as the family car.

For insurance during the conversion we ended up using Adrian Flux, which wasn’t the cheapest but it gave us the flexibility of time to carry out the conversion as other insurance companies wanted it finished in 3 months, and as blowing my original budget on the van this was not possible.

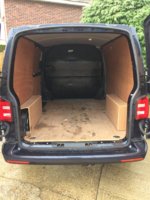
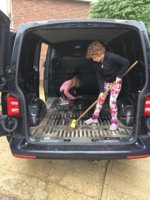
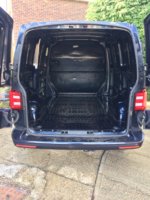
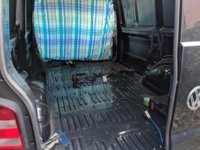
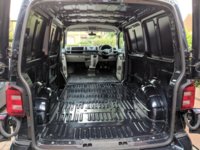
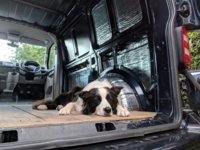
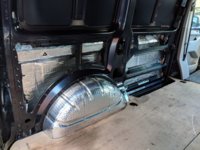
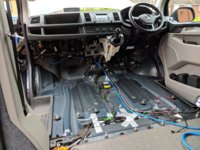
We set to work stripping the back out and attacking the bulkhead attachment and grinding the ribs where the windows are too be fitted.
There are many YouTube videos that will help you with any van conversion with all the various methods and tools required.

0BC09C34-085E-4C81-87CA-DDAEC29F28BB.jpeg 2BF1B24E-DA01-4C38-BF24-10A8EC0CBF00.jpeg 27BFA375-C828-4F1E-BF00-4F40B6538C69.jpeg 25E0C223-7C73-4830-B650-F8905ACD32DB.jpeg 278DD7C0-50A2-480C-B0EF-1BF68B0C1285.jpeg

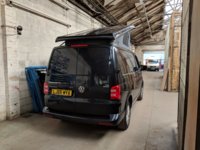
On purchase I booked the van in to Westdubs for the pop top in matching paint with grey fabric and bed board.

CEC9D59A-52D5-467E-8106-3E579540A5C0.jpeg 8C5D5E8D-2513-4145-B19D-8BE8E4B115E4.jpeg BF61BBB9-B994-4AEC-BEC4-55C23D351176.jpeg A76E4947-71AA-4DB6-876C-07F67B6704F4.jpeg
 
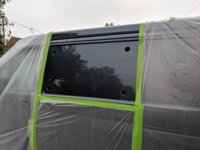
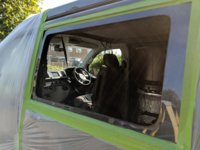
After the pop top was fitted we started on the windows which we got from Vehicle Glass Company, we went for a sliding window on either side of the van, I would have liked flush fitting windows ( also extra expense) as I think they look better but my brother in law has one on his van and due to the size of the sliding window internal parts the window is very flat and was difficult to fit because of the van contours it was difficult to get the right gaps when the window sealant is curing.
Everyone says that it’s strange cutting good metal out and there correct....
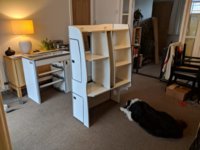
E95CFD4F-1B88-4F6F-928F-F3F311A8596D.jpeg 133A1BB0-6855-4706-B501-0DF5BB07C8A9.jpeg B1CD1AF3-3637-4BE8-ADEE-E017CE6816DD.jpeg FCE00345-D6F1-4E26-9A12-F338F7506DFC.jpeg 20FCC576-43D3-48DE-8C7D-7D6F56296CB0.jpeg 3D089EE8-974F-46F7-BB76-B803C5936675.jpeg 58D42551-98E2-4522-A52D-387B38762351.jpeg

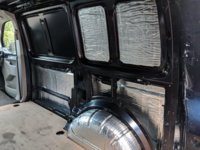
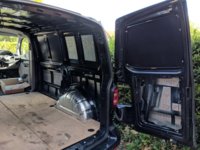
At the same time we also added sound deadening around the van

B6AD6A85-AF8F-467B-B720-23C3B0B8485D.jpeg 562AB6B0-D82F-4184-87B7-B8CC6CC22C4B.jpeg B835257E-939B-4146-BA3A-7534A544112C.jpeg CEBA5FD3-44B7-439F-94F1-8B6F60BFB26D.jpeg

The materials were sourced from the Sound Deadening Shop, we also got our insulation from there as well.
 
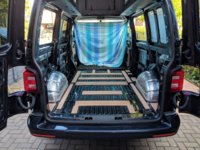
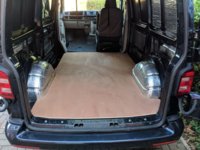
We had already sourced and cut our hardwood floor so we had no joints in it, now it was time for carpeting

65C04A91-7BE3-4D00-969B-D3541824DE71.jpeg 346818DB-291E-419E-91F9-A50227252906.jpeg

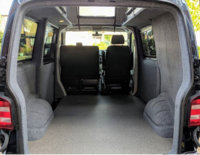
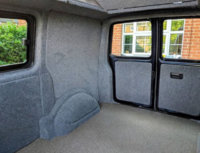
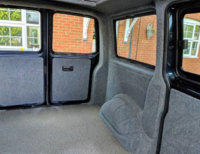
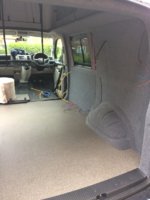
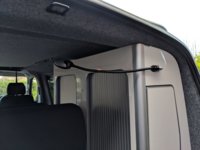
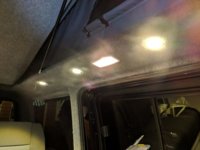
The carpet lining and glue came from Mega Van Mats, a 10m section and 8 cans of adhesive were required. My brother in laws previous experience with other vans really helped with the carpeting as he knew exactly how to maximise the material and do a great job to achieve a fine finish. Insulation was placed behind the panels and wiring for roof down lights and pop top map light was done.

AAF150E2-037D-44B1-B46C-E1B4471FB3AA.jpeg 15694F74-F035-4965-BA4B-EB2998A58D25.jpeg 8D8F0A00-0DB8-4F3E-93B0-3FC84FB39C57.jpeg

All original VW panels were recovered apart from the one that’s annoyingly cut short.
There are a lot of choices for flooring for your van and various different costs we ended up using a flooring from Basecamp Flooring
 
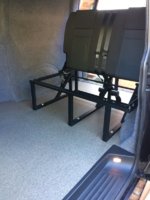
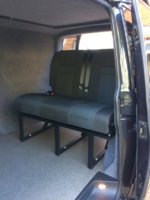
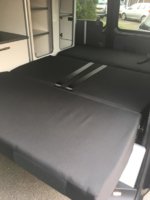
It was at this point we had to sell the family Volvo to just about fund the Rib R&R bed that we had trimmed with simora fabric to match the front.

3281EAB8-2AB9-4A10-9C35-4EAC913D559E.jpeg 7C0B8E6B-E9B3-4EF7-B450-B69CA6CE3075.jpeg DD0E189D-4D59-4830-9A29-65AB96B6A1E2.jpeg

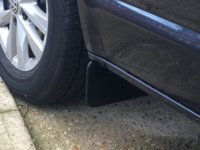
Kombi sidestep and genuine front mudflaps fitted.
This was how Wynona looked this time last year, the first part of the conversion finished and time to start saving for the second half of the project.

D794080D-D6C6-4155-A8EA-1F41D34A3745.jpeg

Very disappointed with the genuine rear mudflaps as you have to drill the bumper in the middle, why can’t VW make some that go round the rear arch with hidden fixings...?
 
Part Two.....
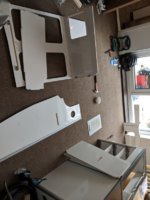
After a few months saving it was now the end off March and after purchasing everything we needed to finish the van it was time to carry on.
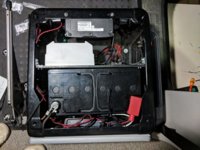
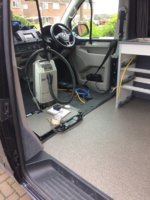
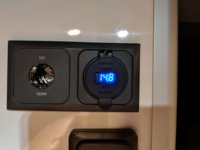
Having never used a campsite electrical hook up we haven’t gone mad electric wise, we decided on one 230v double socket and the standard 12v usb cigarette lighter combination for phone charging . We got all our electrical bits from travelvolts and wanted to fit it all under the drivers seat to save space for storage in the cupboards. Wires were run as required and the electrical hook up was mounted under the bonnet next to the battery.

D1113B8A-0B79-41C1-92AA-61230F0DA074.jpeg 1969C0DB-EB28-4C98-B964-8AF1B3C55F19.jpeg 6F9B1E59-3853-4F83-9185-C189A79E7D41.jpeg

It’s a tight squeeze but it all just fits. We also fitted an isolating switch to the side of the drivers seat so we can turn the 12v supply off when we are not using the van.

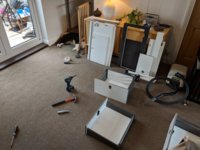
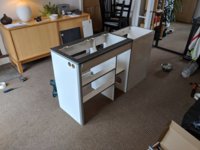
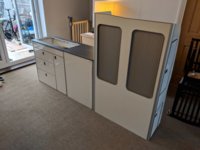
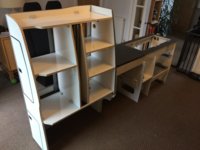
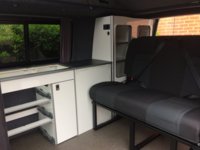
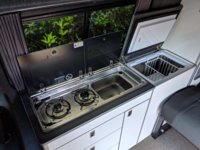
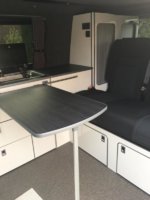
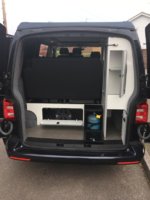
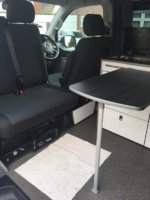
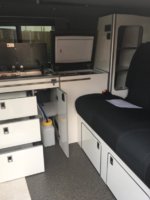
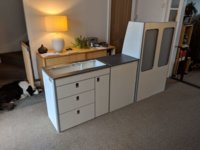
We went with Evomotion units, draws and top loading fridge as we feel that the space is maximised and they look the part. ( better than the kitchen indoors.)

6D2044FA-A28F-4F0F-8469-9ADAC457F4FC.jpeg 81407087-AFD5-4568-9D92-626D15FCB5FB.jpeg 07475EEC-A2B4-4D1A-B920-F99542ED9A91.jpeg C8F59205-F14B-45F0-9788-8DE950924242.jpeg 67607264-8FD6-480C-A73D-CDFDF8FEF99B.jpeg 37B4491F-B982-47DA-8003-42350D821D73.jpeg 57CAFB3A-CEB3-40AF-855C-F8046C592B09.jpeg

Before the units were fitted into the van we cut the holes and we formed the 8mm copper gas pipe for the cooker that runs behind the units.
 
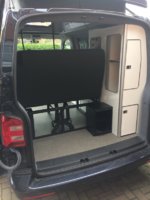
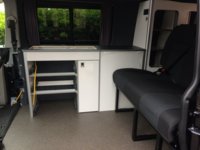
Now it was time to fit everything inside the van and make it look like a camper...

AC40A398-23D1-40A8-9B5C-0104BDE4ECB2.jpeg 167B86DE-4BE4-4206-9240-47F70E2BDD84.jpeg 8274CA5A-93CC-4FA0-ABC8-906628B594C2.jpeg 95EDC4C3-011D-490E-9799-B402495882B1.jpeg

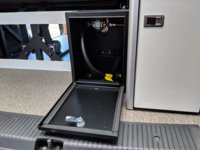
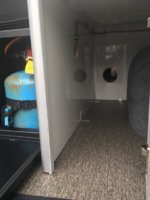
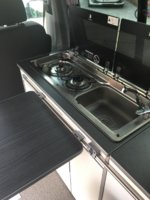
Metal gas bottle locker, cooker sink unit and fridge fitted, electrical second fix carried out.

2FFAD282-D15E-4789-9930-39E2DDB6541D.jpeg 641933BB-452C-4B65-80DF-C105E3E70635.jpeg 3432FAA1-24C4-4F18-932B-8F562F4BE097.jpeg 0BE96E25-E81C-4CAB-8DB6-2F823449CF29.jpeg CABC9B68-542E-4693-B1F0-200E6E80B2B6.jpeg E1F19297-A447-4E76-A3BE-08A3755B8B68.jpeg 2A7B7E9E-AF2B-436F-AB50-B31D48A24FDF.jpeg
 
After fitting the curtains from VanX we were finished with the practical side of the conversion, now it was time to do the paperwork side of things.
I downloaded the document that was online and filled out the blanks accordingly took photos and printed them on A4 paper with additional comments of everything in the picture.
These are the pictures I sent to the DVLA.

43F1B162-65FE-45A2-ABE3-31967B3F4B2D.jpeg C066667E-90A6-44DC-86C6-7E1E5294E177.jpeg 40F414B1-92F7-49A1-AAE0-14F2C05A0B6E.jpeg 118A03CB-EABB-4529-83F3-F7C56F26B9EC.jpeg C0EA6044-AA31-44D2-8FA4-CD448987AA3C.jpeg D153E006-B79E-4F7E-914D-E269F6F2A7DF.jpeg D5DCFE98-8F64-485E-8772-9B60288EDFBE.jpeg 05D7A774-5751-456D-857D-5F273C57161D.jpeg

This was done the beginning of April and we got the V5 back soon after with the category changed from Van/Side Windows to Motor Caravan with 5 seats.
 
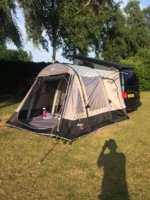
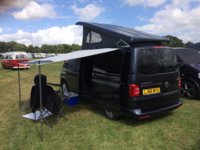
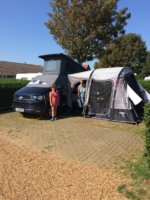
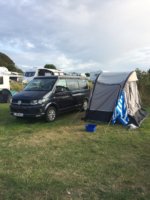
We were now able to enjoy using Wynona, We fitted an awning rail and purchased a Vango kella awning secondhand and a rainbow screens shade for the front window.

DDCE72C1-DB8B-4DE5-BB35-5160E5338B93.jpeg 412E2900-14DC-45EE-B5CF-2AB19C5833EF.jpeg

The shade is excellent and I would definitely recommend it.
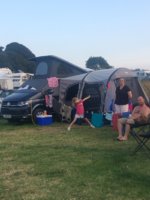
I really like the air beam awning as it’s easy to set up there is enough room for a table and four chairs inside and we can cook and eat inside when the weather is bad.( we are not cooking inside the van at all only using the cooker for boiling water) Also after a few uses we can get it all packed down really small and tight, I can even do a drive away and re-attach without any assistance, I use a length of rope down the drivers side of the van to line it up, with a peg at the centre of the front wheel.
It does however have a couple of downsides, when the figure of 8 drive away attachment is used and it rains water can drip inside the van, ( we like the van door open when the awning is up )
When attached to the van the webbing on the awning in the wind rubs on the paint on the passenger door and has left a mark, this might buff out I just haven’t tried yet, also we use the strap over the back of the van, we’re going to use a bike inner tube over the strap to prevent chafing the paint.
The main issue is that if you use the footprint groundsheet and it rains water collects between the groundsheet and awning which then collects underneath and comes inside making the floor wet and anything on the floor at the time, when this happens its difficult to get the awning dried out.
If the awning flooring was made from the same material as the footprint groundsheet there would be no problem at all... Bad design from Vango, there tents don’t have this problem....
 
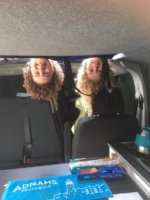
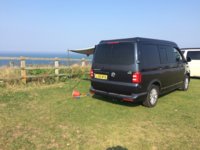
We spent a few weekends and odd single nights over the weekends away locally in Wynona to get used to her, then over the 6 weeks summer holiday we did 16 consecutive nights that we had planned in Lincolnshire and Norfolk which we were concerned about before we left, being as 4 of us would be together in a small space for a period of time.
Just before we left to go away we also decided to leave the kids tablets at home, as ours like most spend quite a bit of time with there heads glued to them.

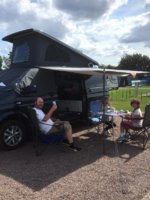
This ended up being the best summer holiday that we have had as a family so far and over this xmas we have made plans for next summer that we are really excited about.

2E76F8B8-62E8-4937-BA44-D3DA4B72D2A2.jpeg A3CD3BDD-9669-4E14-849F-EBA9AE20CC5B.jpeg DB39E441-2275-4FF8-B6CD-62703C7AD544.jpeg 08901E9D-E458-42C4-8966-667E2E8EE517.jpeg 872C9B11-BC21-410B-B6C0-3D682E727354.jpeg B75545FB-6CD7-4B4D-B21A-F82B78B1653A.jpeg 5B6571EB-156A-435D-B579-555ECE9E01C8.jpeg 58FC02B1-A289-4719-A91A-A11037F3F800.jpeg

Now even though this is a public forum I feel that after sharing my van conversion story I can be honest and let people know what I have spent on project Wynona so far

I have never in my life so far done anything with money that compares to this project ( other than a mortgage) and buying the van is the most expensive single purchase that I have ever made and it has been hard at times when I think about it financially, but would i change anything...?
No definitely not, would I recommend it to other people...
Yes, ( as long as you don’t want a new kitchen and bathroom indoors) because as for spending quality time together as a family going somewhere and doing something so far it’s been great and I’m so pleased we decided to do this.

Van purchase £17,500

Price of everything to convert into a camper £9790

Sundries, this includes everything from awning, sunshade, chairs, table, kettle, plates, cutlery, cups through to a porta potty £1665

Grand total £28995.

Plans for the future,
I would like to get some different wheels for the van and lower it a bit, maybe also some trapezoid side bars in black but we will see...
Most importantly getting out there seeing and experiencing different things and places, obviously waving at other campers along the way...

Thanks for reading M4cca. :thumbsup:
 
That total figure is pretty close to our conversion. We paid more for the van (lower miles) but didn’t have a pop-top.

Good write-up thanks.

Pete
 
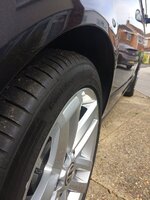
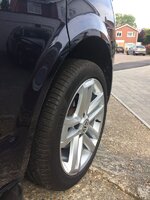
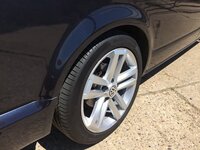
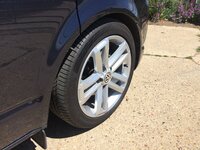
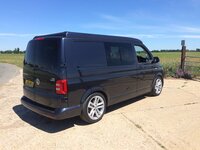
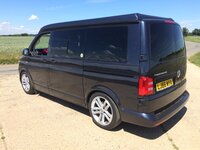
Finally finished project Wynona, with wheels and Bilstein B14s sourced from @BognorMotors quality customer service from Oli thank you.
I have never lowered any vehicles that I have owned in the past and I’m very happy so far with the feel and ride quality driving the van.

Before

FAAD3E95-9311-4AFD-A4F5-1A47AB3A2B83.jpeg26565723-640C-4186-8631-CE743D5DB5EF.jpeg

After

23CBDAA9-845E-43F0-9DB7-8FDE39F837E0.jpeg76356525-5243-4922-8FE0-9B3B8BBDAC90.jpeg

Got 15mm H&R on the rear, and the cantara alloys fill the arches nicely.

C0926F46-4556-4E89-B92C-AEA747FD21D5.jpegBFAFB6B1-ABBD-4C4A-9D18-03E9DCBC3E2B.jpeg4C4DA2B7-4BE1-4195-9C1F-758EA24D1AC1.jpegA8BCB8CB-8173-4649-AC26-7D4B59FDBE78.jpeg84FBF7CF-31B9-49AF-ACA7-A078927168B3.jpeg0E281433-395B-4784-97C8-FEA0BDCE51C6.jpeg860750B8-4316-42C8-9F2A-D58200282A42.jpeg6A0BF829-F6F5-4052-A77D-E23D9CE40982.jpeg

Just need the campsites to open and everything will be good again.
 
Back
Top