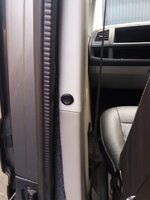
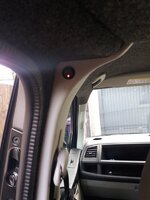
With some help from Willoughby (thanks, Kevin!), I've installed a door lock/unlock switch near my 2017 T6's sliding door.
This lets me more easily lock the van when I'm sleeping in it, without arming the alarm system. It makes it much easier for my kids sleeping on the roof bunk to reach down and lock or unlock the doors. It's also an easy reach for the passenger.
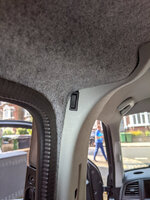
Video of it working: New video by Tyler Wagner
Warning: adding extra unlock switches may invalidate your warranty or insurance. Do this at your own risk.
Here's how I did it:


This lets me more easily lock the van when I'm sleeping in it, without arming the alarm system. It makes it much easier for my kids sleeping on the roof bunk to reach down and lock or unlock the doors. It's also an easy reach for the passenger.

Video of it working: New video by Tyler Wagner
Warning: adding extra unlock switches may invalidate your warranty or insurance. Do this at your own risk.
Here's how I did it:
- Use Willoughby's design for a door lock switch. See this thread. He only added a lock button, but he kindly sent me a ready-made switch with the parts for both functions! All I had to do was install it.
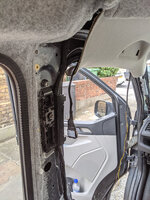
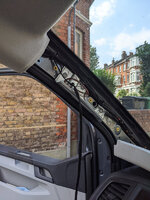
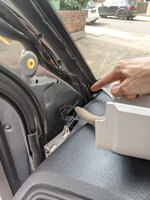
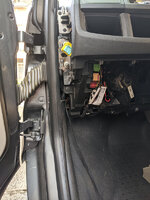
- Opened the headliner, passenger-side roll cage / windscreen support, and bits of the dash.
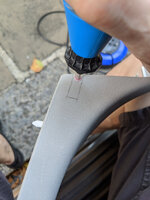
- Identify where you want the switch and use a dremel to make a hole. If you forget to do this first, you'll need to make a U-shaped or larger hole, like I did. Or be smart and put the switch in place first, and run the wire from behind the switch.
- Connect the negative wire to any earth point. I used a handy bolt along the passenger-side roll cage / windscreen support.
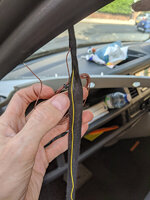
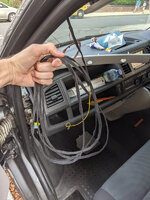
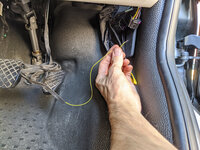
- Run the switched negative wire to the wiring loom near the driver's foot, routing it behind the dash components where safe.
- Connect the switched negative wire to the yellow wire in the loom, which controls the door lock/unlock function.
- I wrapped my wiring in a wiring shroud/tape for extra strength.
- Use cable ties to secure your wires as you route them.
- Think about what parts get hot in operation (heater vents, head unit), and don't run your wire there.
- You could route this wire any number of different ways. I may have chosen a harder one than necessary.
- Attaching the wire to the loom is not easy. The wires are short. I've got mine temporarily jammed into the join of the loom, which is not ideal. Better to detach the pin with a home-made tool and connect the wire properly.


