Hi. Thanks for all the posts on water damage, missing undertray bits etc. Apart from that - have come to the conclusion that the T6 undertrays are just not designed for Australian gravel roads, there's so much damage and they cost a fortune. If you don't care how things look, there might be some ideas here . . .
A couple of years ago, I replaced about 1/3 of the driver side under-engine tray using PVC roof flashing and pop-rivets. Still good after 2 years of outback camping.
Yesterday I found the tray farther back under the driver side was split in two and almost falling apart. This part, in front of the 40L water tank, covers my main camping-related wiring run and the small diesel hose connecting to the Webasto cooker - so it's a bit fragile.
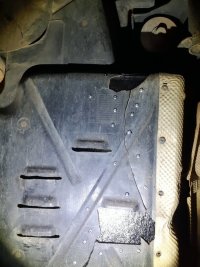
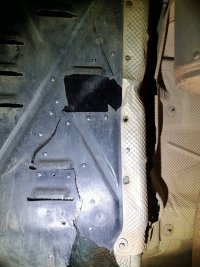
I used a 200 x 900mm piece of 3mm thick Lexan (polycarbonate) roofing sheeting and gently bent it into an L-shape using a hot air gun, 170mm from one end. Jacked up the front RHS onto a chassis stand and spent the next 2 hours very uncomfortably lying underneath and squirming around. I managed to get the lexan sheet into position ABOVE the existing tray bits, and used a couple of dozen 1/8" steel pop rivets to bind it all together. It was a better choice than steel or aluminium sheet as the lexan is easy to drill from below with minimal pressure or holding down needed - and in the 3mm thick sheet, at least 1cm from any edge, the 1/8 drill hole holds and "pops" a rivet nicely without needing to put a washer on the back (which, working blind, would have been impossible.
There are a couple of pictures here FYI. It's hard to see, but the lexan is there behind the holes. Not pretty, but a lot more robust than the original and for minimal cost. Ask me how well these materials last, if you have the same problems. Cheers.


