Sean Proctor
New Member
is it easy enough to remove the strips that hold the studs that the bulkhead attaches to?
No problem @Sean Proctor I'm sure its not as daunting as it sounds.@superflyguy thanks very much, know what you mean about using a grinder and new floor!
 Someone put a post up the other day asking what was the best tool for this job, I found that the oscillating saw was great as good for access and also does not cause any sparks like a grinder does and makes a very neat cut flush with floor just needs a touch of paint afterwards
There’s a How To video on the Kiravans site if you need it.Great, thanks for the feedback. Much appreciated
 www.kiravans.co.uk
All that angle grinder work for those three welds looks a bit mad. A big drill bit just took enough of the weld off to break the fixing to the b pillar.There’s a How To video on the Kiravans site if you need it.
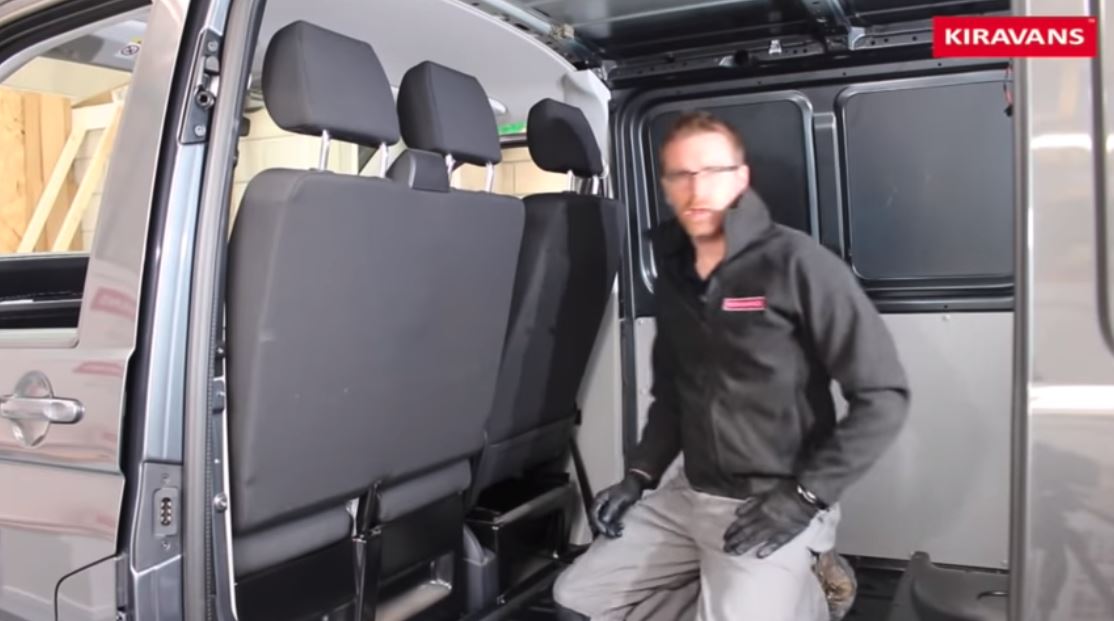
Video: How to Remove a Bulkhead from a VW T5 T6 Campervan
Video Transcript Quite often when you buy a brand new van or a second-hand van like this, you're going to have a large, steel bulkhead or a half-height bulkhead in the van. Quite often the first stage of the conversion is to get rid of that. I'll just quickly go through, show you how to do that...

 www.kiravans.co.uk
Small cuts with tin snips? I’m not looking for a short cut as such, I just know that it’s pretty much going to be covered anyway!I didn’t bother with a grinder, just made a number of small cuts then wiggled back and forth and let metal fatigue do it’s job, the rear rubber mat covers the welds


