Underslung Water Tank Filling Issue

secretK9agent

Member
VIP Member
T6 Pro
Have an underslung water tank, 68L however, I can only seem to get it to fill to 36L. (I know this as have emptied it into a tank I know the exact size of multiple times)

When I fill, i can hear the water going in tank. I've left it up to an hour filling and can always still hear the sound of filling. No leaks.

1000147242.jpg
Fill right with hose
Outlet left with a pump that's also fitted to van/tank and hose and hose gun

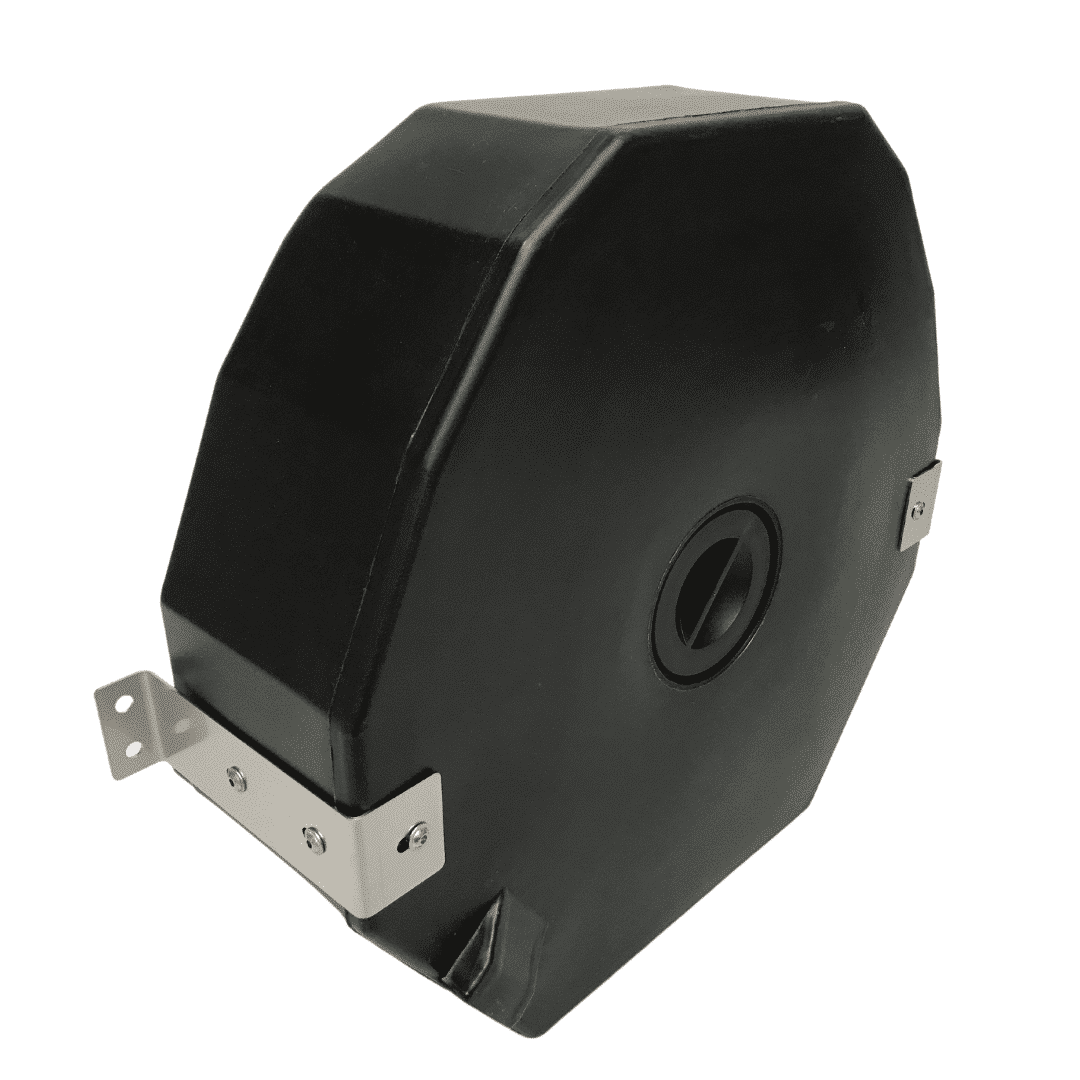
Tried to get as many pics as I can of setup, but honestly no clue what I'm actually doing. Any help advice appreciated!!

1000147243.jpg

1000147245.jpg
1000147247.jpg
1000147246.jpg
 
Last edited:
The tank has to be vented at the highest point. This to allow the air out when filling and to allow air in when consuming water.
I have two vents in case I’m parked on a hill, 4mm bore is plenty, stick a cheap, generic disposable fuel filter on the end of the vent tubes to prevent ingress of dirt.
The vents need to be outside of the van, I ran mine to the highest point under the plastic cover at the D pillar (tailgate).
I "think" I've seen a filter (tried to photo last pic) but will take a closer look

My drive where I am filling has the slightest of slope..maybe this is the issue?!

I'll try turning the van the other way too
 
  • Like
Reactions: CAB
Here’s your single vent, highest point but it’s going to get covered in road dirt and I would think it’s inaccessible with the tank in place.
You could drop the tank and see if the vent is clear.
If the vent is blocked I suggest removing it and replacing it with an elbow and PU pneumatic tubing / fuel filter to provide a remote vent / filter.

I have a large tank that fits forward and to the left hand side of the spare wheel. This was to keep the spare wheel.

IMG_3314.webp
 
Here’s your single vent, highest point but it’s going to get covered in road dirt and I would think it’s inaccessible with the tank in place.
You could drop the tank and see if the vent is clear.
If the vent is blocked I suggest removing it and replacing it with an elbow and PU pneumatic tubing / fuel filter to provide a remote vent / filter.

I have a large tank that fits forward and to the left hand side of the spare wheel. This was to keep the spare wheel.

View attachment 247093
Thank you!

Just got under van, for me it appears the van floor hits the top of the tank, so I cannot see how this vent will be there, there's no room by looks of it?!

I'll need to get hold of the convertor tomorrow to understand how they've fitted it
 
Last edited:
  • Like
Reactions: CAB
Thank you!

Just got under van, for me it appears the van floor hits the top of the tank, so I cannot see how this vent will be there, there's no room by looks of it?!

I'll need to get hold of the convertor tomorrow to understand how they've fitted it
Good luck, if you take the tank down have a good check at the contact areas, the tank is obviously 70+ Kg when full and it will wear at these points if not cushioned with a suitable rubber.
IMO those brackets don’t look to be strong enough, is this a new design or well proven?
If the tank doesn’t have a vent it can be drilled and a bulkhead fitting installed with a backing nut IF you can get an arm into the drain hole to hold the backing nut.
Unfortunately the van convertor will only entertain the 6hr return journey to inspect.
1000147328.jpg
Everything is indicating the breathe hole vent blocked. You can see where it's supposed to be above but as far as I can tell there is no way it's there being so close to floor of van (the vent should be just above to right)

Re: the design, I've honestly no idea
 
Last edited:
The spare wheel bracket should hold the tank in place as well

View attachment 247237
That makes more sense but it should have an additional rubber cushion IMO. A pity the didn’t position the access / drain to one side of the spare wheel bracket.
The two side brackets seem more to keep the lateral movement under control not to take the full weight.
I’m guessing this is the biggest tank available for 4Motion.
 
Getting back to the original filling issue - there are 2 connections as well as the vent and the tank - and you have 2 hose connections on the van.

I assume if the right hand one is the normal fill that goes to the upper tank connection?

I know you mentioned what the second one was but it wasn't very clear. Is there any way if that is plumbed into the outlet side of the tank (and so I assume the lower tank connection) you can use it to reverse fill the tank? If the taps are off in the van and the fill connection is left open you should be able to push water into the bottom of the tank with the air venting from the right hand one until water flows out of it?
Sorry for delay, been away. I have the inlet and outlet under the bumper, no plumbing in the van as such. The outlet is also connected to an automatic electric pump (switch on inside van), you connect a hose to that and acts like a shower / mini jet wash
 
Last edited:
Might be worth trying to backfill the tank then, depending on the pump mechanism. If it's a diaphragm then it's unlikely to work.
 
If there is no space to fit a vent on the top of the tank you can fit one as high up the side wall as possible.
Not sure of the tank wall thickness but I expect approx’ 5mm. A 90 degree elbow bulkhead fitting with a seal both sides, make sure you position it where you can hold the backing nut through the drain cap access.
Some PU pneumatic hose for a vent, 4mm bore is enough and a disposable inline filter cartridge at the end of the vent hose.
A quick, cheap and effective job.
 
Apologies for resurrecting an old thread, but..... on my van I have a watertank that looks very similar to the one pictured above, although mine has been covered with an aluminium foil insulating material, so I'm not 100% sure it's exactly the same.

Before winter came on, the tank was flushed through with a food grade anti-freeze to protect the pumps and pipework, and left with as little water as possible left in by running the tap till the pump was no longer picking up water.

Today I went to re-fill the tank and flush through the pipes to ensure all the anti-freeze was clear of the system. However, when I though the job was done, I noticed a steady drip coming from under the tank, right below where the access/drain sits on the spare wheel bracket.

I'm hoping the leak is through the drain, and it'll just be a case of tightening it up, rather than finding the tank has a crack in..... but how it would come loose is a mystery. Has anyone else had a similar problem?

To my shame, I didn't know the tank had the access/drain there, as it's hidden by both the wheel bracket and the insulating foil.
 
You know when most underslung tanks are full as the drip out water, however, it'd be rare to crack that plastic is so thick. Suggest tightening everything then see
 
I was dreading the job because the tank has been covered with sticky foil insulation, but this morning I gritted my teeth and set to. After dropping the wheel bracket at one end, it was Bingo! The 5" screw plug for access was only hand tight. A bit unreal really, as it was only yesterday a leak showed, and the tank has been empty all winter.

On inspection, the washer/gasket looked a bit deformed, so I set out to all the local plumbing suppliers to try and find a replacement. Alas, no luck.

Because of all the insulation on the tank, I couldn't be sure it was an exact match to a few I found online, and all online suppliers seemed to only sell complete tanks, with or without the brackets and pipework. I was about to start phoning some, when I noticed a link to the manufacturers website..... and what's more they are only 20 miles or so away.

I phoned and talked to a very helpful gentleman, and although it could be a different tank, I set off in the car to Crewkerne in Somerset. I showed the guy the plug I'd bought with me, which he confirmed was from a tank they made. In his hand he had a new washer/gasket, and an exchange was made of old for new!


Apparently, the washer used to be made of 4mm foam rubber (as mine was) and they could deform over time, especially if the plug is removed often, causing a leak, of which they'd had a few reports. They now use a solid flat washer, and it seems to have cured the problem!

I've now re-assembled everything, and filled the tank to 2/3 full, and no leak. Happy days indeed! So many thanks to Roger at Wydale Plastics in Crewkerne, Somerset
Experts in Rotational & Contract Moulding – Wydale Plastics Limited
:cool:
 
A few pics, although I didn't take one of the deformed washer.

1:- The tank in place showing all the sticky foil insulation that made it hard to match the tank with pics on suppliers websites.

PSX_20250424_121823.webp

2:- The plug removed....

PSX_20250424_121941.webp


3"- Plug alongside the new washer/gasket....

PSX_20250424_121919.webp


4:- Plug in place prior to refixing the wheel bracket....

PSX_20250424_121953.webp
 
  • Like
Reactions: CAB
Back
Top