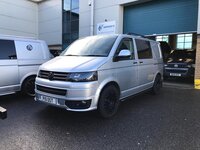
T5.1 4motion Kombi-camper Conversion

ricbell4416

Member
Hi guys,

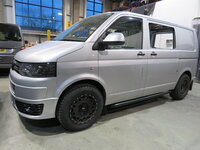
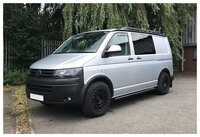
Well underway with the conversion of my T5.1 4Motion panel van into a Kombi-camper so thought I would share some progress pictures.

I really went around the houses with what to do with the conversion (full kitchen or slide pod, RIB or fixed seats etc) but in the end decided that a Kombi set-up with a sliding bed frame would be the best for me as this is going to be my daily driver and I still need the functionality of a van. This setup was also one of the easier options on the wallet!

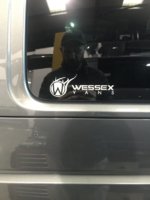
I got various quotes in but really it came down to 3 companies that I really liked the attitude and quality of work of. In the end I chose to use the team at Wessex Vans as they were super helpful and managed to do a good price on everything in one go, including their bed frame which after a lot of research I think is probably one of the options out there for them money and build quality.

Next on the list is a multi rail, awning and a bike rack, although I’m gutted you have to lose the rest spoiler when you fit it. Also probably going for the 35mm lift kit as I’ve got some off-road camping adventures planned in Europe next Spring.

I’m on Instagram with the same name as the forum @ricbell4416

Cheers!
Ric
 
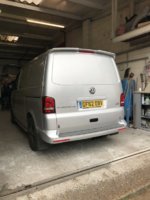
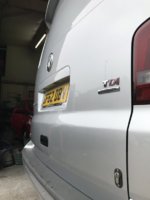
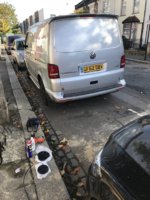
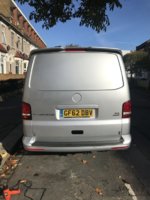
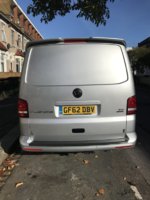
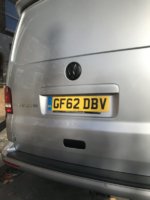
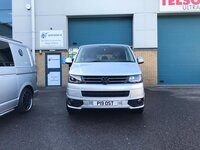
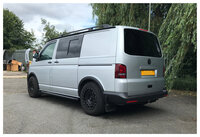
Had a pretty nasty crease near the number plate so got that sorted at a local body shop. Amazing family run place that I now keep going back to in Leyton, East London called Venom (boy racer name I know). At the same time got them to respray the rear bumper, tailgate, tidy up the mirrors, and sort some scratches down the sides and stone chips on the bonnet. Wanted to start with the cleanest canvas I could afford.

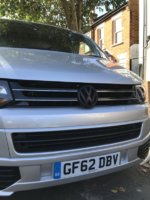
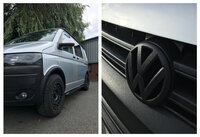
Then I changed the badges all round for new Matt black ones from Van Style.

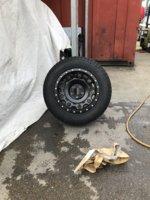
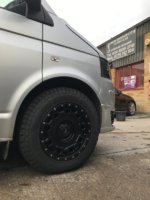
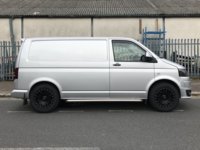
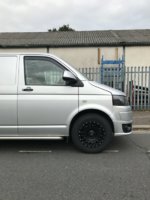
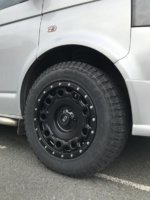
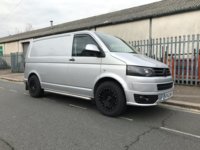
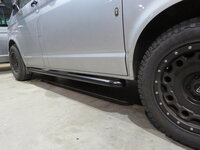
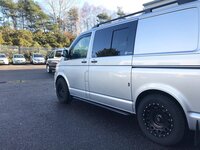
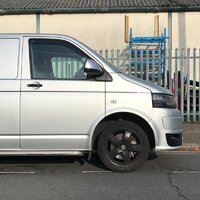
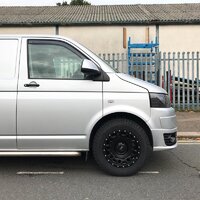
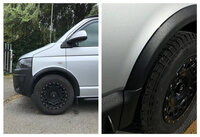
I’m going for a swamper look so got my wheels from Matt Brookes who runs VWT5 Upgrades in Wales. Super nice guy, who helped with tyre choices for the KMC Holeshots I wanted to get. He posted the wheels to London for £40 which I thought was very reasonable considering the weight.

430963A7-F630-4535-B521-08BF4FC2ADBB.jpeg

9BBEBE0E-BDAB-4A25-9FA5-9FBFFBDA21B8.jpeg

C371DBE8-0242-4814-90FB-63AE23B80006.jpeg

185A4E18-925B-4968-B9D4-93796A56CA09.jpeg

3687567B-C1CB-4D91-B219-8DABD9F6B44F.jpeg

97947248-99EC-4F2D-B54E-1E2EE1D9F0DF.jpeg

7F737732-AEA7-4D63-8A63-9B4B617ABC24.jpeg

D32B152E-A130-446E-AB7D-63364DA70452.jpeg

9E5F9246-9E0C-42C1-8ED7-0162FE5AAECF.jpeg

15A6509D-4A57-4B51-A588-6911FD1ADAF1.jpeg

82CA42CA-6D5F-4543-8018-8C495341E1D3.jpeg

54CA6EAA-1021-4535-ADF6-CFE1D1EF4E4B.jpeg

53785C16-3D50-4EFC-BC53-A9F643E54DBB.jpeg
 
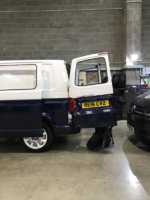
Next stop was making the trip down to Wessex Vans in Poole, Dorset. I’d been chatting to a guy called Chris there who’d been really helpful and after a bit of back and forth we’d agreed a price for everything. The guy should win salesman of the year to be fair to him, I got a good deal and they got the business.

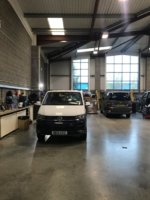
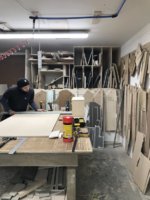
Everyone I met down there was super nice and I got a little tour of the workshop and met the guys working on the vans. Their setup is legit, the workshop where they make their cabinets in particular looked like a joiners dream.

They’ve got a decent sized showroom too which was great to have a look at previously completed vans to decide the final spec on things like carpet colour and headlining material. I also got to see the Wessex bed frame in the back of a T6 and how it all worked, confirming my research that I’d made the right choice. It’s a solid piece of kit for sure.

I got a lift back to the station in a newly converted T6 (which made me insanely jealous) from Andy their valeter / detailer and headed back to London.

52F1A1CD-9FBF-44D5-9FC5-DE2B91352563.jpeg

DBB6176C-D9BF-42C7-9F58-99E7E27D30FF.jpeg

A98BE888-A60A-4440-8F63-816944F881DD.jpeg

AE9F64C9-D09E-4FC4-95B7-C149AC018CD5.jpeg
 
Now seems like a good time to continue telling the story of my conversion....

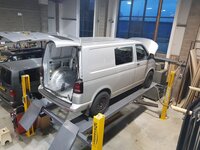
Wessex really were a great company to deal with and were happy to keep sending me pictures of the build as it progressed. I would have loved to have done all this stuff myself but a lack of driveway, garage or time were all deciding factors in paying to get it done by someone else. Considering the whole conversion took less than 2 weeks I'm really glad I paid for it, and because I got a lot of stuff all done at the same time I was given a few special offers like insulating upgrades which I wouldn't have got if it was done incrementally. It also meant I could enjoy using it straight away which has been a big bonus.

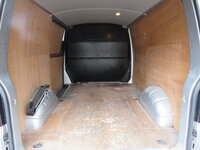
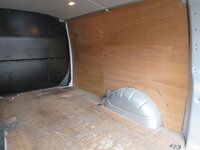
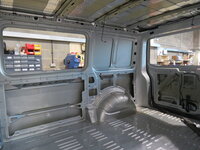
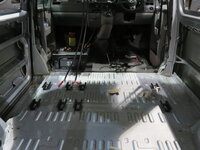
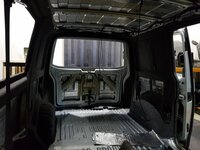
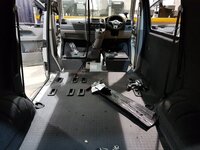
First job was to strip the van out and give it a good clean back to the metal work. This was also a good opportunity to have a really good look at the van to see if it had any major rust issues, I was happy when Wessex reported it was straight, solid and clean.

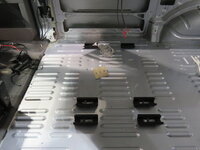
Wessex opt to screw the mounting points for the VW Kombi seats through the floor rather than bond them which I've some companies do (which sounded a bit dodgy to me). In order to do this, they had to get to the underside of the van too and remove some bits to fit. Again, I was happy when they reported the van looked as good underneath as it did inside.

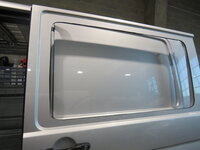
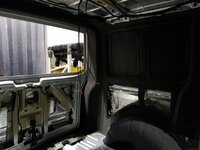
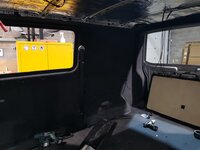
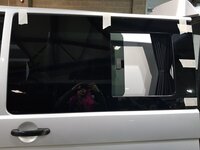
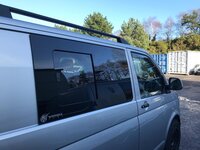
Next thing was to cut the holes for the windows and tailgate glass. I watched a lot of youtube videos on how to do this, and despite how many times I heard people saying it wasn't as hard as you might imagine this was a job I don't think I could have brought myself to do.

IMG_7882.JPGIMG_7883.JPGIMG_7924.JPGIMG_7925.JPGIMG_7949.JPGIMG_7950.JPGIMG_7953.JPGIMG_7954.JPG20191121_161047.JPG
 
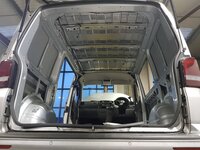
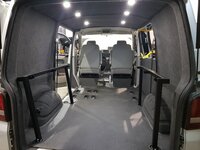
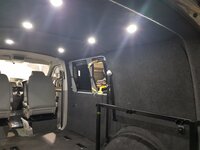
The next stage of the work involved sound-proofing and insulating the panels. I can’t believe how much difference this has made. I read mixed reviews about how effective this was for reducing engine and general road noise, but in my opinion its a vast improvement compared to how it was before. Wessex’s sound deadening and insulting package isn’t one of the cheapest around, but you get what you pay for I guess.

I went for a dark grey carpet for the lining as I figured it would show less marks as I used the van, and after looking at a few of the demo vans it also felt the most expensive and smart option compared to the lighter colours.

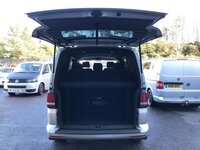
As this is my daily driver I need the van to function as close to a (big) car as possible most of the time hence why I’ve gone for the Kombi / Camper vibe on the build. I would have loved a sliding RIB on rails but the £5K price tag was way out of my budget unfortunately.... To match the T6 Kombi seats going in and to give it the OEM look as closely as possible I chose to have the VW Kombi floor fitted. More expensive than the vinyl option but has a certain level of softness to it and helps even more with the road noise. The whole thing feels like its straight out the factory.

I was really glad the van came with captains seats already. These were put onto swivel bases which I believe were from Kiravans.

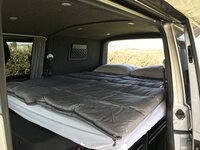
The Kombi bed frame is made from box section metal and mounts into the tie down points in the back of the van. I really like how you can just knock out the cross bars and have a big open boot space or keep the whole thing in and have what is effectively a huge parcel shelf, which I've actually found to be more useful when carrying loads of stuff as there's 2 levels.

20191121_161113.jpg20191125_164038.JPG20191125_164058.JPG20191126_163116.JPG20191126_163141.JPG20191127_160751.JPG20191127_160815.JPG20191127_160819.JPG
 
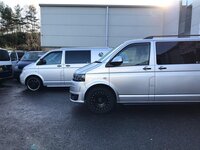
Here is the finished article from Wessex, shout out to Andy their detailer who spent a long time cleaning the KMC holeshot wheels, not an easy task.

I’m really happy with the roof bars, it like how it changed the look of the van and will be ready to go anywhere when I get the Thule box on there.

There’s a leisure battery fitted underneath one of the front sears and a control panel mounted into the back of the seat base along with some extra 12V charging ports. There’s more 12V points in the back of the van too so you can charge your phone etc when the bed is out. along with some LED lights in the roof controlled by a switch in the sliding door pillar. I also got a Kiravans door store fitted at the same time for some extra storage in the back.

When I collected the van Chris showed me round and explained how everything worked, even though its a simple conversion and isn’t a camper there was still a bit to take in as it felt wildly different to when I dropped it off. People often talk about ‘new car smell’ which I’m sure is great but I don’t think it could beat the ‘newly converted van smell’!

Overall I'm super happy with the conversion and the service from Wessex. Chris was super patient with me and offered some great advice, if you're on the lookout for a conversion company my experience has been nothing but positive. I'm excited to get out and use the thing properly now.

77625BD7-CAD4-4728-9529-073D19719E36.JPG58D45043-E07A-4109-B600-800F9173EECB.JPG609FE416-97F6-4226-BFA2-E262551284B4.JPG641CC188-9DEC-4A3F-A4DE-A6FE17F00635.JPGE06B94D7-26B8-4029-A0E9-1CF18D7D5A44.JPGFF67F29E-47EB-464E-9C41-BE96B66F2FF6.JPG
 
  • Like
Reactions: CAB
Love those wheels, always wanted to do a swamper 4x4 style job on my van.... but I I just keep chickening out! What size tyres are you running bud? Did you bother changing the springs in the end?
 
@fireheed - Yeah black and silver is definitely the theme I'm going for. Black bike rack is also on the shopping list, although I'll be gutted to lose the rear spoiler as you can't have both...

@Catagonia - The tyres are 235 65 17. It drives absolutely fine and looks good at standard height with these, but it will definitely look better with a lift in my opinion. It was impressive how much meaner it made the van feel. They're wide too, it's got some presence now.

46142CBD-5D1C-4CD7-8BCA-A34437025786.JPG72A206BC-9AFE-482B-84FF-1749DB797155.JPG
 
Those side-by-side pictures really make it look like it was made for those tyres.

It's funny you described it like that because even though I've got 18"s I always look at my van and think:

A) why do my wheels look tiny

B) I feel like I'm driving on pram wheels

Think I'm going to have to wear out this set of tires ASAP, then make the change to some ATs!
 
Removed my shitty old rear bumper protector this weekend. Took absolutely ages. Documented the struggle here if anyone is interested!

 
Earlier this year in February some industrial bins rolled into the side of the van, denting most of the panels, scraping down the paintwork before rolling into the road. After weeks of getting passed around department to department I finally got the refuse company to accept some liability and contribute towards the repairs. At the same time I got the damaged panels fixed I also got a load of other work done that had been on the (never ending) 'to do' list.

This included:
- Removal of the builders security locks (done properly by welding plates into the holes, then filling and smoothing)
- Removal of the rear spoiler (so I could fit a bike rack, done the same as above)
- Removal of Sportline bumper (for sale is anyone wants one!)
- Raptor paint front and rear bumpers
- Raptor paint genuine VW wheel arches
- Full respray in Reflex Silver

I'm over the moon with the results. I know its not for everyone but I love the Swamper look and feel fully justified to go down this route considering I've got a 4Motion. All it needs now is a lift kit and some underbody protection.
VW_ADVERT_01.jpegVW_ADVERT_02.jpegVW_ADVERT_03.jpegVW_ADVERT_04.jpeg
 
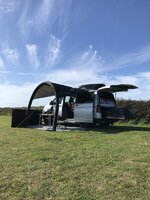
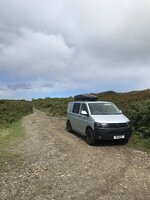
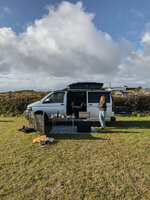
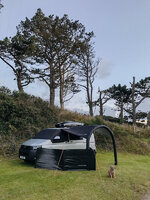
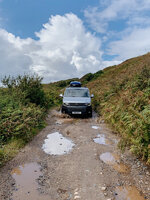
Thought I'd close out this thread by saying that after all that hard work and a glorious summer holiday in Cornwall in-between lockdowns 1.0 and 2.0 the van is now sold and making someone else very happy. It wasn't an easy decision to make but with the impending ULEZ deadline it seemed like a good time to start thinking about a T6. This all got a lot more real when I found the 'dream spec' (more on that later) and got some serious interest on the T5.1 when I put it on eBay. Long story short, after a bit of back and forth with the buyer of mine it sold in early January 2021 and I got the T6 the week after.

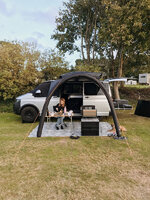
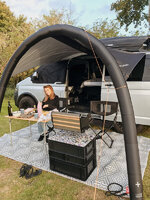
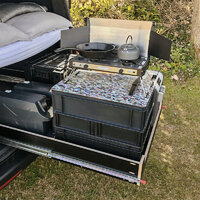
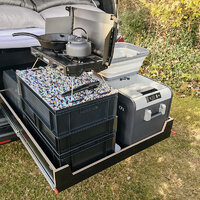
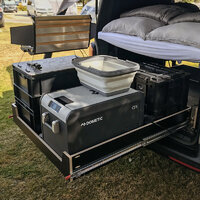
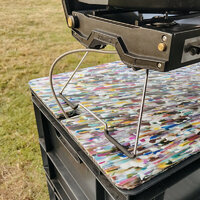
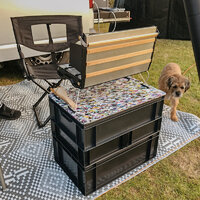
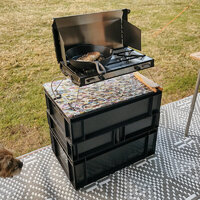
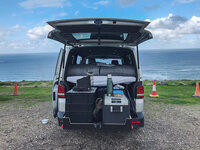
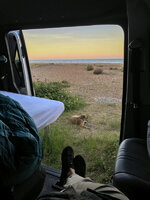
But before I start talking about my T6 I thought I'd share some images of the T5.1 in its element in Cornwall during the summer. It was an awesome trip and the van, the heavy duty drawer I'd built and the stacking euro boxes all worked exactly as I'd planned. I did a more detailed breakdown of the rear drawer setup on my Instagram if anyone is interested (@ricbell4416) along with a story highlight showing how we built the drawer.

I look back at these and realise how much I loved the T5.1. It was a dream come true to get my first van and I had loads of fun building it the way I wanted it. But I'm looking forward to building the T6, learning from the mistakes I made and developing the Kombi-camper style setup more as I still think its by far the most versatile arrangement if your van is your daily driver.

Cheers, Ric
 
Back
Top