Hi folks,
I’ve changed the master cylinder today on our T6 140 6 speed and noticed it has not been published before.
Hope it helps:-
1: open the bonnet and remove the wiper arms. These can be stiff but with a wiggle up and down usually frees the off. If problematic get a small puller.
Pull the seal off and the wiper cover pulls off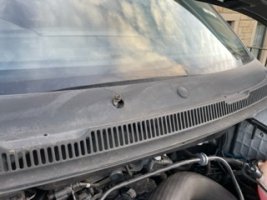
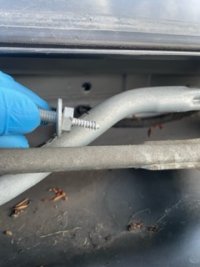
2:securing a harness is a double threaded bolt with a 13mm head. Remove- this olds the top of the clutch pedal.
3: when you’re under the bonnet, pull the supply pipe off the side of the brake/clutch master cylinder
4: with a long nose set of pliers, release the silver clip retaining the clutch supply hard pipe from the master cylinder. The clip stays in place and withdraws 10mm or so.
The pipe, with a little tug comes out the bottom of the cylinder.
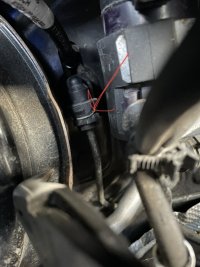
5: under the dash, release the kick panel from the clips. You don’t need to separate the column cover from the upper cover, as it comes out in one peice.
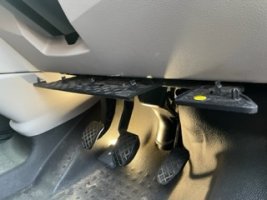
6:remove the brake and clutch brace: 2x 10mm nuts. Only need to slacken.
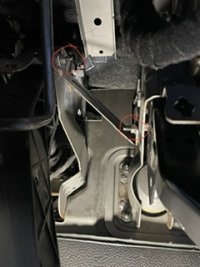
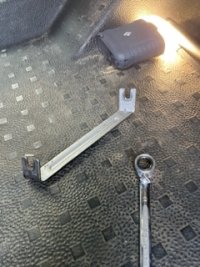
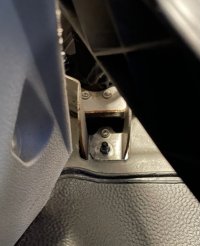
7:release the lower nut:13mm
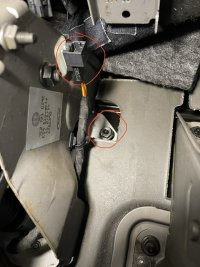
8:release the right nut to bulkhead and electrical harness.
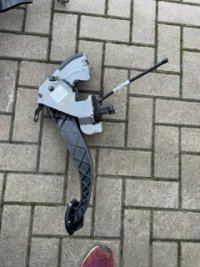
9:depress the clutch slowly and remove the whole pedal assembly.
10: on the bench: release the supply pipe and remove the foam packing
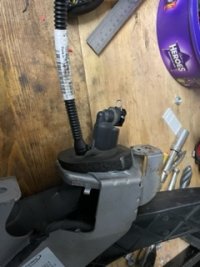
11: using two screwdrivers, release the white clip from the pedal.this is a tricky bugger but persevere, it comes off!
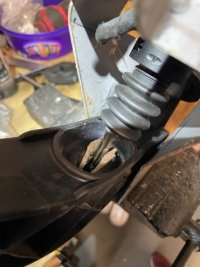
12: release the 2x mounting bolts (13mm) and electrical harness
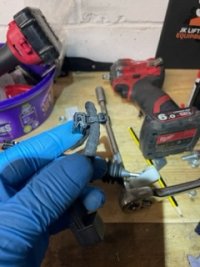
13: remove the cylinder.
14: instal new cylinder and reattach pipe and foam.
15: install foot pedal to van and reverse the above procedure.
16: top up brake fluid and place gear selector in 4th.
17: with assistance bleed clutch.
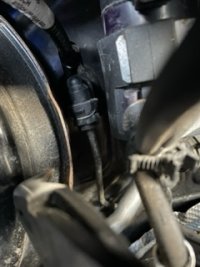
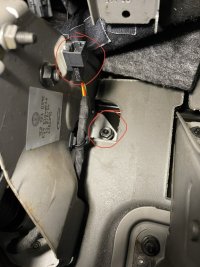
I’ve changed the master cylinder today on our T6 140 6 speed and noticed it has not been published before.
Hope it helps:-
1: open the bonnet and remove the wiper arms. These can be stiff but with a wiggle up and down usually frees the off. If problematic get a small puller.
Pull the seal off and the wiper cover pulls off

2:securing a harness is a double threaded bolt with a 13mm head. Remove- this olds the top of the clutch pedal.

3: when you’re under the bonnet, pull the supply pipe off the side of the brake/clutch master cylinder
4: with a long nose set of pliers, release the silver clip retaining the clutch supply hard pipe from the master cylinder. The clip stays in place and withdraws 10mm or so.
The pipe, with a little tug comes out the bottom of the cylinder.

5: under the dash, release the kick panel from the clips. You don’t need to separate the column cover from the upper cover, as it comes out in one peice.

6:remove the brake and clutch brace: 2x 10mm nuts. Only need to slacken.


7:release the lower nut:13mm

8:release the right nut to bulkhead and electrical harness.

9:depress the clutch slowly and remove the whole pedal assembly.

10: on the bench: release the supply pipe and remove the foam packing

11: using two screwdrivers, release the white clip from the pedal.this is a tricky bugger but persevere, it comes off!

12: release the 2x mounting bolts (13mm) and electrical harness

13: remove the cylinder.
14: instal new cylinder and reattach pipe and foam.
15: install foot pedal to van and reverse the above procedure.
16: top up brake fluid and place gear selector in 4th.
17: with assistance bleed clutch.


