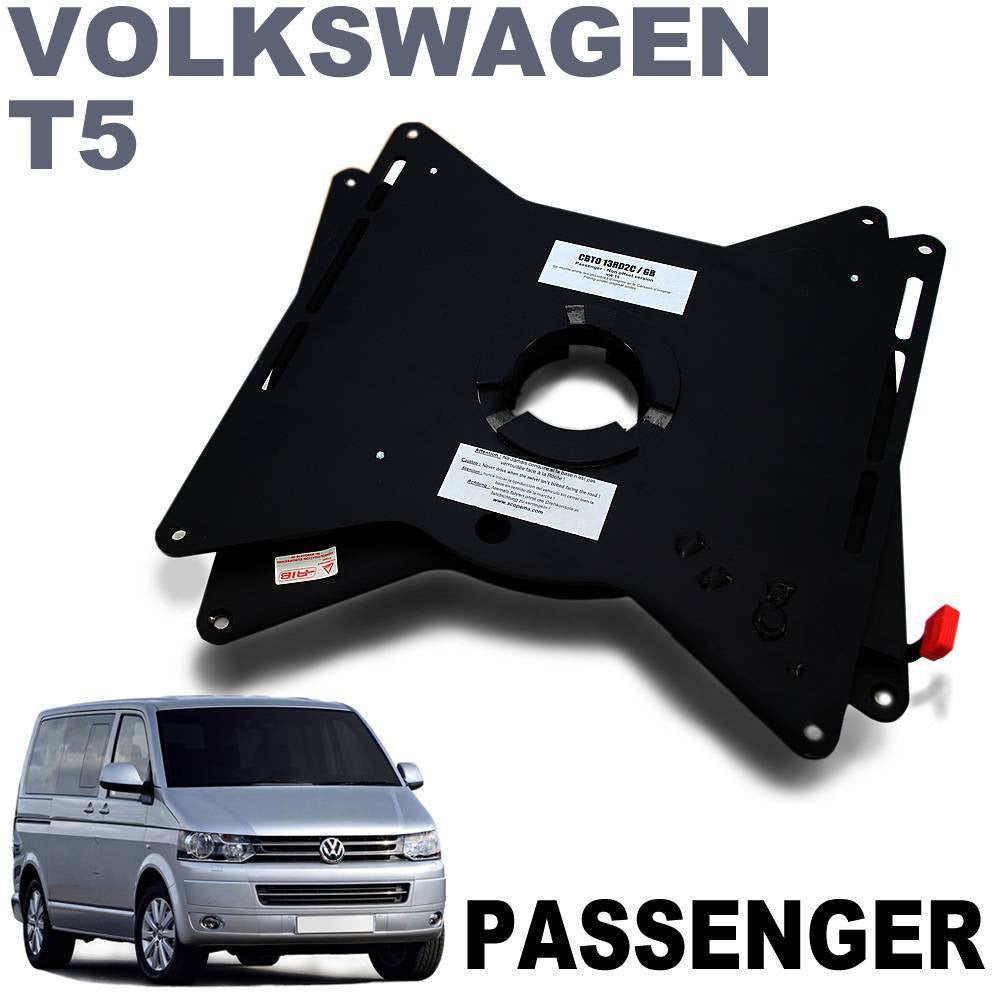
Completed the seat swivel install in our T6 Caravelle. We brought this one:
 www.kiravans.co.uk
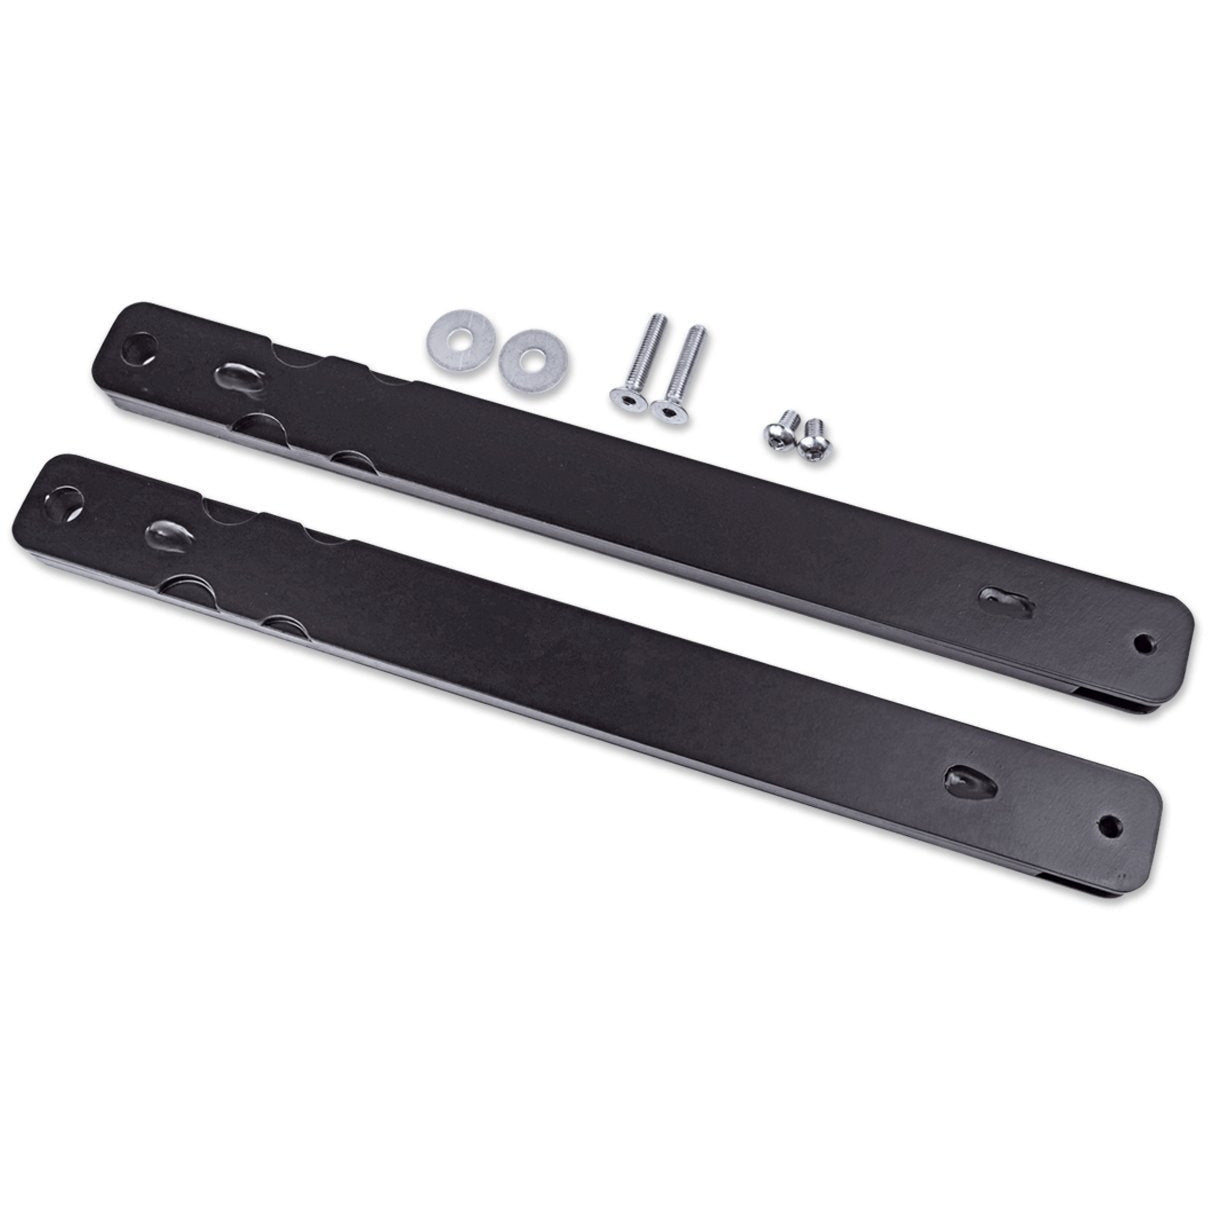
We also brought the raising shims which enable the Leisure battery to fit upright and to be able to retain the factory seat base trim:
 www.kiravans.co.uk
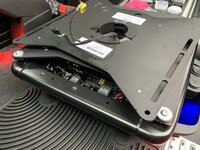
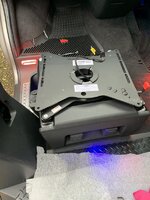
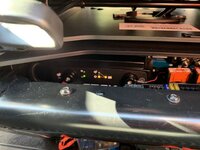
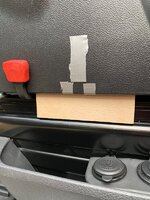
The seat fairing had to be cut to enable the seat to be fully lowered without catching and deforming the fairing. Marked the position with some tape and used a scrap piece of ply to keep the fairing still whilst I drilled it:
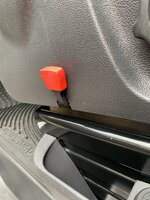
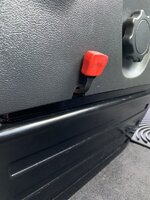
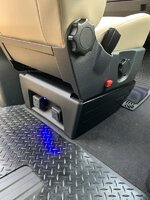
The trade off to not cutting the seat fairing all the way along, is you need to raise the height of the seat to slide it. That’s not an issue to us but could be for some.
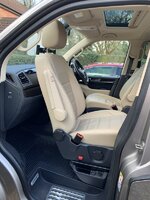
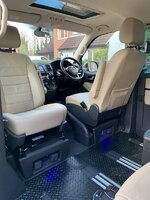
Added some split loom to the airbag / heated seat wiring to protect them from the swivel mechanism
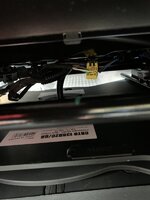
Seems to work well, so far no rattles or any noise the all (Yet). The shims do raise the seat a little to high even with the seat fully lowered. It’s fine for me and I’m only 5ft 5 but my wife who is only 5.1 her feet only just touch the ground. Might need to make a small foot rest for long journey, perhaps just some 18mm ply covered in rubber matting. We’ll see how it goes.
I recommend watching the Kiravans video on how to install the swivel, it’s very good:

RIB VW T5/T6 Single Seat Swivel - Passenger (Right Hand Drive)
Manufactured in France by Scopema, the RIB swivel plate for campervans gets lots of praise on the various forums. In our own experience, we have found these seat swivels to be very robust and rattle-free. To rotate the seat, the engine must be turned off, vehicle put in gear and the handbrake...
 www.kiravans.co.uk
We also brought the raising shims which enable the Leisure battery to fit upright and to be able to retain the factory seat base trim:

RIB Raising Shims for VW T5/T6 Passenger side seat swivel
These raising shims are ideal if you're trying to fit a leisure battery under the passenger side seat. The shims are 18mm thick and are compatible with the VW T5 & T6 Passenger side seat swivel. Includes all extra bolts & washers required.
 www.kiravans.co.uk


The seat fairing had to be cut to enable the seat to be fully lowered without catching and deforming the fairing. Marked the position with some tape and used a scrap piece of ply to keep the fairing still whilst I drilled it:


The trade off to not cutting the seat fairing all the way along, is you need to raise the height of the seat to slide it. That’s not an issue to us but could be for some.


Added some split loom to the airbag / heated seat wiring to protect them from the swivel mechanism

Seems to work well, so far no rattles or any noise the all (Yet). The shims do raise the seat a little to high even with the seat fully lowered. It’s fine for me and I’m only 5ft 5 but my wife who is only 5.1 her feet only just touch the ground. Might need to make a small foot rest for long journey, perhaps just some 18mm ply covered in rubber matting. We’ll see how it goes.
I recommend watching the Kiravans video on how to install the swivel, it’s very good:


