I’ve gone from sh1te to bright 
Finally got all my light upgrades fitted and working.
I’ve fitted THQ V3 all black limited edition headlights. I really like the very dark look they have and think they work well with the purple.
I got the upgraded LED main beam bulbs and the night breaker full beam bulbs.
A huge difference from the H4’s.
I also fitted a fog light kit with upgraded bulbs as my startline doesn’t have them as standard.
I bought bumper mounted DRLs but had to cut them into the startline bumper as it’s one piece and the lower grill is not interchangeable.
They need a slight adjustment before I seal them in. But waiting for a dry day. I’m pleased with the finish.
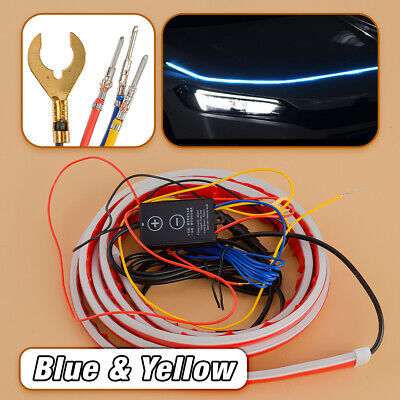
I also fitted the under bonnet DRL strip.
I’m delighted with it all.
I’ve taken some before and after pics.
The bonnet DRL has a cool night rider start up sequence
Before

After


Finally got all my light upgrades fitted and working.
I’ve fitted THQ V3 all black limited edition headlights. I really like the very dark look they have and think they work well with the purple.
I got the upgraded LED main beam bulbs and the night breaker full beam bulbs.
A huge difference from the H4’s.
I also fitted a fog light kit with upgraded bulbs as my startline doesn’t have them as standard.
I bought bumper mounted DRLs but had to cut them into the startline bumper as it’s one piece and the lower grill is not interchangeable.
They need a slight adjustment before I seal them in. But waiting for a dry day. I’m pleased with the finish.
I also fitted the under bonnet DRL strip.
I’m delighted with it all.
I’ve taken some before and after pics.
The bonnet DRL has a cool night rider start up sequence
Before
After