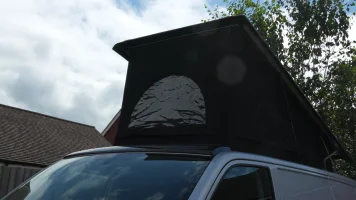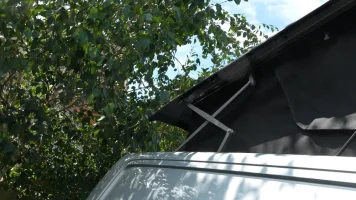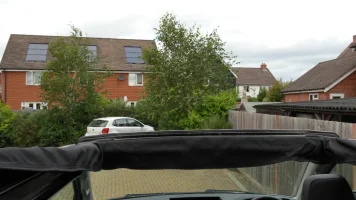
My Self Build - can be seen on youtube too :)

Waynos

Member
VIP Member
T6 Pro
Hi Guys,I recently posted in the new member section. I got myself a t6 which will be transformed into a camper. The aim is to do everything myself (within reason!). I'm proper excited to get stuck in and be creative! i have also filmed and posted on youtube. The first and second episode linked below:


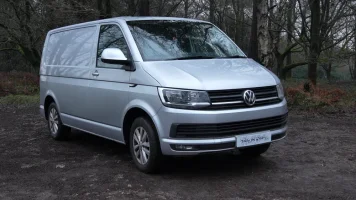
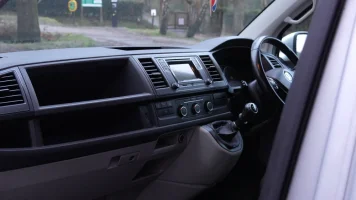
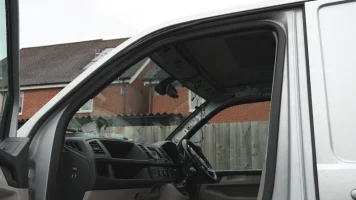
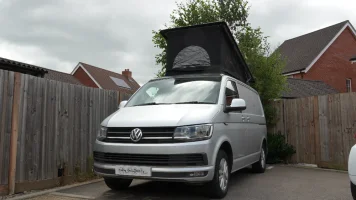
Here she is looking standard (for now :) )

1.webp
2.webp
3.webp
4.webp
5.webp

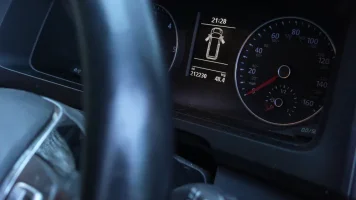
High Mileage doesn't put me off!

6.webp


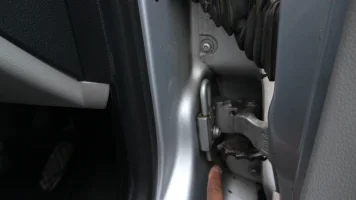
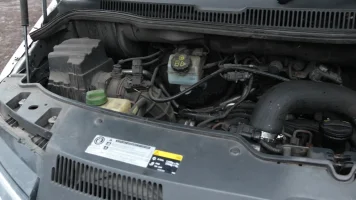
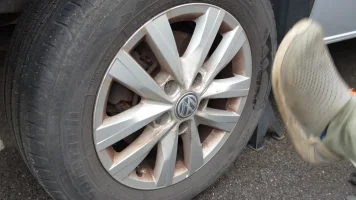
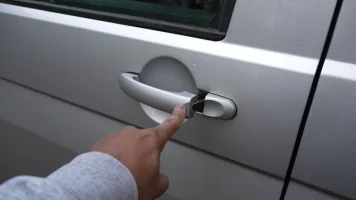
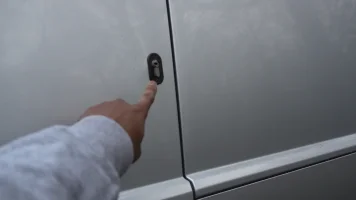
There was a few things that I need to address, a sticky passenger door handle, removal of the dead locks, a broken door check hinge, engine light came on intermittently due to a blocked egr valve.
7.webp8.webp9.webp10.webp

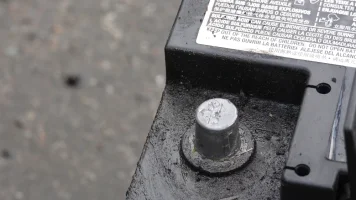
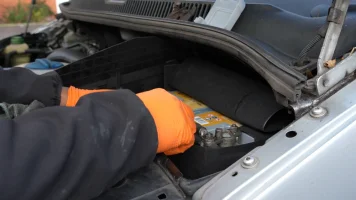
The battery wasn't the strongest, which makes sense as it was the original from the day it came out of the factory! Got a new replacement in there and coded it in no problems.
12.webp11.webp

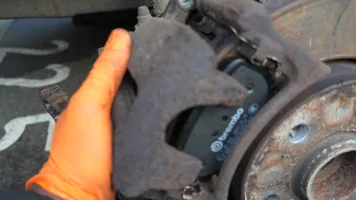
I Stuck some new pads on the rear as they got low, discs weren't too bad just some surface corrosion from sitting (which is now gone).
14.webp

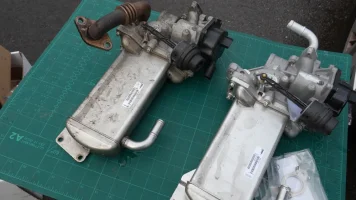
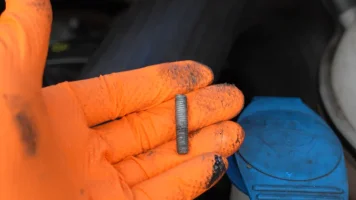
The Egr valve replacement looked really easy until I got to the last bolt which was rounded, I tried to cut the head off with a hacksaw blade but eventually used my dremel which did the job nicely. I used a Valeo direct replacement Part no:700435 , this is for the euro 5 engine by the way. Amazon seem to have these on offer from time to time, i'm pretty sure I paid around £270 for it.
15.webp16.webp18.webp

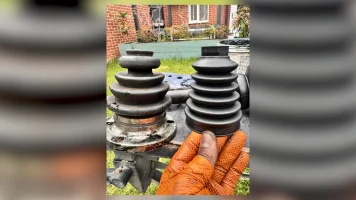
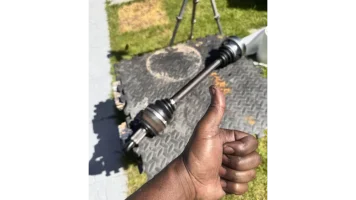
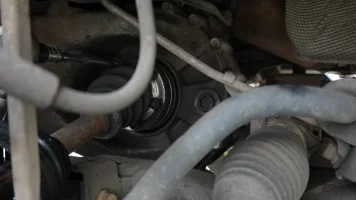
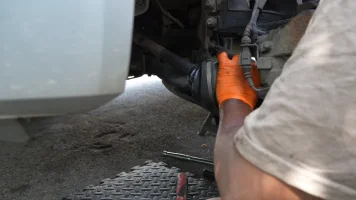
Whilst digging around I noticed the passenger side cv boot was split ( grease was spattered on the arch lining) . Sorted that after being supplied the wrong parts on 3 occasions! Turns out the inner boot was done for too so that got done at the same time.
20.webp21.webp
22.webp

13.webp
 
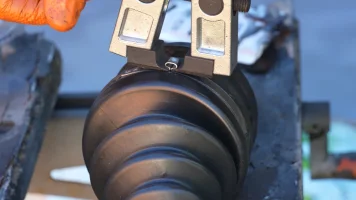
Picking up from the last post, the new boot being clamped on and the driveshaft all good to go back on!

24.webp25.webp

Now as I said before i'm looking to do all the work myself and the first thing that needed to be sorted was a pop top (diving straight into the deep end!)
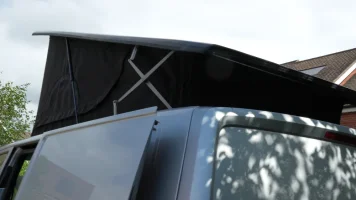
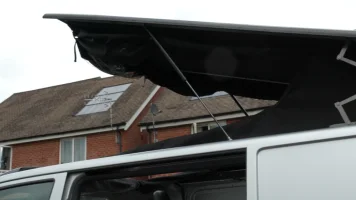
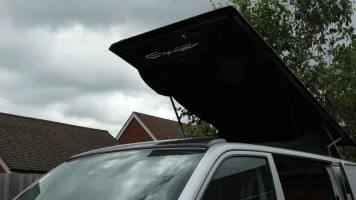
Thanks to my father in law we made the trip up to Halifax Camper conversions and picked up one of their low profile roofs! Lee and Michael were very good at talking me through the process and assured me they would be on hand if I came unstuck. Top service from them and a top product too.


27.webp28.webp29.webp

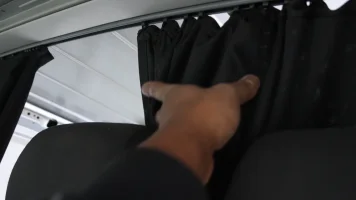
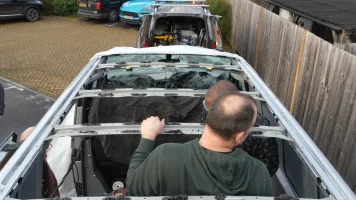
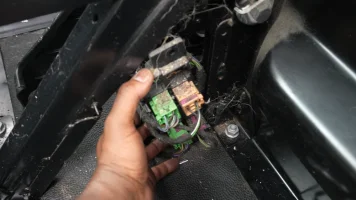
When I got it back I had to strip out some of the van just to make install easier. Out came the tool safe box (luckily sold it the day after I advertised it! I also removed the wood, rear roof panels, curtain, front headlining and pillars.
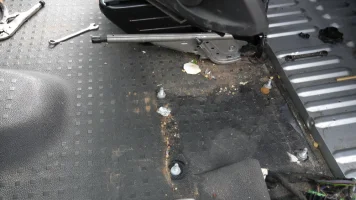
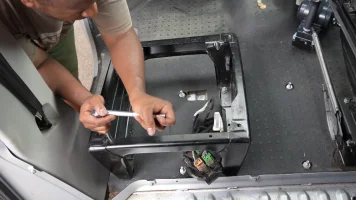
30.webp32.webp31.webp33.webp35.webp34.webp

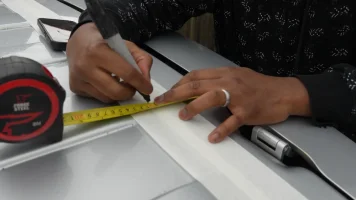
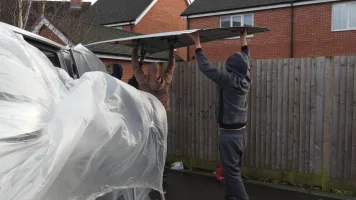
Once all that was out of the way, a few mates turned up and we started to mark out!

36.webp

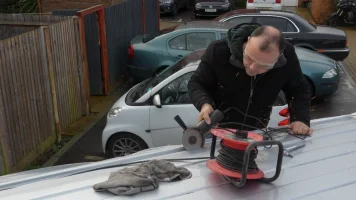
Then we got busy cutting (very daunting!)

37.webp38.webp40.webp

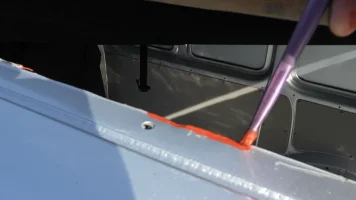
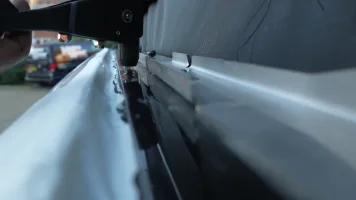
Once that was done the roof was put in place and the pre-marked holes were drilled into the van. After this I coated the bare edges to prevent corrosion, applied adhesive sealant to the mounting faces then bolted and riveted the roof into place.

42.webp43.webp44.webp46.webp
 
Latest episode is up!


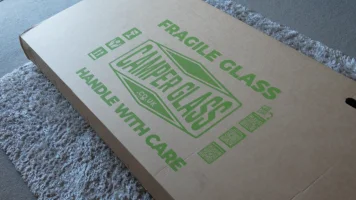
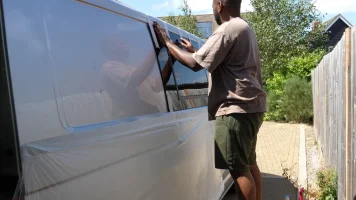
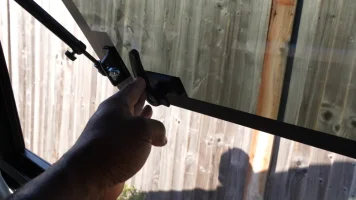
I picked up some camper glass from TransporterHQ, impressed with the way it was packaged as I was a bit worried about the glass being damaged in transit

1.webp

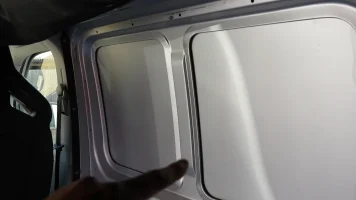
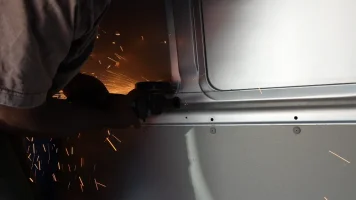
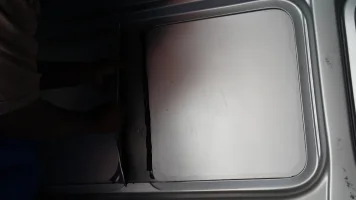
I set about cutting the panel support from inside.

2.webp
3.webp
4.webp

Covered the van to stop metal particles getting embedded into the paint.

5.webp

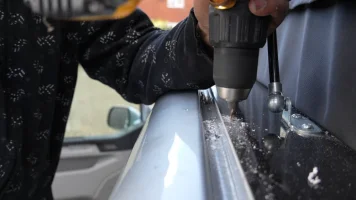
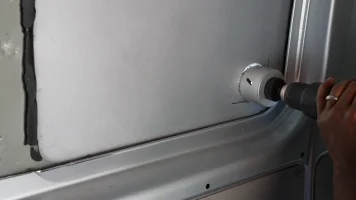
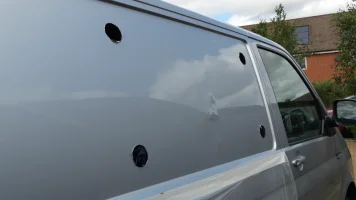
After this i got a fresh hole saw from wickes and made 4 holes in the panel ( hot metal shards wasn't fun lol, long sleeves next time!)

6.webp
7.webp

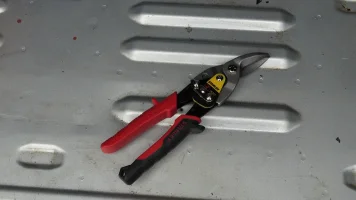
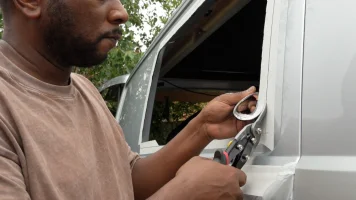
A bit different from using a jigsaw or angle grinder, I went with left side aviation snips. Gave a nice cut with minimal mess but does take a while especially on the initial cuts.

8.webp
9.webp

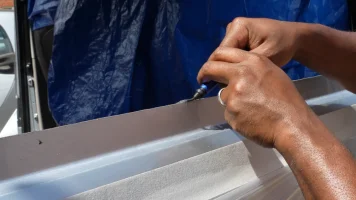
Any raw edge I filed and deburred on the inner edge.

10.webp

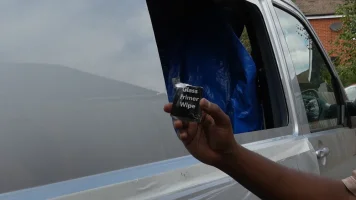
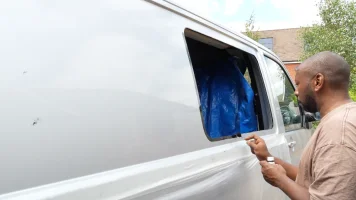
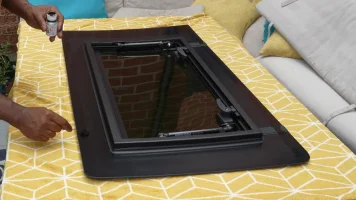
Then it was time to use the panel wipe provided ( Also used a clay bar followed by ipa solvent before this). After that it was a case of priming the metal work including the bare edges and the glass itself, it dries super quick!

11.webp
12.webp
13.webp

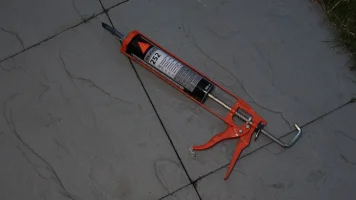
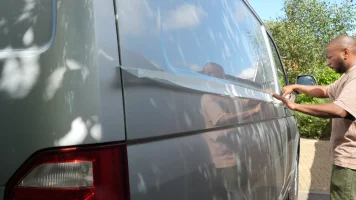
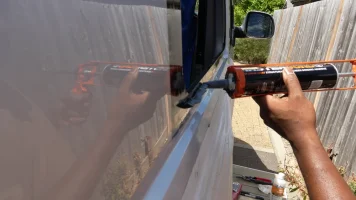
Applying the adhesive was next, Leaving the tubes in the sun for a bit helped massively when squeezing it out of the tube. There's also a handy v shape cut into the nozzle so you get the correct bead. After that I offered up the glass, pushed it into place and secured with tape to make sure it didn't droop.

14.webp
15.webp

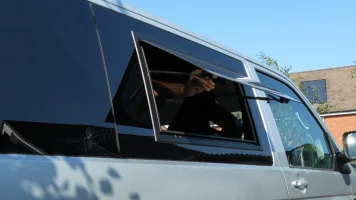
Here's how it came out... Quite happy with it, I did all of the windows around the van. The rear right quarter is a full blackout window as I will have a unit behind it. Hope you dig it!

16.webp
17.webp

More to come soon guys!
 
Another update, the seats are in! Video link below:


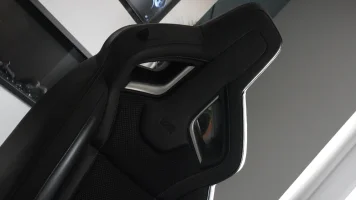
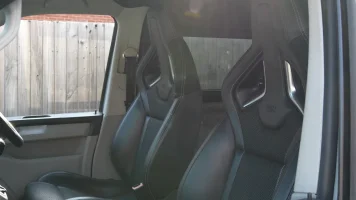
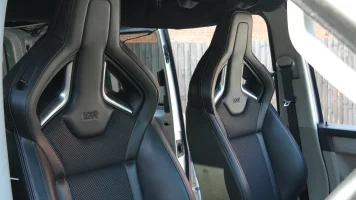
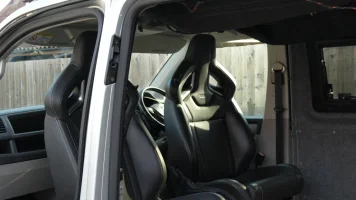
I picked up some Vauxhall Astra GTC VXR recaro seats for a bargain price(the chap even threw in the door cards - not sure what ill do with those!)

1.webp

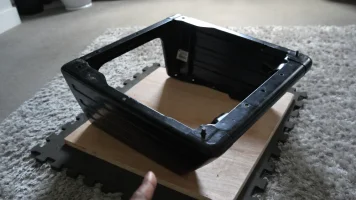
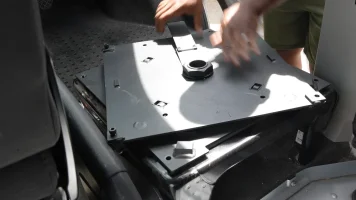
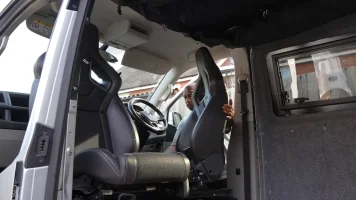
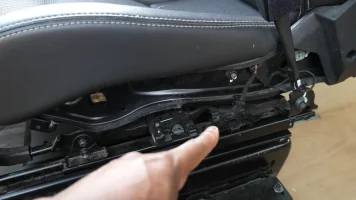
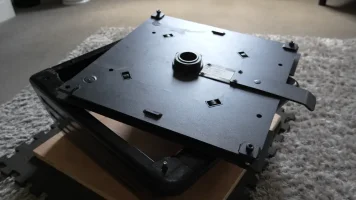
I also found a passenger seat base and a pair of swivel bases. They are sportscraft ones.

2.webp

7.webp

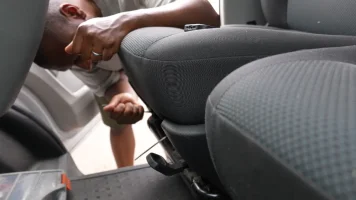
I removed the original seat which is straightforward.

4.webp

6.webp

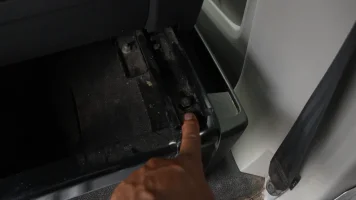
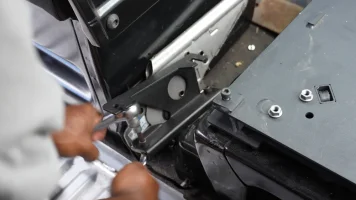
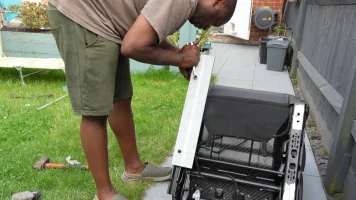
Next up was removing the handbrake to fit a lowering bracket otherwise the swivel would come into contact with it.

7.webp

8.webp

9.webp

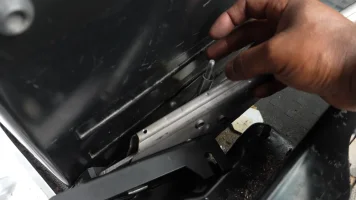
Used a bit of metal tube to act as a spacer as lowering the handbrake introduces slackness in the cable, it worked a treat.

10.webp

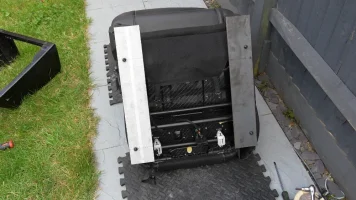
I always knew it wouldn't be a straight up bolt in affair, the vxr seat rails are a bit wider than vw.

11.webp

Using some 6mm steel plate I made some adaptors to bridge that gap.

12.webp

13.webp

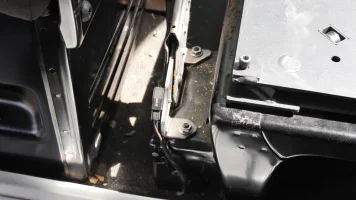
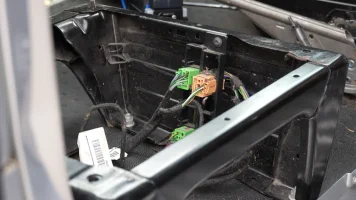
On the passenger side the bench seat was taken out (grubby floor and grubby wiring)

14.webp

15.webp

Bolted the single seat base in and also removed the remaining studs, found a handy spot to bolt the wiring to.

16.webp

17.webp

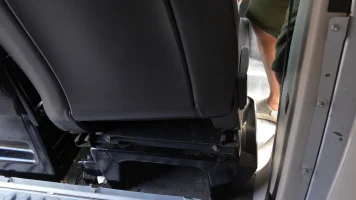
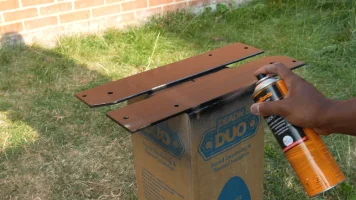
Test fitted everything and painted up the adaptors using etch primer and satin black spray paint.

18.webp
 
Cracking thread. I caught your youtube stuff earlier in the month by chance. Really enjoyed it and a little envious of your production skills etc. I have filmed most of my conversion and then ran out of memory to record and time to edit and submit etc. Keep going and am looking forward to a 3 part electrics install series haha!
 
Last edited:
Back
Top