CBE PC100 Control Panel - Broken Button

mlh677

Member
T6 Pro
A question about the CBE PC100 control panel please, as I am currently away camping and so don't want to cut the electrics off in order to start a job that I can't finish before the cider starts to get warm... ;-)

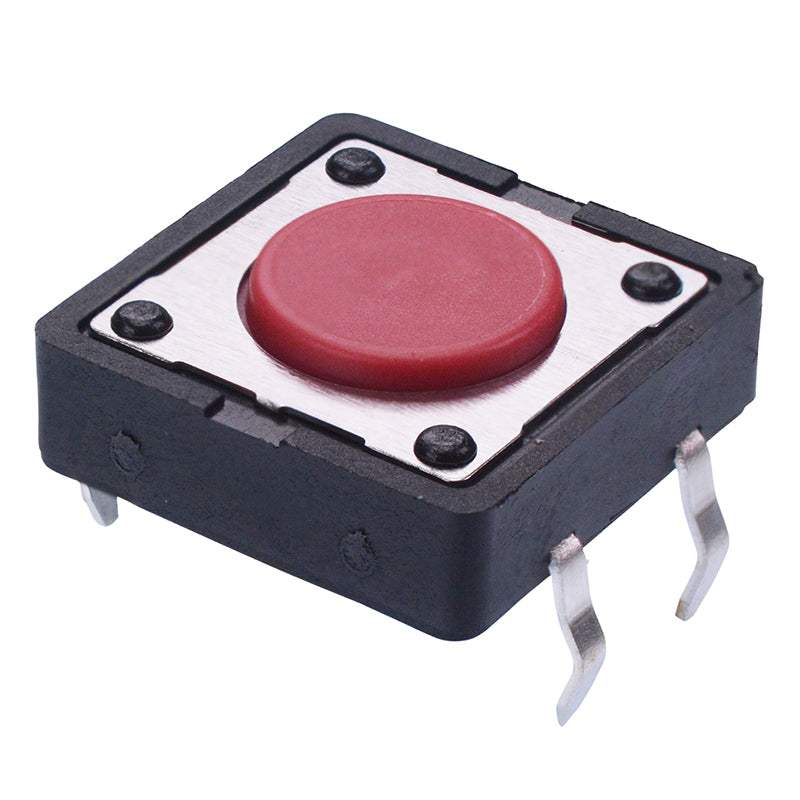
Power button has collapsed into the unit, as shown in picture. It does still "sort of" work and I can see online that new buttons are easily available, so hoping it is a quick, easy fix that I could do whilst away?

I did not make the original install, and I can see that I have a redundant button available within the panel, so hoping to get away with a quick button-swap whilst away.

Before I start to strip things down, can anyone confirm please - based on your experience of this panel, is it likely to just need a straightforward button-swap that can be done quickly, or better to wait until I get home and have access more kit to patch-up the unit?

20210829_150939.jpg

Thanks in advance for any insight!
 
Last edited:
Update - curiosity got the better of me and I took it apart anyway (removal of a few screws under the fascia plate along with a single connector block released the panel).

The related microswitch is ok, so just need to wait for a set of new buttons as one of the originals has separated from a 'plastic frame' of three. Not quite what I was expecting to find, but an easy enough fix.

Photo for reference in case anybody else has the same problem in future:-

20210829_170315.jpg
 
Replacement parts have arrived from Italy, though pleased to report that my simple running-repair (black electrical tape) has worked well over the last few weeks - and it has also conditioned me to push buttons on the 'edge' that moves the most - as opposed to in the centre - to avoid similar problems down the line!

Just in case anyone needs an 'emergency reference' at some point just to get the interior lights working again, you can see below a new group of 3 buttons and a broken group - one of which is held to the fascia panel with black tape :-

20210914_160857.jpg
 
Brilliant. Thanks. I have the same issue and am on the road. I'm just treating gently at the mo, but good to know I can bodge with gaffa tape if I need to before I get home.
 
Replacement parts have arrived from Italy, though pleased to report that my simple running-repair (black electrical tape) has worked well over the last few weeks - and it has also conditioned me to push buttons on the 'edge' that moves the most - as opposed to in the centre - to avoid similar problems down the line!

Just in case anyone needs an 'emergency reference' at some point just to get the interior lights working again, you can see below a new group of 3 buttons and a broken group - one of which is held to the fascia panel with black tape :-

View attachment 130108
I have the same issue broken button, could you share with me how you went about getting the new/replacement control panel? if poss' roughly how much did it cost thanks
 
Welcome to the forum!

It will only take a couple of minutes to remove your control panel in order to replace the buttons. Once you open the unit it should hopefully be easy to determine if a plastic button has broken from its frame or if the associated microswitch is at fault (if not obvious already).

When I bought the replacement buttons from Simatshop in 2021, I paid around £18 with UK delivery. I have seen new PC100 control panels being advertised for £60-£100 since then.

Replacement buttons are currently being offered with UK delivery at about £24.50 from Simatshop through eBay UK (search eBay for "Keys Replacement for Panel of Control Unit Motorhome CBE PC100").

As another possible option, a relevant link to the main Simatshop website follows - you can switch between Italian, German, French & Spanish:-


Hope you get it sorted soon. :thumbsup:
 
Last edited:
microswitch is at fault (if not obvious already).
They're not actually microswitches, they PCB mounted tactile switches.


If one of those have gone they're not too difficult to replace if you are handy with a soldering iron. Measure the switch with digital calipers to check the size (there are a few standard types) and check if it's through hole or surface mount. Use some no clean flux and desolder braid to wick off the existing solder to remove and then solder the replacement on.

If you think the switch is an issue it's always worth first trying a bit of no clean flux and fresh solder and refresh the joints, sometimes you can get micro fractures in the original solder giving a dodgy connection.
 
Welcome to the forum!

It will only take a couple of minutes to remove your control panel in order to replace the buttons. Once you open the unit it should hopefully be easy to determine if a plastic button has broken from its frame or if the associated microswitch is at fault (if not obvious already).

When I bought the replacement buttons from Simatshop in 2021, I paid around £18 with UK delivery. I have seen new PC100 control panels being advertised for £60-£100 since then.

Replacement buttons are currently being offered with UK delivery at about £24.50 from Simatshop through eBay UK (search eBay for "Keys Replacement for Panel of Control Unit Motorhome CBE PC100").

As another possible option, a relevant link to the main Simatshop website follows - you can switch between Italian, German, French & Spanish:-


Hope you get it sorted soon. :thumbsup:
Thanks for your comments, fingers crossed, will check out if it's just the buttons. I've also found a UK suppliers where I can buy the same set you have in the photo for just £18.00.
 
There are no dumb questions! The fascia plate (surround) has indents on either side that will allow you to pop it off. You will then have access to 4 screws that will allow removal of the control panel.

A couple of pictures to illustrate; I removed a fascia plate from the power sockets with my fingers as I did not have tools to hand to gain access (mounted too close to my Webasto controller), though it is exactly the same method for the control panel:-

1000092546.jpg
Screenshot_20240331_122804_Gallery.jpg
 
Last edited:
Back
Top