No instructions so guessed how to do it
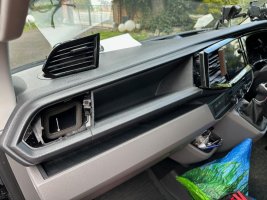
- Prise out the stereo surround
- Remove the air vent
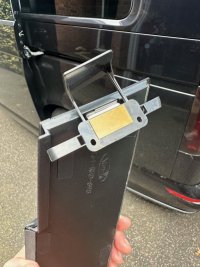
The self adhesive pads were useless, the magnetic is super strong so it will pull the screws off your screwdriver tip EVEN if you have just magnetised the tip so youll need to have good dexterity,
Air vent side bracket:
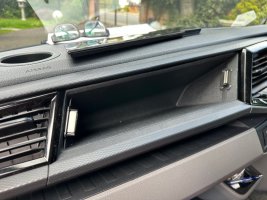
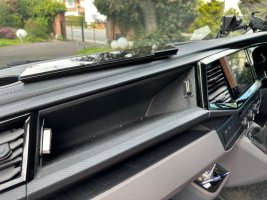
- place the panel in situ and the tab should sit flush with the empty box.
- I marked outsides of the bracket with a sharpie then removed the lid and made small pilot with a bradawl
- fitted screws.
- snapped off tag and voila passenger side done
Drivers side bracket.
- I cut the tag in half so as to not have to remove full stereo surround
- with the lid on I took a guess in where it should sit bases in tab location
- bradawl small pilot then inserted screws
- tested lid - was a bit “loose”
- moved bracket closer to cockpit and additional pilots made
- much better “lock” with the magnets
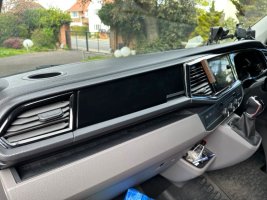
I am quite happy with the match to the gloss black trims that I already had painted by my friend so doesnt look like will need a paint. I am now off for a drive to see how it stands up to vibrations etc.


