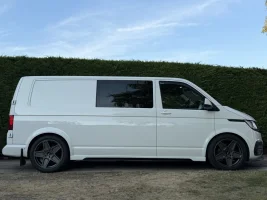
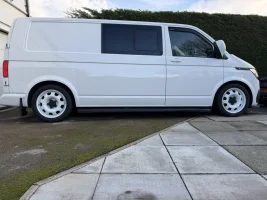
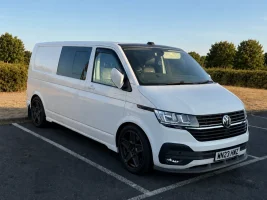
T6.1 LWB Candy White Kombi Project

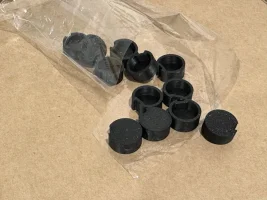
Having had the van for a bit, making some changes based on use. First up plugged the threshold bolt recesses.

IMG_1176.JPG

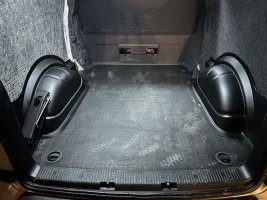
Had the back open in the rain and the recesses held water, so cleaned and dried them out and put the bung caps on. Also ordered a set of rear arch covers, make it look much better just laid over the top.

IMG_1159.JPG

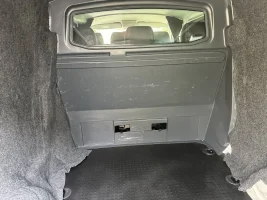
Fitted them properly and then tackled the carpet. The lining has been re-done and I am most of the way through getting all the contact adhesive over spray off things. I took out the panels and carpeted each, tucking the 2-piece door pillar trims and the arch covers behind. It already makes a big difference and looks much better finished (admittedly the starting point was pretty low).

IMG_1180.JPG

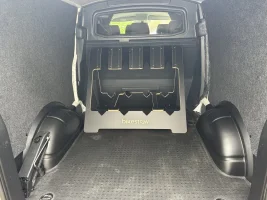
Finally after having confirmed 5 mountain bikes fit no problem, I ordered a 4 bike carrier from Bikestow - great bit of British engineering and design, packs flat when not in use. Four bikes now go in the rack and one bike goes in the space down the side. You don't need one of these, but now I have no worries about having to add bits of cardboard between the bikes like some big sandwich and protect them from knocking against each other.

Bit of adhesive still to deal with and then to work out what to do with the white painted bits that are still exposed. I'm thinking that I'll sound deaden and insulate the back and behind the panels and then just carpet the white painted bits. Might need to take a look at a few other vans to work out the best way forwards. Definitely feels like progress over the starting point...

IMG_0786.JPG
 
Last edited:
  • Like
Reactions: CAB
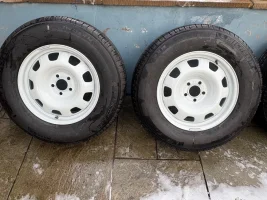
Back at the end of September on a very wet Saturday morning I met up with @Andyf up near Leeds to pick up a set of Land Rover steels. They were delivery mileage and mint condition, Andy even supplied the wheel caps.

IMG_1193.webp

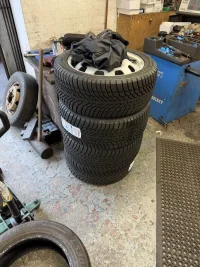
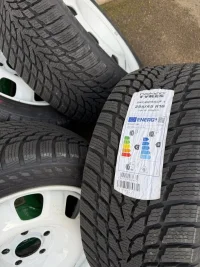
I imported a some winters from Scandinavia - couldn't get them here in the UK - Nokian Snowproof van-rated tyres. The local tyre shop fitted them for me:

IMG_1888.webp

Fresh rubber ready to roll...

IMG_1890.webp

Took ages to get around to it but finally fitted them at the beginning of the month. Just in time for some of the cooler and wet weather. They've coped very well on muddy country roads so far...

IMG_1920.webp

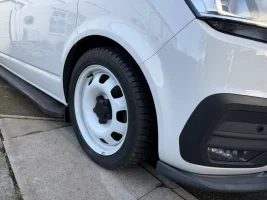
255/45 R18s, centre caps were a bit of a PITA to fit but have been fine since fitting. They needed some spigot rings, but got some off eBay which were a perfect fit.

IMG_1921.webp

I love a steelie in white. I know people get these banded, but I am very happy with these as stock.

IMG_1924.webp

Icing on the cake was getting a brand new set of Audi wheels bags for £20 on eBay so the Supermetals are tucked away until the weather improves.
 
At some point over the winter, when manoeuvring in a car park in Wales in the dark, I managed to catch a big lump of granite on the drivers side running board/rail. It was enough to bend it all out of shape. Fortunately the impact stopped just short and didn't cause any damage to the sill of the van itself. l had to jump on it to get it into a mostly straight state and then drove around somewhat embarrassed for ages.

I'd had my eye on the Van-X side skirts for a while so I ordered them and a bunch of other bits for the van. Most of that then sat in some massive boxes for months until the weather improved and I had time to work on the van. I did the tarting up on the back of the van first. Before (dirty van) with fake carbon bits:
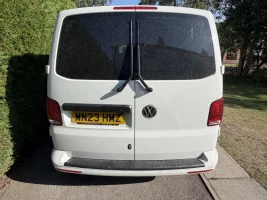

IMG_4936.webp

After (clean van) with gloss black bumper and door lock surround and rear badge:
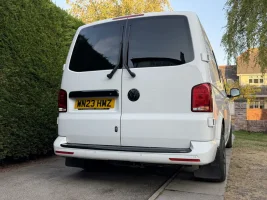
IMG_5103.webp

I also bought the Transporter letter badge to go on the right hand door. Not sure about it, so still not fitted it.
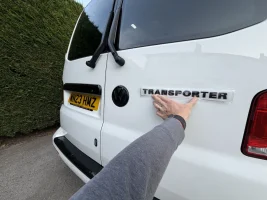
IMG_5104.webp

I am currently painting up a spoiler to bond onto the top of the barn doors. I painted it once already, but wasn't happy with the finish so have spent more time on the finishing. Hope to get that on next weekend.

Then onto the side skirts...

What a PITA. The running board mountings were 15mm wide 4mm thick length of BZP coated steel with M8 bolts pressed in. Different lengths of these BZP 'fingers' went into different holes in the underside under the plastic under trays. Then the three 5mm thick steel hangers that the alloy running boards bolt to are then held on to the captive bolts with nuts. When trying to remove them, the captive bolts were spinning in the BZP fingers when you tried to undo the nuts. So it was a case of cutting at least three of them off with the Milwaukee cutoff wheel. Then to add insult to injury one of the fingers disappeared inside the sill! So I had to get a borescope for the iPhone so I could find it and use the magnet attachment to get it out.

With both the running boards removed I then spent two evenings plastic welding the undertrays back together where they had been but to let the hangers pass through to mount the running boards. On the near side there's a removable panel in the under tray about half way down. That had been cut in half and the rear section was missing, so I have ordered a new panel and will pop that in when it turns up.

Then it was another two nights spend fitting the Van-X side skirts. Bit of a faff and the instructions are really useless, but quite happy with how it turned out :cool:

IMG_5101.webp
 
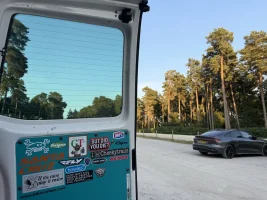
On the interior I took the panels off the inside of the barn doors and wrapped then in some turquoise wrap. It's the Yeti Cycles colour from a past project where I had to buy a massive roll. We're currently adding various stickers to that on both doors, will look pretty cool once done. Discovered Blum Decals during this. Definitely worth a look...

IMG_4997.webp

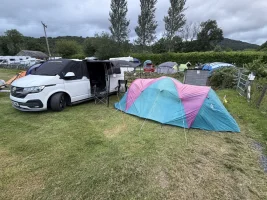
Did a trial camping trip with the missus to work out what we need for a proper trip away, We did not lack space, the van had loads of space and the van plus tent option gives loads of flexibility.

IMG_4860.webp
 
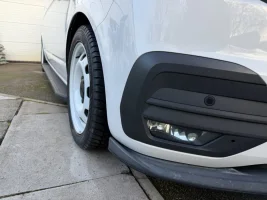
So front of the van is next in line for some attention. That's another piece of fake carbon plastic on the leading edge of the roof. The splitter has faded to a disappointing shade of grey and is of the type where paint not 'back to black' is required. So that will be the next project and I have my name down to be notified one the THQ LED Headlights come back into stock...

ChatGPT Image Jul 26, 2026 at 08_35_18 PM.webp
 
Back
Top