Removing The Front Lower Dash?

Bryn23

Senior Member
VIP Member
T6 Guru
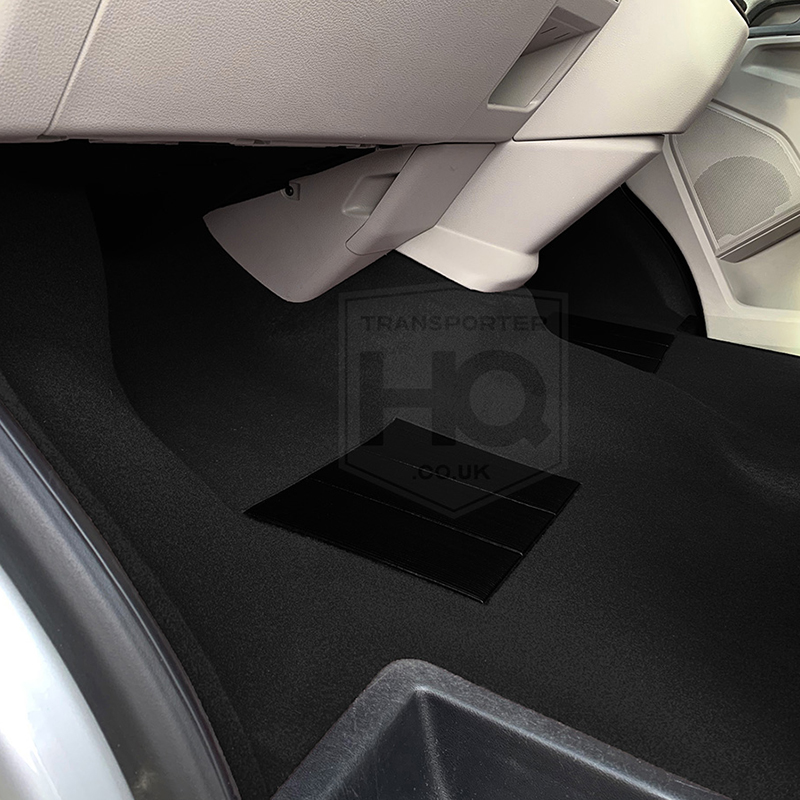
I've spent the last 3 hours googling, trying see how the lower centre panel comes off so i can remove the rubber floor, as it is stuck under that lower centre panel that the wires lead up too, below the transmission

anyone done this before? i had a bit if peek while at the workshop, but couldn't work it out

Im not even sure what this panel is called, maybe thats why i can't find any directions

I'm just heading off to bed as its almost 11pm here, any tips would be appreciated as id like to have an idea before i break something tomorrow, so i can crack on and sound deaden the cab floor and firewall.

Cheers
 
You need to remove the panels either side first to reveal the fixing screws on each edge
Passenger side - remove the semi circular dash end trim (dont unplug airbag switch if not necessary and if you do dont power on ignition or you get an airbag fault), remove the ?7 screws above and below the glovebox and the whole glovebox and mount frame come away as one piece revealing fixing screws for centre console piece
Drivers side - remove dash semi circle end trim, remove light switch by setting to off position then pressing dial in and rotating to the right and the complete switch will withdraw, remove screw behind light switch and use a couple small screwdrivers/tools to hook the plastic retaining clips so you can withdraw the circular light switch mounting frame, remove beige trim panel under steering wheel by popping out the top first (only held in with clips) then once top is a few inches away from dash lift/pull backwards and the bottom withdraws this will reveal the screws retaining the centre console
 
Last edited:
Thanks Pauly,

That is really helpful,

They like you to work for it:eek:

I've got my van up against the wall on the drivers side, so I'm going to have a few issues with the drivers side end trim.

Ill see what i can do:thumbsup:
 
A couple of the tabs on the end trim locate in the end of the dash panel under steering wheel.
You will probably get away with just pulling the front edge of the end panel out slightly, hopefully that should be enough to free the dash panel
 
Thanks Pauly, i managed to get it all apart :thumbsup:

I do miss old cars, you just unscrewed the bit you wanted out instead of pulling apart everything.
 
On a mission to find and cure some rattles before a big summer trip. First off, the panel under the black steering column panel. Any clue has to how it comes off? Also I think the dash cam power cable is rattling behind the glove box, but I’m not attempting that, air bags!

Lastly, the panel above the centre lights, where the Shuttles and Calis have their heating controls, (and I once had a DVD player up there in my old T5) there’s a mouse up there as well. How does that come out?
 
Lower steering column panel has 2 T20 torx panel screws joining the two pieces together, remove these and it will come out, has a few pop clips across the front that come out by pressing the front edge down towards the floor

If you want to get behind the glovebox it’s quite easy, pop off the dash end cap (don’t turn on ignition if you unplug airbag switch) then there’s seven screws above and below glovebox, remove these and the whole glovebox and surrounding mount frame will come away complete as one piece

The roof console has to be done in stages, remove the plastic cover from the light fitting to reveal the two screws that hold the light in place
The plastic blank plate has two fixed catches on the rear and two metal spring clips on the front edge which pop out to remove panel
Behind the light there is one screw that fixes the front of the cubby recess in place, remove this screw and the cubby compartment will remove by pulling to the rear of van

I would strongly recommend the use of plastic trim tools for all of the above !
 
Driver and passenger lower dash is held by clips. Center console has few screws.
 
  • Like
Reactions: Rg_
I’m in the middle of trying to route some cables under the cab carpet. Have all of the lower dash removed except the centre section around the gear stick dgs and below. I’ve removed all screws and the sides pop out but there’s something holding it in at the top in the middle behind the gear selector. Can anyone help me and explain how to get this trim part off please, it’s driving me crazy!! Have searched and can’t find anything about how this particular panel comes off.

move also managed to prize part of the dgs selector trim off and can’t get it out or back in now!!

thanks
 
Last edited:
Got it!! YouTube came to the rescue with a great video on removing all lower trim panels for a dash swap
There’s the link if anyone’s interested. Basically remove inner trim part from gear lever, then outer trim part, then there is one screw holding the whole centre section in at the back of the bike you have just created.
 
I’m in the middle of trying to route some cables under the cab carpet. Have all of the lower dash removed except the centre section around the gear stick dgs and below. I’ve removed all screws and the sides pop out but there’s something holding it in at the top in the middle behind the gear selector. Can anyone help me and explain how to get this trim part off please, it’s driving me crazy!! Have searched and can’t find anything about how this particular panel comes off.

move also managed to prize part of the dgs selector trim off and can’t get it out or back in now!!

thanks
Theirs a York screw in the dash hole on left side you can see it with a torch
 
can anyone tell me how to get/pop the heater control panel (2017 trendline) out so i can check if the temp knob has had it's cable dislodged before I go down the actuator arm route.....many thanks :x3:
 
Back
Top