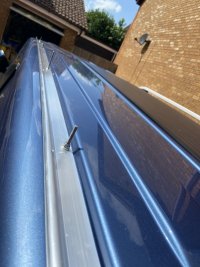
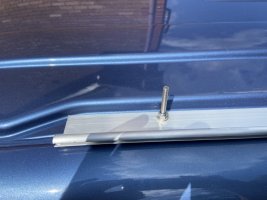
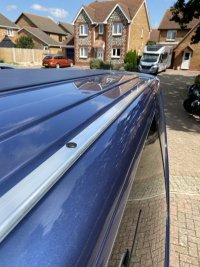
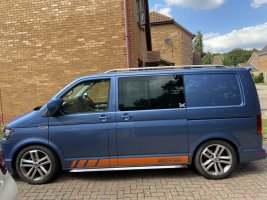
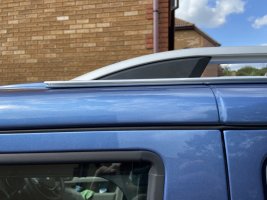
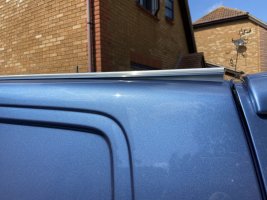
Leak free awning rail fitting (I hope)

Thanks for this, I have just ordered all in the list.

Do you know if the structure of the roof is the same in all areas?
Ideally I would like to install an M6 thread into the roof at the rear section for additional support after my pop hinge.
The roof looks to be of multiple layers, skin and then a double strengthen?
 
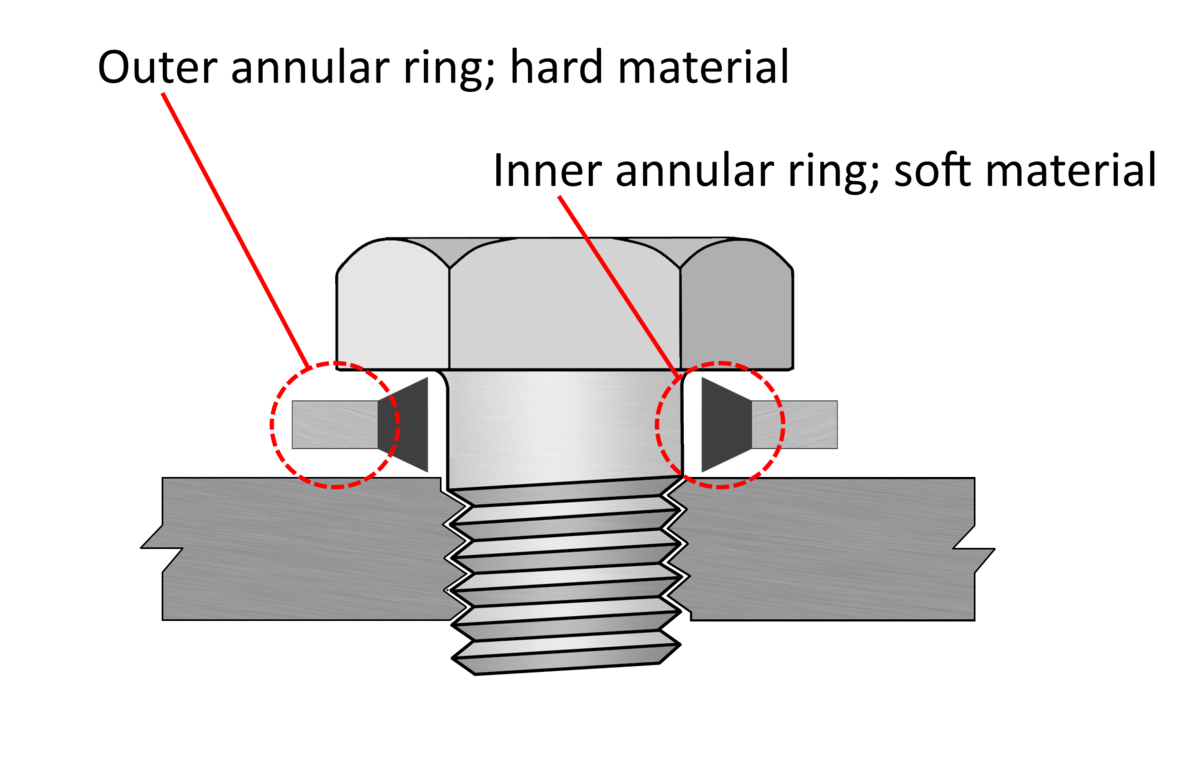
A Dowty bonded seal under the screw head and another under the rail will do the job. BZP finish or stainless steel.
The advantage over a rubber washer is it will not degrade or become compressed and loose.

*edit*
problematic link removed

Thanks that looks like a good option. Question if I may, would you use these with the standard bolts or replace with M6? If replace, would you happen to know a suitable length.

Thanks

Steve
 
Thanks that looks like a good option. Question if I may, would you use these with the standard bolts or replace with M6? If replace, would you happen to know a suitable length.

Thanks

Steve
I believe the standard bolts are M6 are they not? As far as length goes you need a minimum of one thread diameter engaged. It it’s M6 that’s 6mm, better to go slightly longer and never shorter.
 
A Dowty bonded seal under the screw head and another under the rail will do the job. BZP finish or stainless steel.
The advantage over a rubber washer is it will not degrade or become compressed and loose.

*edit*
problematic link removed
What was the problem with the link? Removed by moderator?
 
I believe the standard bolts are M6 are they not? As far as length goes you need a minimum of one thread diameter engaged. It it’s M6 that’s 6mm, better to go slightly longer and never shorter.
Yes, i believe they're M6, i wasn't very clear i was thinking more the length of them. I'll whip one out later and see if it's long enough. Thankss again
 
My rail has just arrived, so about to order the bits above to get it fitted. Stupid question, but do all of the washers go on the outside of the van, or do I need to remove roof lining to fit some of them inside.

Thanks

Steve
All the washers outside the van. So it’s roof, tap washer, roof washer, awning bar, roof washer, then Hex bolt.
 
Would you do something similar if fitting an awning rail under roof bars ?
Not sure how that would fit unless the awning rail has been designed to work with the feet required for attaching the roof rails. If I had roof bars I’d probably use this method:


Then I’d use a different awning rail and attach to the roof bars. I’d be concerned using my method about getting the correct amount of torque for the roof rails.
 
Thanks for sharing this! I’m about to order some parts and the local hardware store in Australia has the same rail as the Stitches and Steel one but in black (yay).

How are you liking the install so far with the gap between the rail and the roof?w

What I was thinking is attaching a flat rubber strip along the underside of the rail before I drill it into the existing roof holes of the van to create a seal, along with a washer on top underneath the bolt.

edit: this is the strip I’m thinking of putting under the rail - EPDM Rubber Strips (Black) - 2mm Thick
 
Last edited:
Would you do something similar if fitting an awning rail under roof bars ?
I just did mine today. I already had the roof rails and had previously used the no leak method posted on here to attach the rails. So all I needed to do was remove the rails, remove the threaded bar, place the awning rail in situ with the original rubber washers placed below it and then bolt it down with a second rubber washer on the top. Rails then reattached as they were previously. The hardest bit of the job was removing the blanking plugs which hide the bolts on the roof rails.

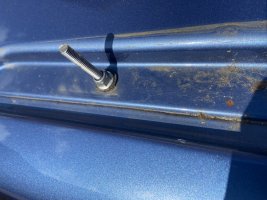
The original set up with the roof rails removed. A bit grubby under there….
E68476D1-C6F6-4F75-B8D8-60E4D41221DA.jpegF4F0A6DE-3821-4104-BE4A-5154DF2A0863.jpeg16270297-6B18-4474-A64C-D4780A33515D.jpeg

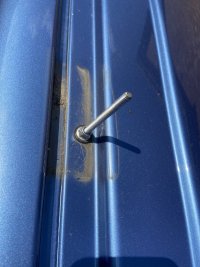
Then with the awning rail in place. One of the fitting points doesn’t attach to the roof rails so simply attaches using the original button head bolt with a rubber washer above and below the awning rail.
D366C37F-7981-444B-B650-9B0151846F5B.jpegF84A27D2-1260-4BF0-BECF-478E3696C192.jpegBE131258-8B97-4FFF-B002-A2C75DFC234C.jpeg

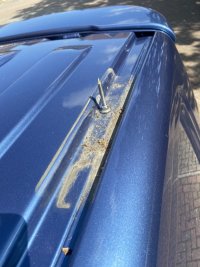
And the final thing with the roof rails back on. It does stick up a bit from the roof at the rear but I’m not bothered about that. I imagine this is because the profile of the awning rail which allows it to protrude beside the roof rails makes it much stiffer lengthwise. It works a treat, fits without drilling the van and is pretty stealthy.

92B25083-5D27-4D7D-A8EA-CA8341518895.jpeg53431652-2B44-41EB-8FB4-48CB1050C136.jpegC8D90C9F-F6B4-4030-8752-32780D9D93EE.jpeg

This is the rail I used, comes complete with kador strip and figure of 8 adaptor. It’s a single length unlike the S+S option, delivered promptly in a length of drainpipe to protect it.

 
I like the gap between the roof and the rail keeps it all dry. I did wonder whether the rail would vibrate as you drive along but it doesn’t seem to at all. It doesn’t make any contact with the van and there is no hum from vibration. I think they are sterdier than they look
 
  • Like
Reactions: dj_
I like the gap between the roof and the rail keeps it all dry. I did wonder whether the rail would vibrate as you drive along but it doesn’t seem to at all. It doesn’t make any contact with the van and there is no hum from vibration. I think they are sterdier than they look
That’s so interesting! I would have thought that water might get stuck underneath or that it wouldn’t be as strong because there’s less point of contact.

I’ll have a go over the weekend!
 
I have to admit as clever is these fixes are .. all seems a little over engineered to me.

I've simple been putting Plumbers Mate into the bolt holes, pop the rails on, tighten the bolt and boom, no leaks, ever
 
Back
Top