[GUIDE] How to remove the carrier assembly from the front door of a T6

Andysmee

Previously the last of the TSI's
Moderator
VIP Member
T6 Legend
This is needed as part of a longer guide to removing and swapping doors, but I know this is a good subject for anyone who needs to sound deaden and insulate their van. A great deal of thanks to those on this thread which kickstarted my work today.

First you'll need to remove the door card. You also need to remove the lock barrel on the exterior door handle although it's a good idea to leave the handle on.

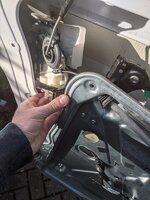
Then you will need to disconnect some things from the carrier assembly - that's the large aluminium plate to which is attached the window motor (and window regulator/slides behind), door locking mechanism (hidden top left), speaker and loom. This is the passenger side, the driver's side is almost identical. And, because this plate carries the window, you need to detach the window from the plate too.
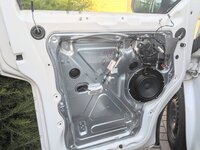
PXL_20201025_125324152~2.jpg

PXL_20201025_140410937.jpg
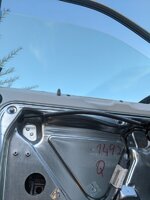
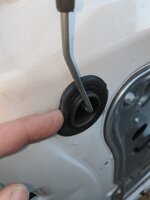
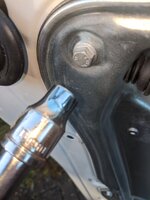
Pull off the two circular covers to reveal the window regulator (rails). Wind the window down (using the driver's side switch panel, or reconnect the passenger switch panel briefly) and stop when the carriers are visible (like in the picture). Using a 10mm socket, release each clamp a little until you can pull up the window by hand.
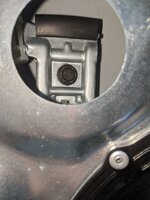
PXL_20201025_142310826.jpgPXL_20201025_142254770.jpg
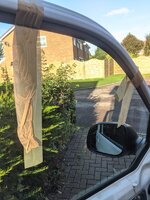
Secure the window at the top with tape (not this tape, it's terrible to get off, but strong).
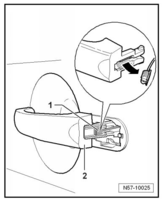
1603661131137.pngPXL_20201025_130727476.jpg
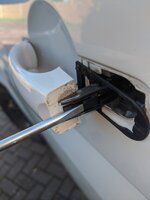
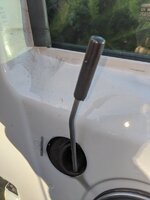
Pop out the cable from the door handle.
 
Last edited:
If you just want to swing the carrier assembly to one side, for example to line the door, you don't need to disconnect the loom. But you do need to free the lock from the door, as it is attached to the carrier assembly and you will break the riveted connection between them if you don't remove them together (I broke the rivet even though I removed them together!).
PXL_20201025_142724270.jpgPXL_20201025_142402288.jpgPXL_20201025_143150332.jpg
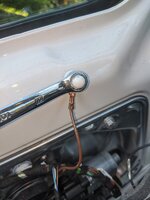
Pop off the door locking pin grommet, disconnect the earth wire and remove the two spline bolts holding the lock to the door.
PXL_20201025_144357061.jpgPXL_20201025_141814786.jpgPXL_20201025_143519497.jpg
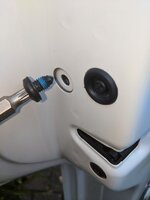
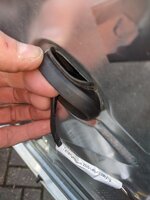
Push the door locking pin grommet through the hole, unplug the wing mirror connections and and undo all 8 bolts holding the frame to the door (which releases the wing mirror earthing tag).
PXL_20201025_144802962.jpg
Lift the carrier slightly away from the door and wiggle the door locking pin down and out to the right with the door lock intact. You'll have to support the door lock as it's not designed to stay with the carrier for long! The rivet pulled through the plastic as I was doing it. You can now pivot the carrier into the cab to allow you to line the door, but it will need supporting. Maybe put one of the bolts back in on the frame, but the lock will not be supported - it's not a good design.

Reverse the steps to refit the carrier, or carry on with the following to remove the loom.
 
( How to remove the loom from a front door in a T6 )

As well as the connections above, you need to disconnect a few more to allow the loom to be removed from the door (as I had to in order to swap a new door on).
PXL_20201025_144859819.jpgPXL_20201025_143414367.jpg
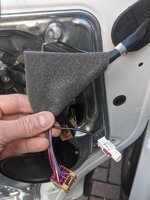
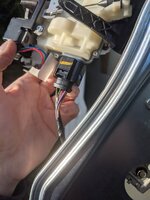
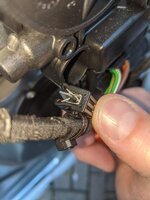
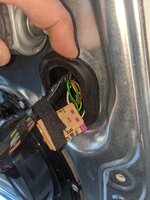
Disconnect the lock mechanism connector, and pull off the lock loom grommet and pull the cable through to free it.
PXL_20201025_142933459.jpgPXL_20201025_142948782.jpgPXL_20201025_142823742.jpg
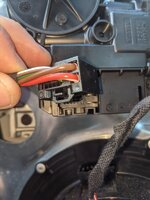
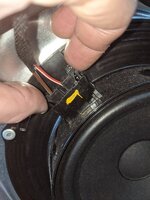
Disconnect the window winder and cable support, and speaker.
PXL_20201025_143311004.jpgPXL_20201025_143252395.jpgPXL_20201025_143653125.jpg
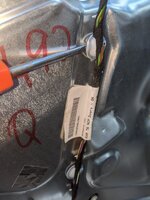
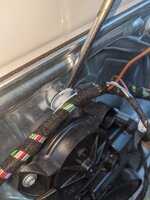
Lever off carefully the loom supports. Pull off the main loom grommet.
 
PXL_20201025_151119699.jpgPXL_20201025_141907260.jpg
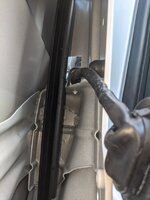
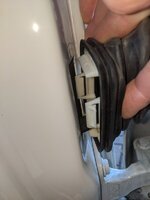
There is one more loom support clip inside the door nearest the van, and pop the loom hose grommet on the door. Then you can feed the entire loom out through that hole.

If you've been following this whole thread, you will now have no loom in the door, and the carrier assembly can be removed from the door too.

To refit, for example into a new door, reverse the steps.
 
A couple of things to note:
  • If you remove the door handle, as well as the barrel, the spring behind the door handle flies open and stops the window from dropping back down into the regulators. If, like me, you don't notice this on the new door and put the whole carrier assembly back in, you will find yourself repeating the process :mad:. So best not to remove the door handle, or if you need to move the door handle to a new door, do it first before fitting everything back into the new door.
  • When you do drop the window back down into the regulator, wiggle the clamps through the circular holes until both of the white nylon blades attached to the bottom of the window have engaged nicely with the clamps, and then tighten back up. I reckoned not to overtighten at that point.
 
Yeah, the sprung bit inside the door for the handle caught me out as well, maybe edit the first post to highlight that bit at the end?
I didn't have the same problem on the passenger door though? (I did that side first so didn't expect the issue with the driver's door) maybe because there's no lock on that side, just a blank bit.
 
  • Like
Reactions: mmi
Thanks for this, I was looking for this info for a 6.1 but they’re similar enough.

Main difference is I didn’t need to anything to the lock as it’s not attached to the inner panel.
 
Back
Top