You will get a distinct point of light with the 30's as the led's are spaced further apart. The 60's will be brighter but you can dim them from the controller.Thanks, was just wondering if the 30 would be bright enough but if yours are 60 I might just go for that as yours have a nice even glow
You are using an out of date browser. It may not display this or other websites correctly.
You should upgrade or use an alternative browser.
You should upgrade or use an alternative browser.
Deaky’s Kombi to Camper journey
- Thread starter Deaky
- Start date
@Deaky love this detail! What did you use to pack the floor up?Few more jobs ticked off tonight.
Insulated inside the ‘C’ pillars and fitted the covers I made yesterday.
View attachment 20558
put the rear panels back in to tidy up the back while I decide how to increase them in depth to cover the door motors without the need for the plastic covers. I’ve also tidied up the wiring looms down both sides of the van ready for fitting the pelmets.
View attachment 20559
Plasidyed the carpet threshold strip so it’s the same anthracite colour as the steps and packed the cab carpet up so it’s the same height as the Caravelle floor
View attachment 20560
View attachment 20561
I used a couple of pieces of 1cm closed cell packing foam then bent up the edge of the carpet to just under the clips along the back of the Caravelle floor.@Deaky love this detail! What did you use to pack the floor up?
How did I miss this? Just amazingA bit more detail on the roof. Not long after having my roof fitted I was at campermart talking to someone from who told me a retrofit electric lift for Hilo would shortly be available. Despite a couple of years passing nothing has showed up. After seeing @Fish effortlessly opening and closing his at Oktoberfest I enquired with Vision Tech to see if I could purchase everything from them to fit myself but it was a no go.
I couldn't get it out of my head, I really wanted to fit this. After hours of research into actuators, loads of measurements I took the plunge and ordered some rams. First problem was getting brackets big enough off the shelf. None were available. The people I got the rams off were in the process of manufacturing their own. Over £100 per ramSo I made my own from stainless steel as you can see further up. The lower bracket that were already fitted were OK to use.
First thing you have to do is connect the rams to the controller and synchronise them. The Rams have a hall sensor in them which sends out a pulse every time the motor turns so the controller knows how many times each motor has turned. If one motor is turning faster than the other the controller slows it down to keep the rams in sync.
One of my biggest worries was what happens if the rams fail. My solution was to reverse the fixings of the bottom brackets. Originally they were bolted to a tapped hole in the roof cassette. I've drilled the thread out and fitted a nut and bolt. The bolt is accessible from inside so if the worst happens I can undo the bottom brackets while the roof is closed. The only issue to overcome in this scenario was the fact that the bottom brackets are sikaflex'd to the cassette to stop water coming into the van. I cleaned the sika off and replaced it with a rubber washer instead.
View attachment 75668
The upper brackets are bolted to rivnuts in the upper roof frame, easy to replicate but the frame is 4mm box section, squeezing the rivnuts in place took some force
View attachment 75669
I routed the cable from the rams into the underside of the box section through a rubber grommet. Inside I drilled a bigger hole in the side of the box and fished the cable through to the inside of the roof.
View attachment 75670
I then connected it all up. You have to give the roof an initial push up as the rams start to extend. When the roof is down there isn't much pivot. You might be able to overcome this by using heavier duty rams. I went for 900N force, but it's a trade off with the lifting speed. It all worked well but there was a few issues I have had to overcome.
My metal working is not perfect and there is a couple of mm difference in my brackets resulting on one side not sitting flat when the roof was down. I've overcome this by removing the metal gland that the cable passes through and sikaflexing the hole up to seal it. This has gained 5mm and the roof now sits down as it did before. The other issue however is something that I hadn't though about.
With the roof lowered, the original gas rams will still be pushing against the brackets. The electric rams are pulling when the roof is down. I've fitted them so that when the roof is up they are fully extended. When it's down, the rams pull until they cant pull any more and the controller detects the amps that they are using and stops them at a set level. There is quite a bit of play in the scissor hinges, resulting in the roof being a couple of mm further towards the back of the van when it's down. This has meant that the securing bolts at the front of the roof are slightly out of alignment. I can still get them in so I'm not to fussed. There are a couple of solutions I may carry out
1, reposition the brackets so that the rams are fully retracted and at their mechanical stop when the roof is down -
2, reposition the threaded nuts in the roof so they better line up with the securing bolts
So, would I do it again...……..
I probably would to be honest, there isn't much advantage when lifting the roof, you still have to push it up a little, however once the rams have taken over I can leave the roof to it's own thing and it will stop automatically when the roof is up.
Dropping the roof is soooo much easier though. Press the down button and stop it just before it's fully down and pull the canvas in, drop it a little more make sure nothing is caught, push the down button again and the lid is pulled down nice and tight. This is much better than trying to balance the roof on my head while pulling the canvas in.
Plus.... its unique. Maybe the only synchronised ram electric lift HiLo ever.


Hi @DeakyHad a full day on it today. Everything seems to take twice as long as you’d think. I’ve test fitted the rear panels and pimped up the motor covers.
View attachment 21450
They look a bit Frankenstein’s monsterbut they’ll be fine when they’re carpeted. The rear piece is held in place with 1 screw so can be easily removed.
View attachment 21451
View attachment 21453
Obviously there will be ambient lights just above the door pockets
I’ve covered the motor covers with foam first then carpeted them.
View attachment 21449
Spot the deliberate mistake
View attachment 21457
The door pockets and the rest of the ply will be carpeted. The old speaker grille is where I’m going to fit the led dimmer switches. The white wood showing will be covered in Napa leather with red stitch detail to match the seats.
View attachment 21454 View attachment 21456 View attachment 21455

quick question for you. Did you use 3.6mm ply on the rear side panels or did you go thicker? Also what fixings did you go for, was it the Harris trim clips?
Thanks mate
Yes @Bentley T6 I used 3.6mm ply, held on with a mixture of trim clips, Velcro and concealed screwsHi @Deaky
quick question for you. Did you use 3.6mm ply on the rear side panels or did you go thicker? Also what fixings did you go for, was it the Harris trim clips?
Thanks mate
Cheers @Deaky was there any fixings better than others? I’m looking to try and make these hidden.Yes @Bentley T6 I used 3.6mm ply, held on with a mixture of trim clips, Velcro and concealed screws

Hi @Deaky
Wanting to install halo roof with RGB strip lights in the halo and either spot lights or factory lights in the centre. just working off courtesy circuit. No leisure battery as yet. . possibly in future. I’d like the Option of being able to isolate the central lights so only the halo strips come on when the doors open. Would fitting a switch before the central lights do the job?
many thanks
I find the hidden clips a pig to line up so I prefer the Velcro
Hi @Kips a rocker switch to isolate the central lights would work fine. Be careful with RGB controllers connected to the courtesy circuit as they might be unhappy with the PWM dimming the BCM uses to fade the courtesy lights up and down. You will probably need to fit a relay and opto coupler to give a clean 12v supply.Hi @Deaky
Wanting to install halo roof with RGB strip lights in the halo and either spot lights or factory lights in the centre. just working off courtesy circuit. No leisure battery as yet. . possibly in future. I’d like the Option of being able to isolate the central lights so only the halo strips come on when the doors open. Would fitting a switch before the central lights do the job?
many thanks
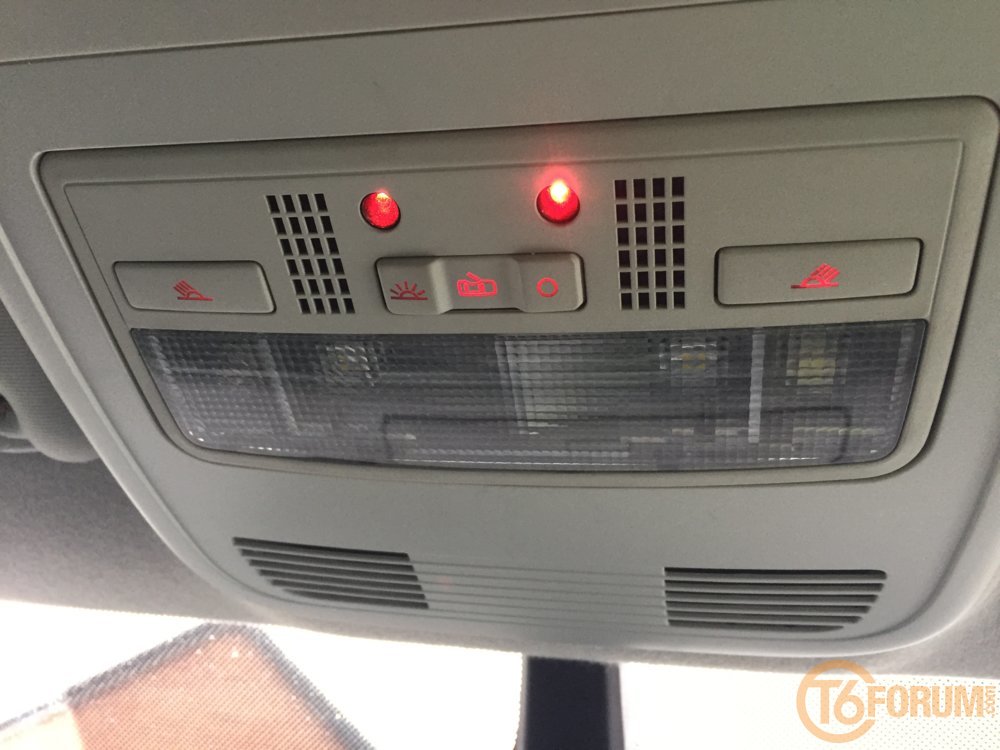
I love the interior light set up, I’ve found the link you posted to get the led strips and lights, but I don’t have a clue how to wire the leds in to the original 2 lights in the headliner, any help would be greatly appreciated. I would like the lights to come on when I unlock the van, I could put in a switch as I have also found the colour changing panel, but again wouldn’t know where to start. My vans a kombi and don’t have a leisure battery. Thanks in advance.I haven’t stuck the leds into the channels yet so they look a little more dot like rather than diffused. I threw the end caps from the rails by mistake si I still need to remove them to fit the replacements.
While I was on I’ve fitted the red Chanel with a changeover relay so when I’m driving and the lights come on the lights down the sides of the van will feintly glow red.
View attachment 21036 View attachment 21037 View attachment 21038 View attachment 21039
Loving the build - do you have any more info on the mirror side repeaters you showed?
They’re from an Audi Q7. There are a couple of threads detailing the mod on here.Loving the build - do you have any more info on the mirror side repeaters you showed?
So I picked my van up on Friday and started a few jobs on Saturday...
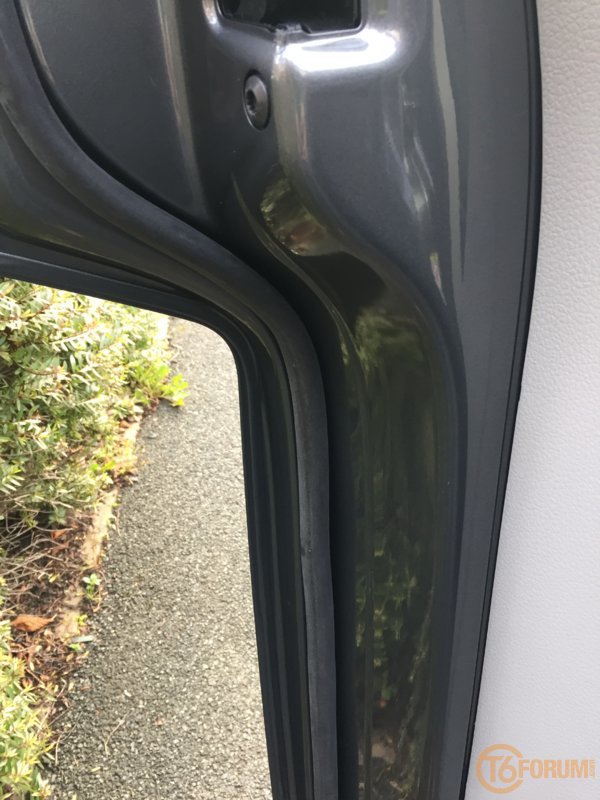
Extra door seals
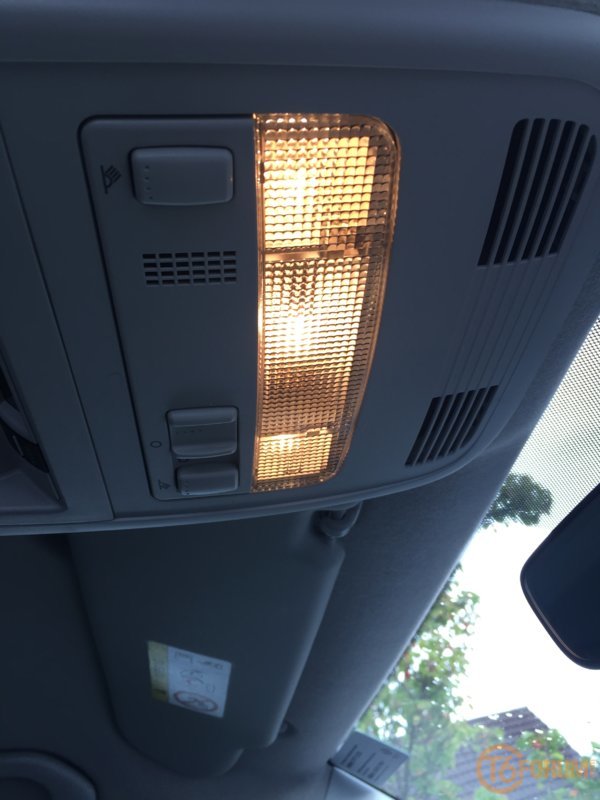
Swapped the interior light for one with ambient lighting in it
Before
After
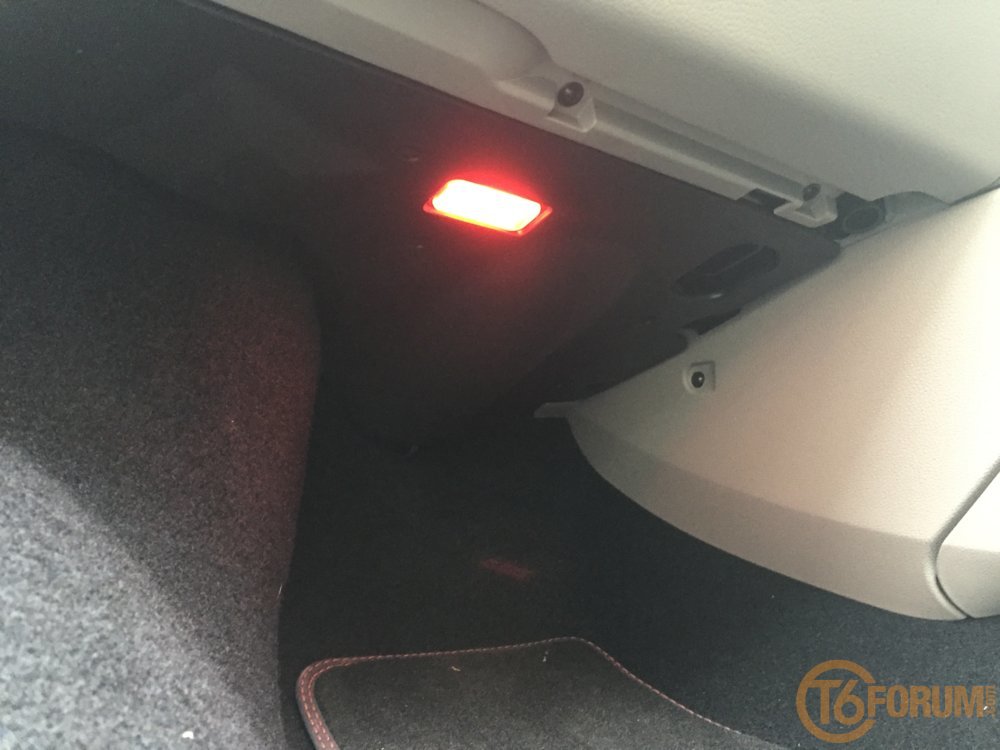
Fitted some footwell lights that come on with the courtesy light.
It’s in for the roof in Feb still plenty to do before then
@Deaky re the Passat W8 interior light, did you buy the whole unit or just the lighting section for this swap?
I think he’ll say it was the light only, and not the ceiling surround.@Deaky re the Passat W8 interior light, did you buy the whole unit or just the lighting section for this swap?
It looks likes it larger than the black one shown. Ooh that sounds all wrong...I think he’ll say it was the light only, and not the ceiling surround.
This is one@Deaky re the Passat W8 interior light, did you buy the whole unit or just the lighting section for this swap?

VW Passat W8 Light Golf Bora Skoda Leon Ambient LED | eBay
Find many great new & used options and get the best deals for VW Passat W8 Light Golf Bora Skoda Leon Ambient LED at the best online prices at eBay! Free delivery for many products.
www.ebay.co.uk
This is one
VW Passat W8 Light Golf Bora Skoda Leon Ambient LED | eBay
Find many great new & used options and get the best deals for VW Passat W8 Light Golf Bora Skoda Leon Ambient LED at the best online prices at eBay! Free delivery for many products.www.ebay.co.uk
Nice one, cheers @Deaky
Dazwoods
Member
Hi @Deaky I have just bought a T6 Kombi. It has had a comfort dash fitted. When I removed glove box and panel the footwell light and glove box wires are just tied up. No plugs or connectors. Any advice on where to connect. The footwell light should come on with the interior not sure when the glove box light should come on.So I picked my van up on Friday and started a few jobs on Saturday...
Extra door seals
Swapped the interior light for one with ambient lighting in it
Before
After
Fitted some footwell lights that come on with the courtesy light.
It’s in for the roof in Feb still plenty to do before then