Deaky’s Kombi to Camper journey

Deaky

Life’s too short to drink shite beer
VCDS User
Moderator
VIP Member
T6 Legend
So I picked my van up on Friday and started a few jobs on Saturday...

Extra door seals

Swapped the interior light for one with ambient lighting in it
Before
After

Fitted some footwell lights that come on with the courtesy light.

It’s in for the roof in Feb still plenty to do before then
 
Today I’ve started my dc-dc charger install. It looks fairly straightforward. There’s a relay under the passenger seat with two thick red cables which must be the charging relay. Along with the battery cables there’s a brown and a black wire. Brown I assume is the earth for the relay and black must be the signal from the BCM. I’ve removed the battery and all the connectors and fuses from under the seat and removed the seat base
I was hoping to fit my amp under the seat as well as the C-TEK charger but there isn’t enough room. I decided to fit a board in front of the battery to fit the charger to and a new fuse box for the leisure electrics. After removing the plastic bits that hold the fuses under the seat, I decided to cut them down and try to reuse them
After cutting down
I fitted the charger to the board I cut and screwed the fuse holders on, then fitted it all into the seat base
When I was happy how it all fitted I carpeted the base
The base is now fitted back into the van and the battery re fitted.
With the seat fitted and swivelled around all the fuses are accessible. The indicator lights on the front of the charger are visible at the front of the seat
 
Wondering how much of that ambient light actually reaches the cab - cool little mod though
 
I nearly did last night but decided against it in the end, too many other things before it in the queue :) Does look good though.
Put a cheeky offer of £70 in for 1 including the loom adaptor so happy with that, I was wondering how to get my ambient light in the roof light.:thumbsup:
 
FWIW the one linked is cheaper than I can source them from VW ex vat so looks a really good price, if I hadn't fitted an A3 ambient module last weekend I would have ordered one too (think I still might ?? )
 
FWIW the one linked is cheaper than I can source them from VW ex vat so looks a really good price, if I hadn't fitted an A3 ambient module last weekend I would have ordered one too (think I still might ?? )

Ambient module you say....... tell me more. Lighting in the door pockets is on my list of things to do:thumbsup:
 
I fitted a lighting module from an Audi A3 two small red LED's that sit above roof, drill two holes, line it up, stick 12v on it

IMG_5502.JPG IMG_5887.JPG IMG_5893.JPG

and no i didnt make the best job of drilling the holes :unsure:
 
Took the day off today to start my ICE install. First of all I thought I’d fit my splitter and front streamers.

Just a note, be careful if your going to drill under the bumper to fit your splitter. There’s a wiring loon that runs along the bottom of the bumper just along from the Drivers side fog light. I only just missed it.
 
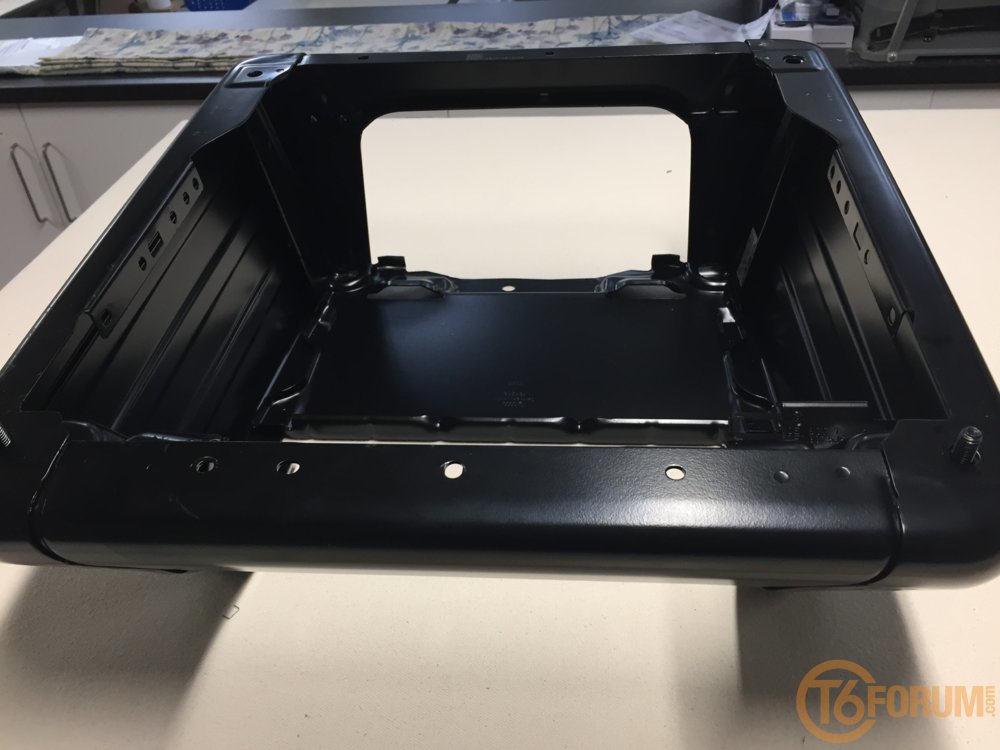
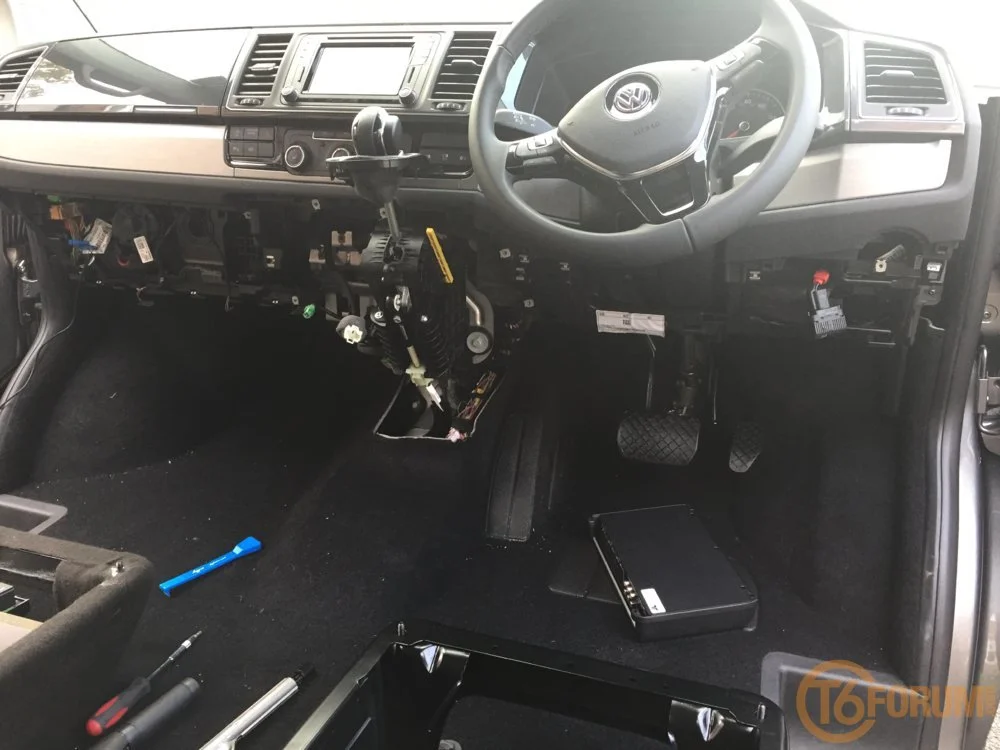
So first things first I had to decide where the amp was going. When I installed the split charge I thought I’d be fitting the amp under the drivers seat. Once I’d removed the drivers seat and dropped the sub box into the base it was clear I wouldn’t be able to fit the amp in there easily. 
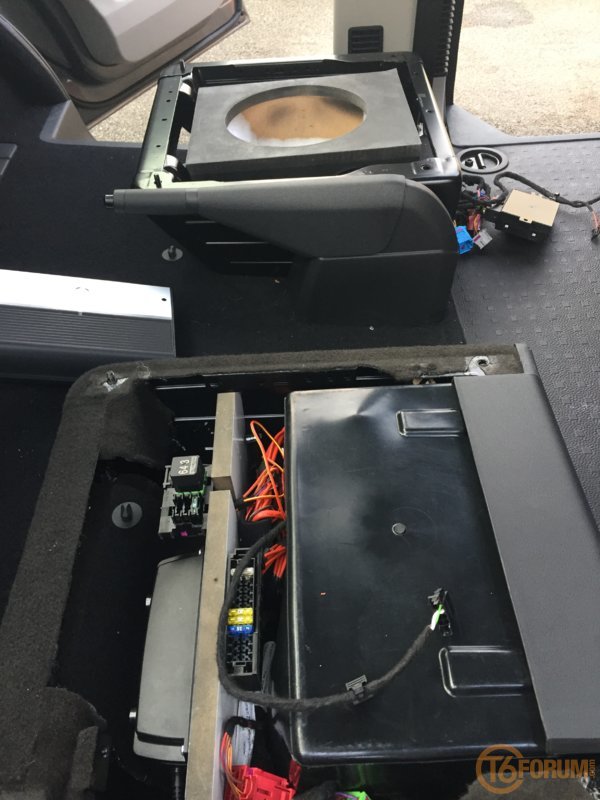
I decided to remove all the lower dash plastics to see if there was a space I could house the amp.
There wasn’t enough space anywhere for a match box let alone an amp :( 
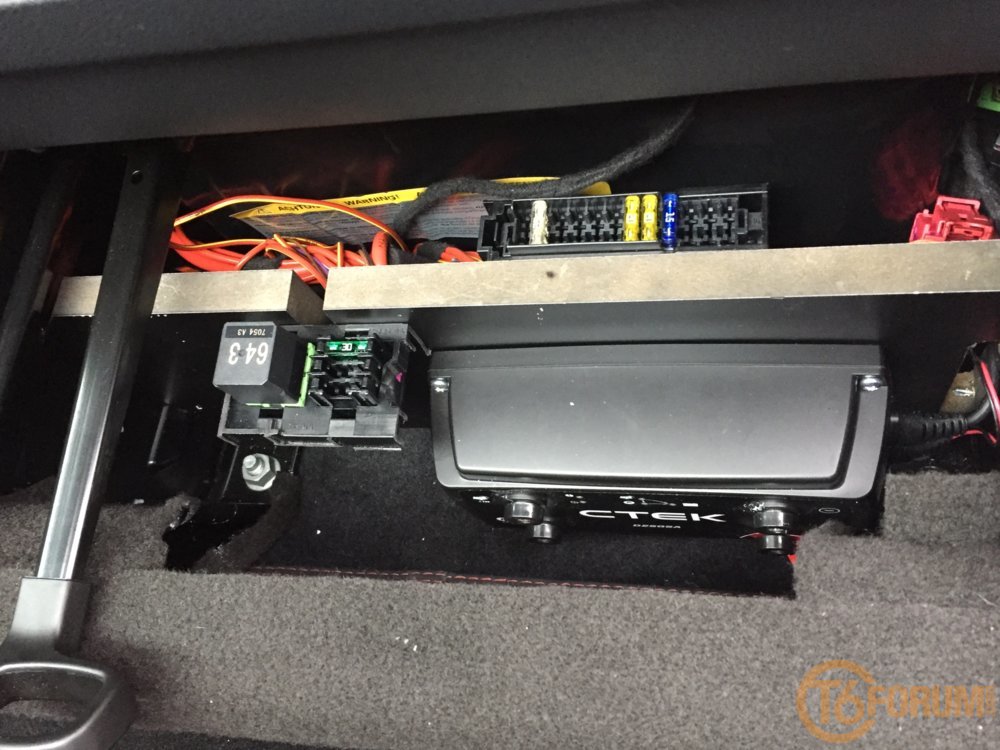
so I’ve decided to make the sub box slightly shorter so I can fix the amp to the back of it. If I trim the front of the sub box so it sits slightly further forward the I only need to reduce its length by 15mm. On the plus side, if I remove the plastic trim from the back of the seat base I’ll be able to fettle the amp without having to remove the seat. :)
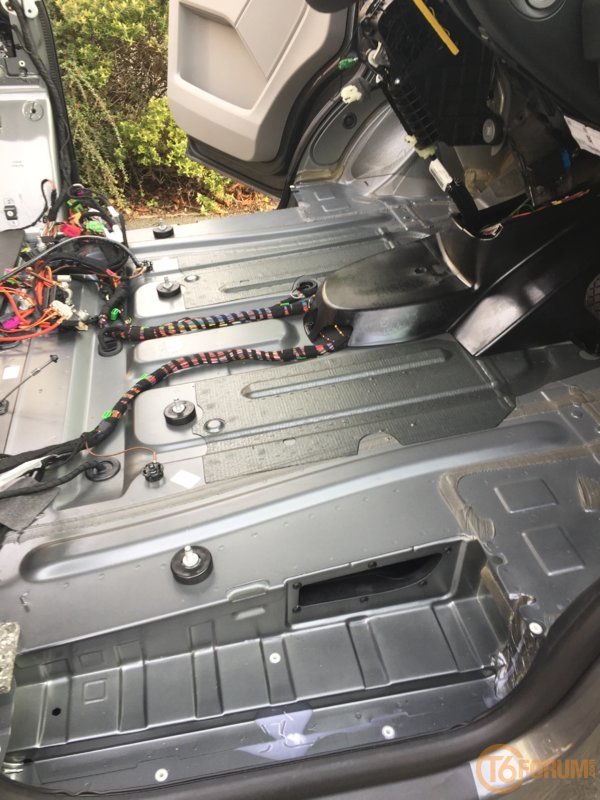
Now this was decided I cracked on with the rest of the install. Firstly removing the b pillar plastics and the carpet. 
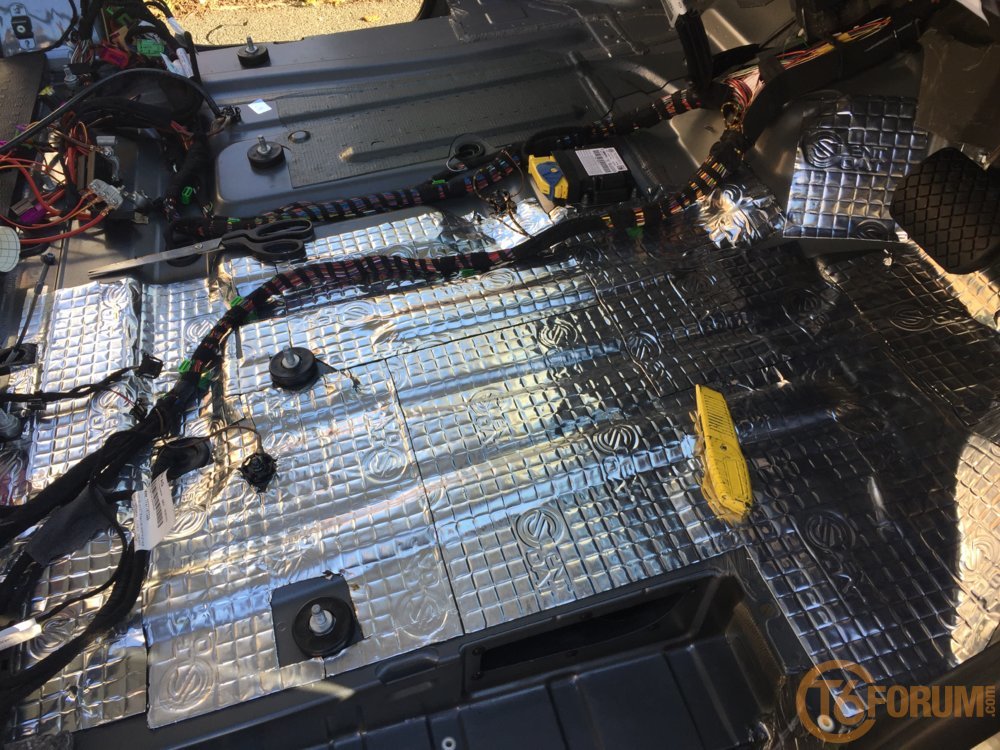
Next I put silent coat over the whole of the floor Now I could run the speaker cables to the doors and put the rear speaker cables in place for when I’m ready to fit the back out. I made sure I wrapped the cables tightly in cloth tape so no rattles, especially up the b pillars 
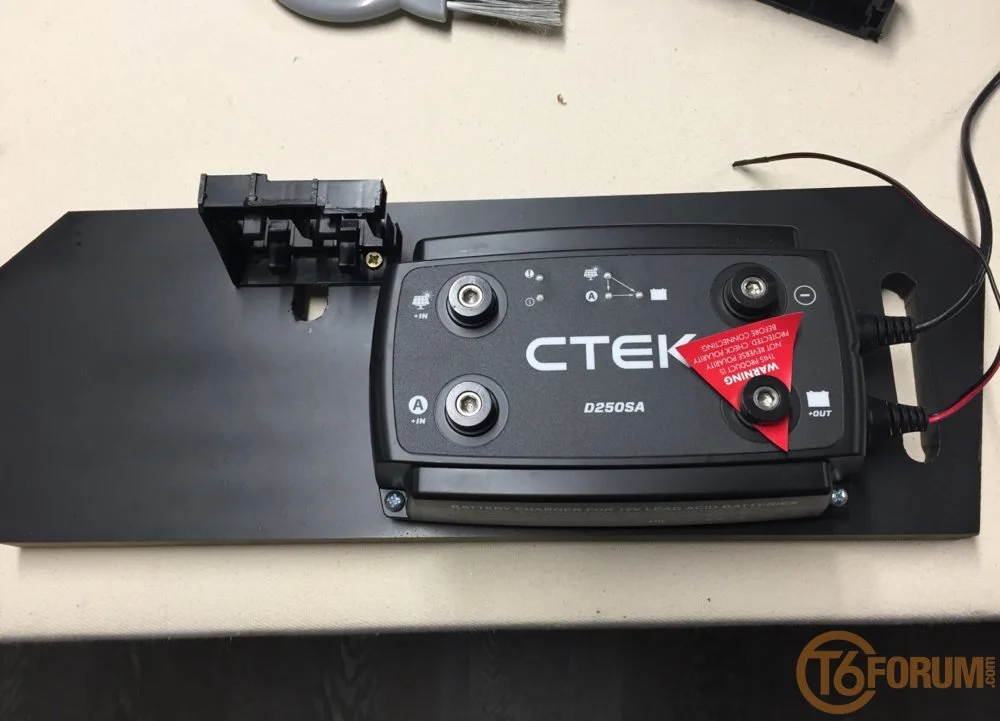
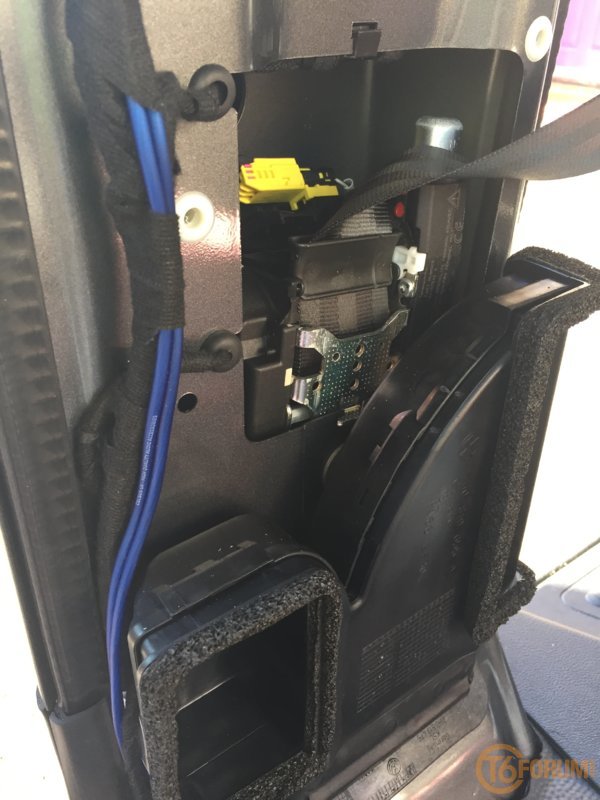
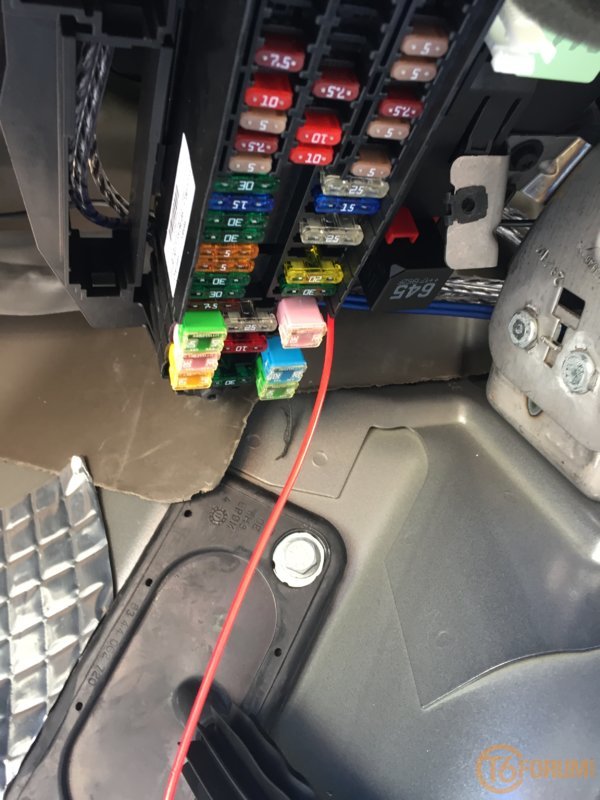
I also ran a wire from the passenger seat to the fuse box, just in case I can’t find an ignition live under the seat 
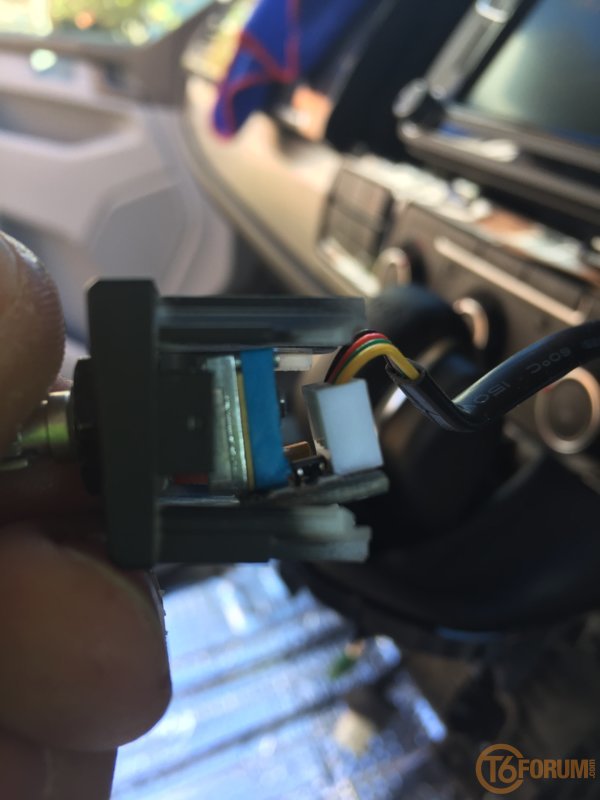
While the head unit was out I decided to fit the amp remote volume to one of the blank switches. I had to remove the potentiometer from its casing and set about it and the dash blank with a dremmel to shoehorn it in
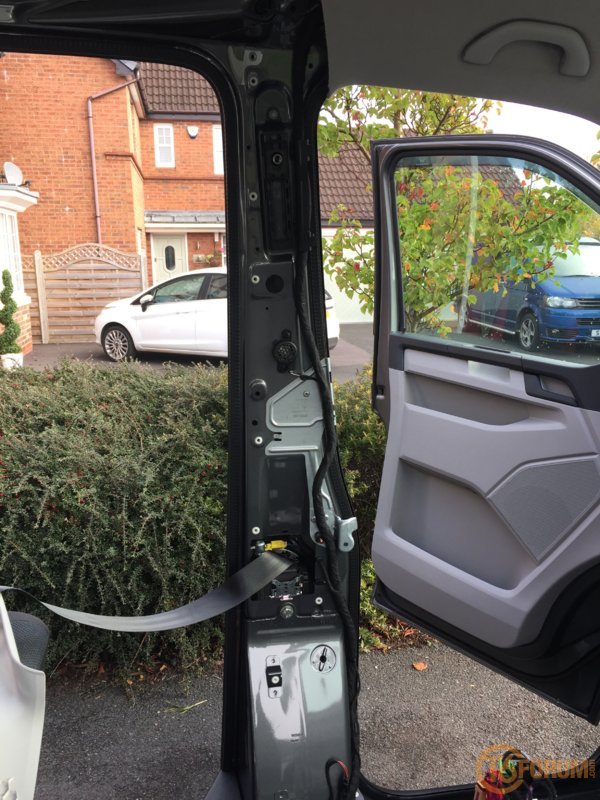
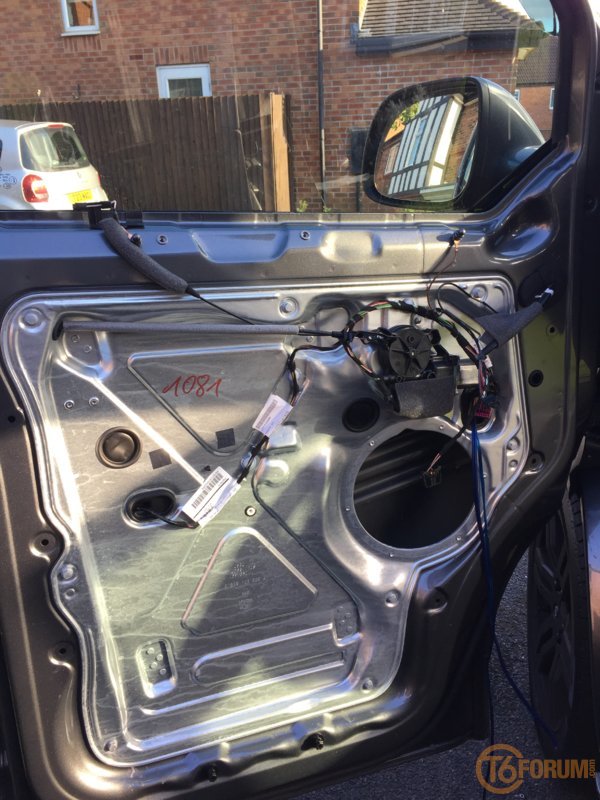
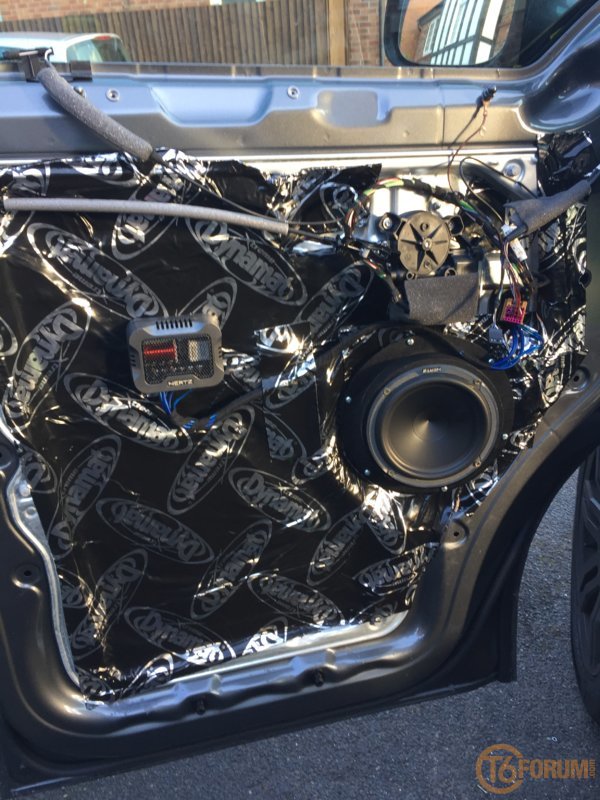
 Next was the doors after removing the old speaker I covered the door with dynamat as supplied by Absolute.
 
Last edited:
On my old T5 I had problems with corrosionon the door speaker terminals. I eventually overcame the problem by removing the speaker and putting some polyethylene behind it. This time I covered the top 3/4 of the hole with dynamat and pushed it in slightly to create a shroud for the back of the speaker. Then I fitted the speaker with the terminals at the top to keep them nice and dry . I had a bit of dynamat left so I put some on the back of the door card too
Next I removed the a pillar plastics to get at the tweeters. . After dremmeling the plastic welds off I removed the factory tweeters. The new tweeters are exactly the right size and fit snugly, I just need a bit of airfix glue.
Tomorrow I’m going to fettle the sub box and finish the drivers side. Now I’m treating myself to a couple of Belgian beers Cheers :thumbsup:
 
Great work and a top job , loving the carbon bits up front , I would like some carbon covers to go over the 2 chrome strips beside the grill badge
 
Back
Top