360° camera (Area view 2) - retrofit

Interesting project, what headunit do you have ?
Not sure it would be compatible with a factory unit, may need something with an extra input for the camera system
 
Yeah I realise I'll need to go aftermarket but I specced the basic headunit as I always intended to replace it. Prob going to go for an F88 Pioneer, but I need to wait a month or two as I've been spending money like water since getting the van. I've got a couple of little LCD monitors kicking around to test it out in the mean time
 
Well several months have passed without me having the time to look at doing this, so last night I rigged it up to a power supply to test that it worked. I plugged in a little 7" monitor I had kicking around and, although the camera resolution isn't great, the image was easily viewable on it.

I had already wired in the rear camera at the same time as my rear dashcam so first up were the side cameras. First job was to take the door card off and then the dreaded mirror covers, going very carefully and managed not to break any of the clips! I had decided I was going to mount the cameras in the fixed base of the door mirrors so that I could still use it whe the mirrors were folded up, but when I got the mirror mount off the door I found that there wasn't enough room for it. I wouldn't have been able to get to the other side to tighten the camera either unless I drilled off all the plastic "spot welds" holding it on to the metal plate.

File 20-08-2017, 19 18 12.jpeg

So I drilled a hole and mounted in the underside of the mirror trim, in the place I thought it would get the widest coverage of the area I needed.

File 20-08-2017, 19 19 09.jpeg

So now to just put the covers back on - and this is where it all started to go wrong. The lower cover was easy enough to get back into place, just a matter of lining up and putting the two mounting screws back in. The upper one was a bit of a pig, but I managed to get it back on with only one clip broken, but when I came to push the mirror glass back on I realised I'd let the heater connection wire get behind where I couldn't retrieve it and had to take the top cover off again - breaking a 2nd clip. Then putting the cover back on broke the 3rd top clip :mad:
There was nothing left to hold it on by now so I had to glue it on until I get it sorted. Then I did up the 3 screws holding the mirror mounting to the door - only to realise I'd forgotten to put the rubber gasket in, so it had to come off again. Anyway, drivers door finished and it looks like this

File 20-08-2017, 19 20 16.jpeg

So on to the passenger door, and it occurred to me that I might be able to do it without taking the mirror mount off the door, and hence not have to remove the door card.
With the covers off (one clip broken) and the door cable shroud (or whatever it's called) unclipped from the door, I managed to fish the wire through from the mirror and out of the door, and then through into the cab, much quicker.

File 20-08-2017, 19 20 52.jpeg


I really struggled to line the covers up this time for some reason and it took me a while, but I managed to get them on without breaking any more clips, so the passenger side now looks like this

File 20-08-2017, 19 21 32.jpeg

Bit of experimentation next, I can rip a T5 dash to bits in minutes but the T6 is new territory so I went carefully with removing the glovebox and radio trim so I could route the various cables, including one up to the dash top lidded cubby to put the monitor temporarily. In the end was easier than I thought and quite logical

File 20-08-2017, 19 22 13.jpeg

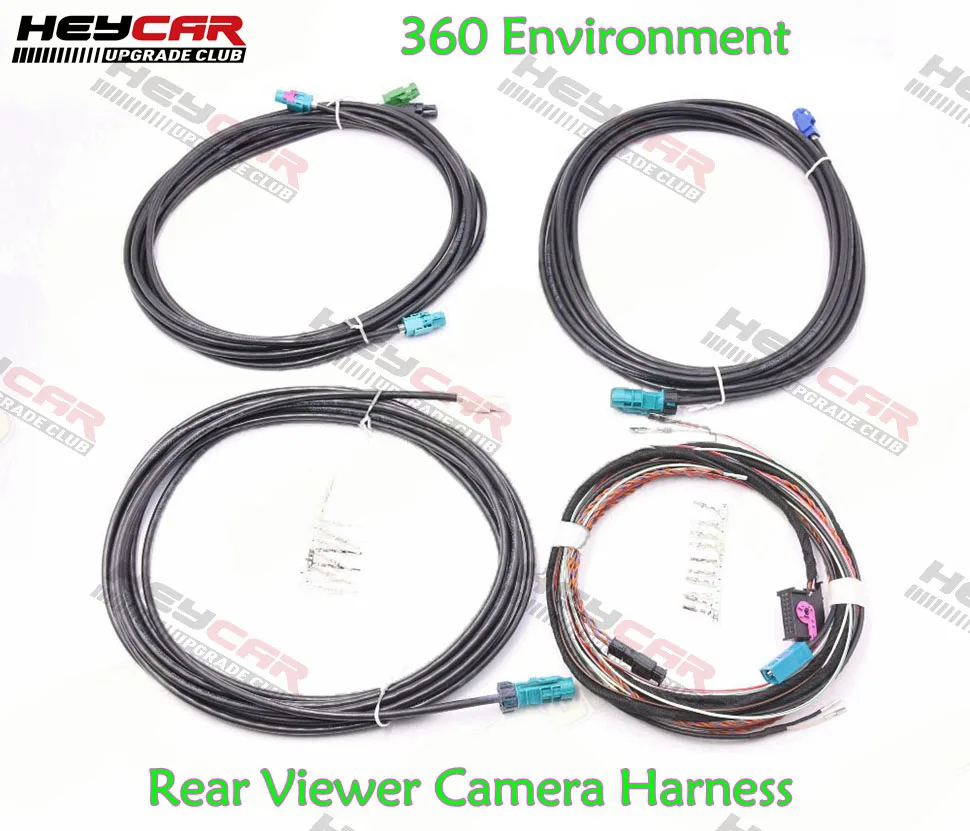
So now to plug in and test it so far (not mounting the front camera today, still haven't quite decided where it's going, and I'll probably do my amp cable at the same time so I can get both under bonnet jobs done in one day). This is the little box of tricks that does the magic. I'll mount it somewhere behind the dash eventually, but for now it's going to be velcroed into the passenger footwell where I can get at it easily

File 20-08-2017, 19 22 42.jpeg

So now the test, what will it actually look like in the car?

Like this, that's what :oops:

File 20-08-2017, 19 23 19.jpeg

Well b&gger this, I've had enough for today and I'm starving, troubleshooting can wait for another day.

To be continued...
 
Well the intention was to get this sorted at the weekend but it was bugging me all day at work so went and had another crack at it when I got back.
Quickly undoing numpty mode got a picture, hurray. Here's a couple of the screens from it. Bear in mind that as yet there is no front camera fitted, and the monitor shown is not the final solution and will not be driven like this. The stereo will be replaced before too long, and this should just be a matter of plugging this into the reverse camera input of that.

File 21-08-2017, 20 08 13.jpeg File 21-08-2017, 20 08 57.jpeg

When I first tested the cameras before going near the van I took the precaution of marking the top of each side one with a little scratch, but as it wasn't obvious where the top should be on a camera that faces downwards, I went for it facing outwards. This was completely wrong as the side cameras looked like this on screen

File 21-08-2017, 20 09 38.jpeg File 21-08-2017, 20 11 02.jpeg

I checked the instructions to try and get more information and found that I should "enhance luckily backwards perchance people collision". So I did.

The right hand camera image is quite blurry so something might need tweaking, but the other two look pretty decent

File 21-08-2017, 20 10 21.jpeg

So the blasted mirror caps had to come off again to turn the cameras. In the finished installation, the magic box should take all the distorted fish eye images and stitch them into a flat surround image, but this needs large checked cloths (which didn't come with it) to auto calibrate and will obviously need the front camera. For the time being then, what you are looking at is 3 fisheye images superimposed around a vehicle so not massively useful. Having said that, as I moved around the drive it was quite eery to see plants and wall appear around you. The rectangle on the passenger side is a sheet of ply I was moving around the van to check the orientation of the cameras. You'll notice that the right image is too far forward at the moment compared to the left, leaving a gap at offside rear. I'm not sure why this is as I took great pains to make sure that the camera holes were drilled in exactly the same place. However - looking at the vehicle from the front, I could swear that the passenger side mirror looks a little more tucked back. It's something I'll have to play about with a bit more at the next stage, maybe it can be adjusted in the software. I need to read the instructions a bit more thoroughly and try and work out the meaning off all the options. In the meantime, this is where I'm at.

File 21-08-2017, 20 12 03.jpeg
 
Last edited:
More time spent on this today when I should have been doing something else. When it came down to it there was really only one place the front camera would go, and that's here (scuse the muck, it needs a wash but I was in and out of the garage today due to frequent torrential rain)

File 23-08-2017, 18 27 23.jpeg

So that's that done. It's angled down more than it looks but it still could have done with a bit more. I have been running it off a temporary power supply but have now hooked the corresponding permanent and Acc connections so it doesn't lose its settings every time I turn it off any more. Haven't put the dash together yet as I still need to make one last connection for a reverse trigger, but this is how it looks now (the dark area on the bottom right of the 360 view is shadow from trees)

File 23-08-2017, 18 28 39.jpeg

It's been a bit frustrating trying to set it up, the other day I had had a play with adjusting the perspective of the side cameras and back and could sort of adjust it so that the ply sheet looked a little straighter, but every time I touch the adjust button now, all the surround images go bright white and flicker and the only way I can get the picture back is to reset everything which means putting all the van measurements etc in all over again. And although you can see the sheet of ply on the ground in front quite clearly in the left image, in the 360 image it doesn't appear at all and in fact it looks like I'm almost level with the garage entrance when I'm a good 6 ft away. To top it off, the one reason the front camera would be useful is where you need to get really up close to something, like when I put the van in the garage it has to be about 2" from the end or the door won't shut, but that stupid "Keep safely around the vehicle" black area blocks out your vision when you get about a foot away and there seems no way to get rid of it. And the instructions are useless. More playing with required.
 
So just some finishing up to do. I did a search and a couple of people have mentioned getting a reverse feed from the green/black wire in the A pillar. Well this turned out to be an ignition switched 12v supply which confused me for a long time as I was looking for mistake elsewhere, so I don't know how they did it.

Thanks to @Pauly for pointing out that this is the rear wiper feed and the reverse feed is the green/black behind the B pillar. Sure enough, hooking into this and running the wire with the loom over the door and down the A pillar to under the dash has it all working fine, even managed to activate the guidelines which are actually pretty accurate. Some fiddling with the front and rear camera positioning and angles has helped a lot, and I would actually say they will now be quite useful. The side cameras though remain a bit of a gimmick, the adjustment buttons just don't work so the black box is still unable to process the fish eye images into a flat birds-eye view as it's supposed to.

File 27-08-2017, 18 21 22.jpeg

File 27-08-2017, 18 22 03.jpeg
There is a more in depth page in the menu where you can put numbers in (with no explanation about what they do) and I'll have a play at some point when I have time. Also, these things are always improving and now I have the wiring in I can always replace the processor box and/or cameras as things develop. If nothing else I've got a reversing camera now, though using it will have to wait until I get a new stereo with a video input.

For now though, that's the end of this, it's all neatly tied up out of sight and all trim back on. The rest of the week, any time I have spare will be getting the van ready to go away for a fortnight
 
That’s exactly what I need !
Thanks for sharing your job’

I will spend more time when I’ll comeback home reading it (and translate in French) to be sure that I understand everything
 
Looks a bit neater now that I’ve replaced my stereo with an RCD330 as in this thread here Rcd330+ but it won’t display the camera mode unless in reverse. Still working on this but as yet I haven’t come up with an answer. Wouldn’t be an issue with a stereo that has a switchable AV mode, or gets its turn on instruction from a reverse wire 12v signal (which could be faked), but the 330 takes its instructions from the canbus. So that monitor is still connected in the top cubby as well as the stereo.
 
Update on how this looks now I have it connected to the new stereo. Weird anomaly bottom left caused by the LED worklight reflecting off the window.
IMG_0786.JPG

Still no solution for the front camera issue though
 
Cool work, but i would like to retrofit with the original VW Parts.

Here is what i found out do far:

Looking into ETKA
From Passat B8 for Example. KA6 is the PR Code for it.
1x 5Q0907556 /B/C is the ECU for this.
4x 5Q0980546A Cameras ... Passat does have Camera inside the Back-Button, but i think a normal 180* Camera will work for us.

The ECU is:
Address 6C: Back-up Cam. (J928) Labels:* None
Part No SW: 5Q0 907 556 C HW: 5Q0 907 556
Component: Areaview 2 H13 0608
Serial number: C854707JG060912
Coding: 01840201E30F200000204014
Shop #: WSC 05311 115 00093
ASAM Dataset: EV_CamSysRVAV2ARCE2MQBAB 006017
ROD: EV_CamSysRVAV2ARCE2MQBAB.rod
VCID: 392F2A7489D0C44FCE9-806D

6C is available in PQ25 gateway, too.
 
Looking around in different Forums it looks like we need to find a working Parameterser Set (XML or ZDC) to get this running.
And Since Area View was never introduced in the T6 we need to try with the ones from Passat or Tiguan or what we find.
Probably we will have to reverse the Parameterset and build working Parameters for the T6.
So mutch work ...
 
Back
Top